11
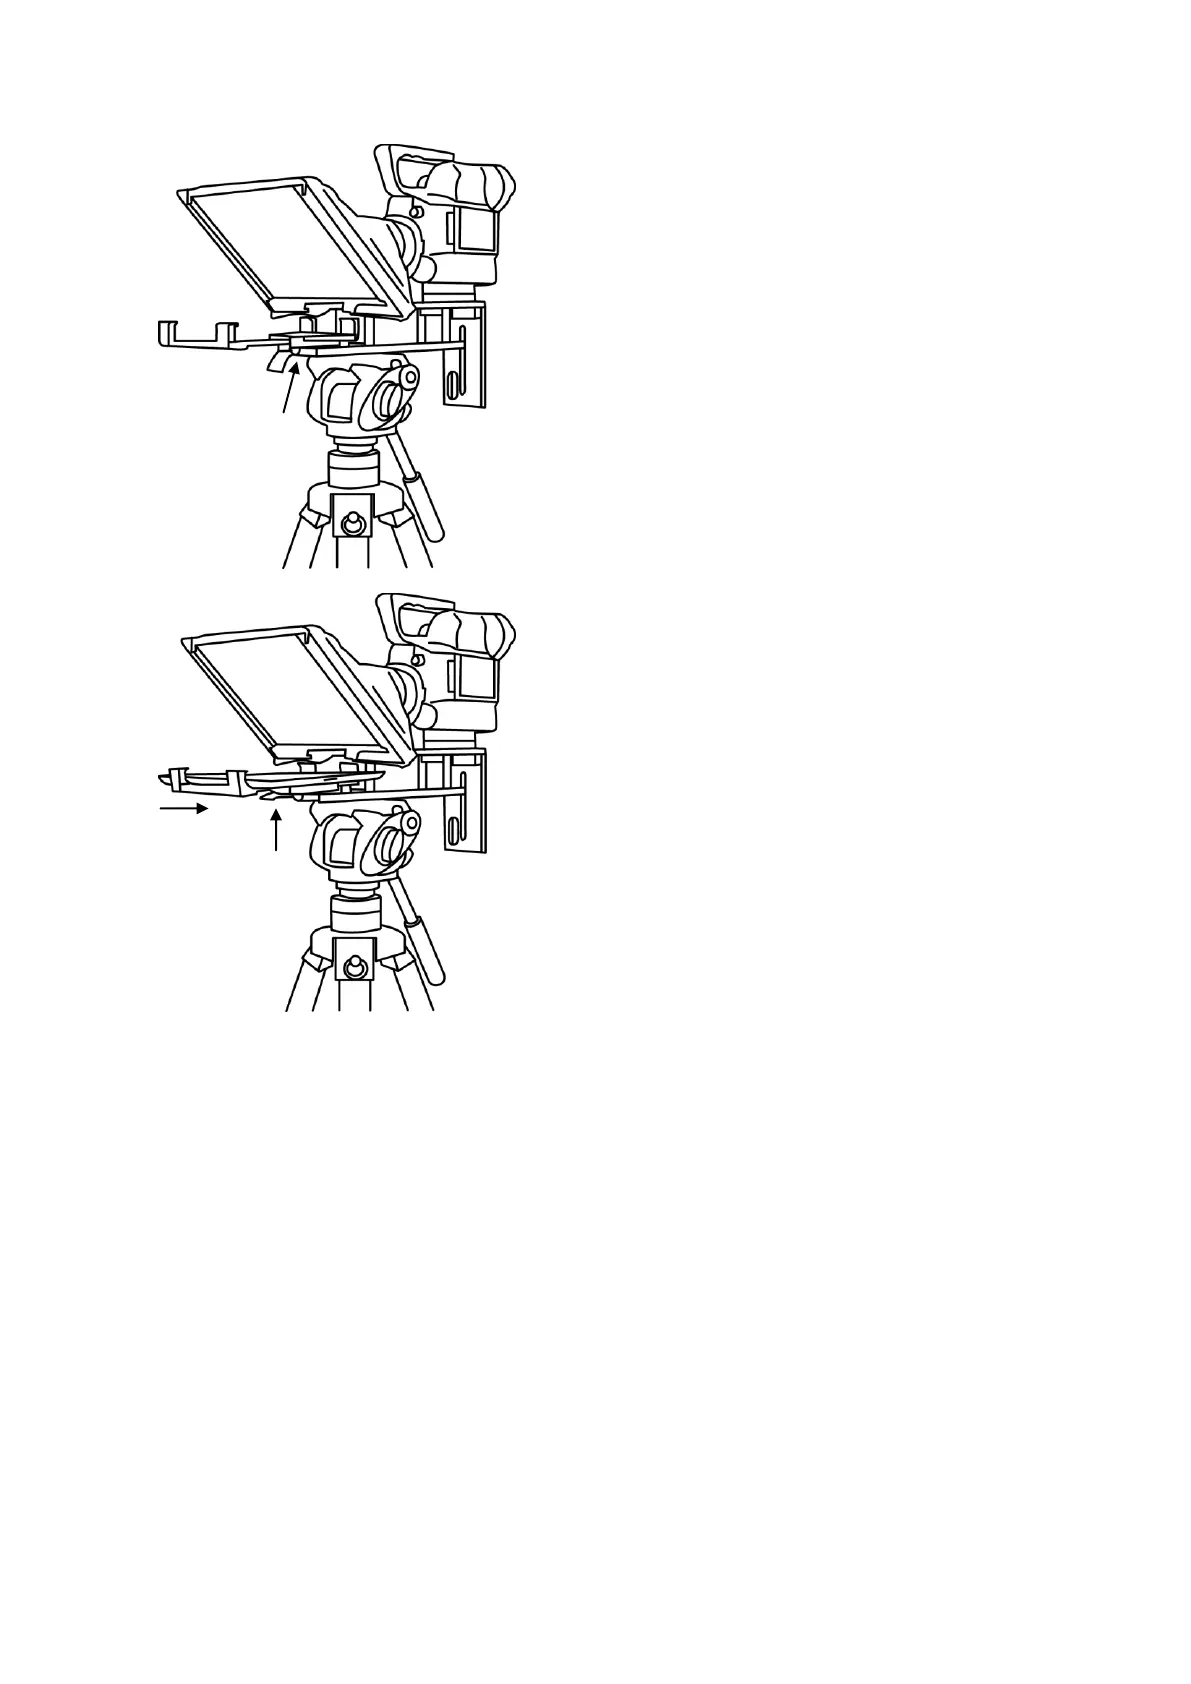
11. Fit the adjustable mounting bracket, item E, to the
Prompter Frame just below the Glass Frame using
the mounting bracket screw, item D, and the
recess in the Prompter Frame.
Please be careful, do not over tighten
the mounting bracket screw.
12. Turn on the tablet being used and launch the DV
Prompter software then prepare the prompting text
to be used. Also set up for the chosen optional
remote control.
13. Put the configured tablet into the mounting bracket
and ensure it is held securely by adjusting the size
of the bracket holders for a snug fit and locking
them in place. Use the locking lever on the bottom
of item E.
14. Adjust the prompting settings where necessary.
15. Adjust the camera exposure settings as necessary.
See Camera Exposure.
16. Read the section regarding the supplied remote
control. See page 17 onwards.
Camera Exposure and the 60/40 Glass
After setting up the camera with the 60/40 glass in front of the lens adjust the camera set up and
white balance. This is because the 60/40 Glass affects the camera exposure by approximately 1 stop
almost like the effect of a neutral density filter. Consult your camera manual for further help and
advice with its exposure and white balance settings.
 Loading...