Connecting a Davis Vantage Pro 2 or Vue to Weather Underground Using a
Weatherlink IP Device
Complete installation of your weather station.
● Davis Support installation diagrams and instructions
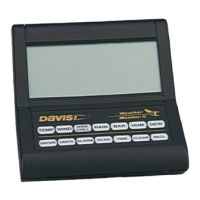
Connect the Weatherlink IP device to the Vantage Vue or Vantage Pro 2
console.
Connect the Weatherlink IP to the Internet (plug it in to your router).
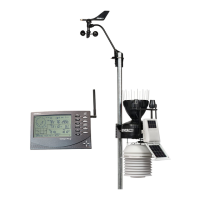
● Installation diagram for Vantage Pro 2.
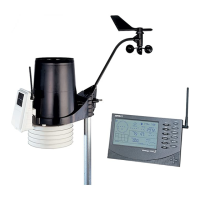
● Installation diagram for Vantage Vue.
Create a free Weatherlink account at www.weatherlink.com.
Click the Add Devices button at the top right corner of the
Weatherlink website.
On the device menu, click the Install button in the
WeatherlinkIP section.
Enter your Station Name. Select the weather station Model. Identify your
Station Usage. Enter your Device ID. Enter your device Key.
● Both the Device ID (DID) and Key are found on the sticker attached to the Weatherlink IP device.
Confirm your station is communication with the Weatherlink website.
● Verify data appears on the website.
● Helpful Tip:
If no data appears, power cycle the display console after connecting the Weatherlink
IP device.