6
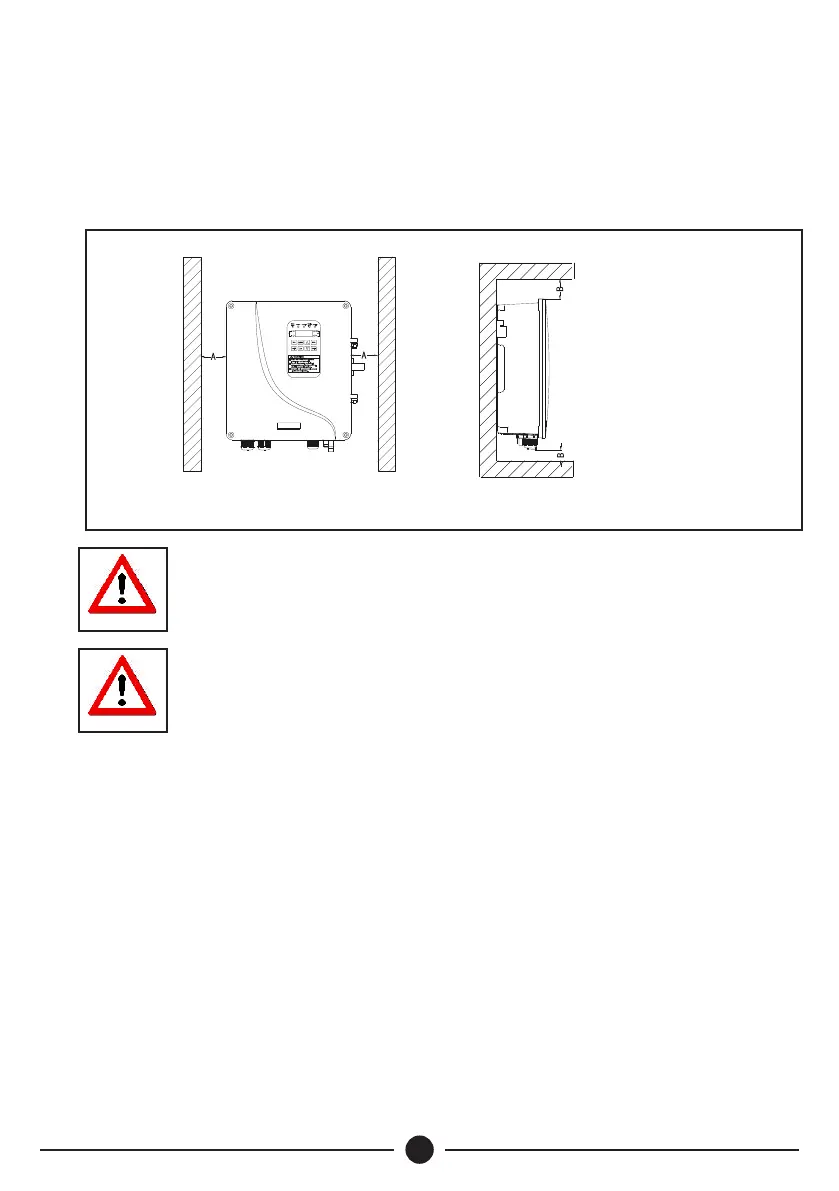
3.2 Installation Direction
Ÿ Leave enough installation space between inverter and other objects nearby to
ensure good ventilation and heat dissipation. As shown on Fig 1, install the
0
inverter vertically or backwards with maximum 10 inclination angle Do NOT
install horizontally or transversely.
Ÿ Install the inverter at a height that is convenient to operate and read in the LCD
display screen
Fig 1: Installation Direction Diagram
NOTE
The installation surface should be at and closely attached to
the inverter bottom surface to ensure good heat dissipation.
NOTE
If multiple inverters are to be installed in the same cabinet, it
is recommended to adopt side by side installation. If two
inverters are to be installed longitudinally, a guide plate
should be added in the middle.
3.3 Installation Method
Ÿ Choose the installation place and drill holes according to the size and shape of
support plate. The recommended diameter of holes is 6±1mm and the depth is
with 30±2mm.
Ÿ Use the matching expansion screws to fix the support plate on the wall with a
tightening torque of 1.5Nm.
Ÿ Mount the inverter, screw the matching screws (M4*14) on the side to fix it.
Tightening torque is 1.0Nm.
A >100mm
B>100mm

 Loading...