Page: 42
10.2 Instrument Start-Up Sequence
Switch on:
a) Power Supply (24V)
b) Sample Flow
c) FW Flow
d) Air Supply 4 - 6 bar (Automatic Cell Cleaning Device)
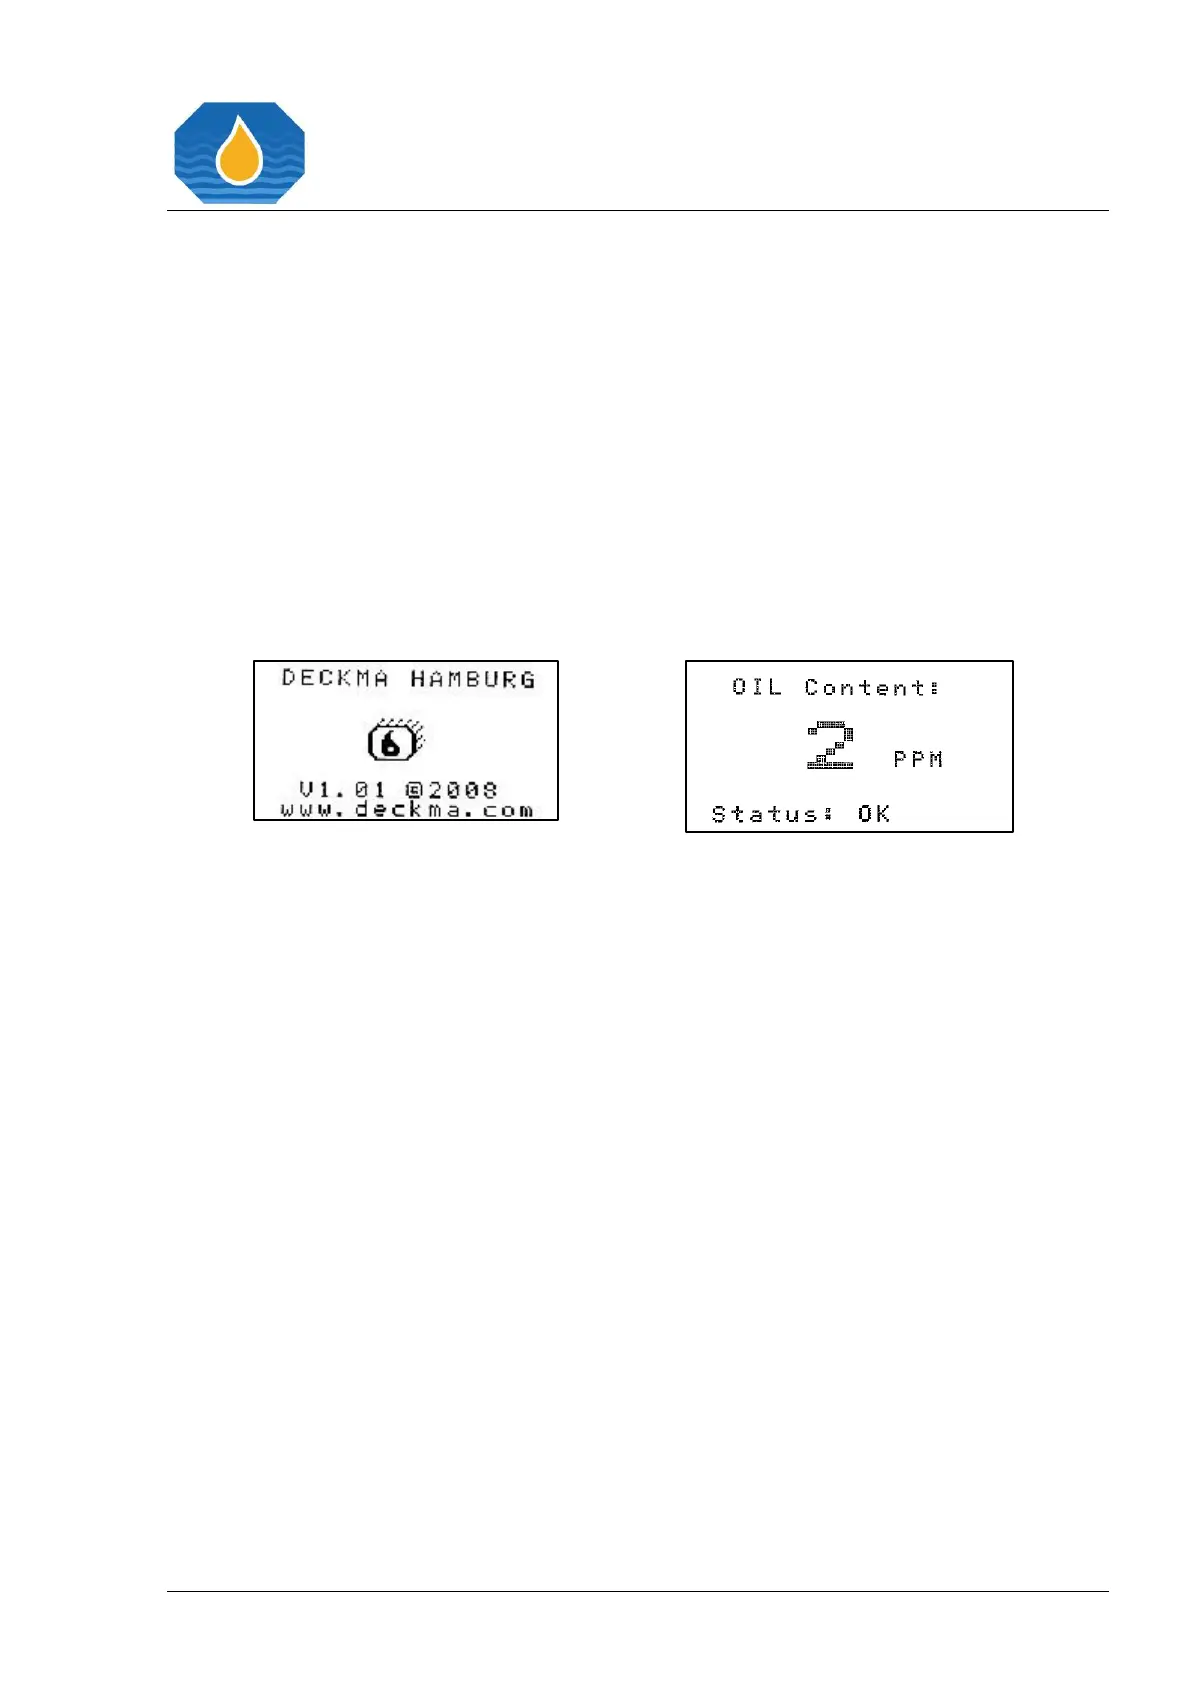
Make sure, that the Power LED is illuminated and the display is showing the initializing
display for about 15 sec. After that time, it will change to the “normal operation” display,
showing the actual measurement as shown below in Figure 19. Analyzing Display:
DECKMA HAMBURG and Figure 20. Normal Operation Display.
Figure 19. Analyzing Display:
DECKMA HAMBURG
Figure 20. Normal Operation Display
Allow a period of time for water entering the Sample Glass Tube. It is recommended to
let oil free water flow for about 10 minutes. Switch the EV, the manual valve, respectively,
to clean water stream. Check, that the display shows 0 to 2 ppm. If not, see 12.3
Cleaning Process. Check the relative desiccator humidity. Switch the instrument
back to sample stream flow to the separator sampling point connection.
10.3 Flow rate Adjustment
The flow rate is not influencing the accuracy of the instrument as required by IMO. The
adjustment is only important for the time delay between the sample point and the
monitor. The flow rate can be adjusted to compensate environmental changes and pump
aging.
If the installation has a clean water feed, the flow rate should be checked on both, the
clean water supply and the sample supply. If the clean water supply is obtained from a
high-pressure source, the flow rate will be higher than from the sample point.
Measure the amount of water flowing through the instrument. Flow rate should be
approximately 2 liters per minute.