Do you have a question about the Definitive Technology Studio Advance and is the answer not in the manual?
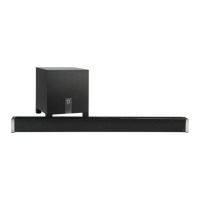
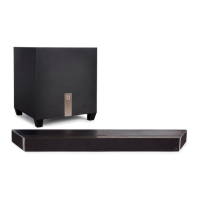
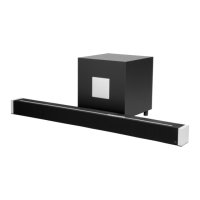
Position the sound bar centered under the TV for optimal listening.
Connect the sound bar to power; LEDs indicate startup status and readiness for Google Home app setup.
Position the subwoofer on the same wall as the TV, within 30ft (10m), with corner placement enhancing bass.
Connect the subwoofer to power; a solid light indicates pairing with the sound bar.
Download the app to set up the sound bar on your Wi-Fi network and receive firmware updates.
Connect using HDMI ARC if your TV supports it for audio and control.
Route all sources through the sound bar via HDMI to an HDMI input on the TV.
Use an Optical cable if the TV lacks HDMI for audio connection.
Use a 3.5mm analog mini-jack for older TVs with analog output, providing stereo audio.
Turn on the TV and sound bar, verify audio, and disable TV speakers.
The sound bar responds to volume and mute commands from popular TV remotes.
Pair and connect devices via Bluetooth after initial setup for music playback.
Stream music, create multi-room audio, and control playback with Google Assistant.
Software updates improve performance and are provided securely via the internet.
Explains source indicators, including colors for audio bitstream types.
Details how mute and volume level are indicated by LEDs on the sound bar.
Customize the voice level for clear dialogue using the center (+/-) buttons on the remote.
Customize the bass level using the bass (+/-) buttons on the remote.
Provides a natural, balanced sound profile with smoother bass and minimized spatialization effects.
Optimized for movies/TV, offering spatialization, enhanced dialogue, and dynamic bass impact.
Optimal for low-volume listening, reducing bass and dynamic range for vocal clarity.
Control volume and mute via TV remote if TV supports CEC and is connected via HDMI ARC.
The sound bar includes remote commands for many televisions manufactured recently.
Use riser feet to elevate the sound bar for clearance from TV stands.
Use the IR flasher if the sound bar blocks the TV's remote sensor.
Use supplied spacers and ensure wall anchor capacity; do not mount directly to the wall.
Level the bar, drill pilot holes, use appropriate screws, and ensure clearance.
| Color | black |
|---|---|
| Subwoofer | included |
| Surround Sound | dolby digital, dts |
| Number of Drivers | 6 |
| Tweeters | 3 |
| Inputs | hdmi, toslink optical, 3.5mm audio |
| Outputs | hdmi |
| HDMI Inputs | 3 |
| HDMI Outputs | 1 |
| USB Ports | 0 |
| Bluetooth | yes |
| Wireless Connectivity | bluetooth |
| Optical Audio Inputs | 1 |
| Remote Control | yes |
| Smart Features | google assistant |
| Depth | 4 inches |
|---|---|
| Height | 3.4 inches |
| Width | 43 inches |
| Net Weight | 36.8 pounds |
| Subwoofer Depth | 12.7 inches |
| Subwoofer Height | 14.8 inches |
| Subwoofer Width | 12.5 inches |
| Subwoofer Weight | 11.9 pounds |