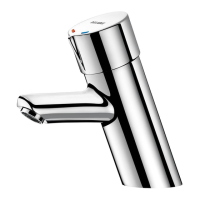
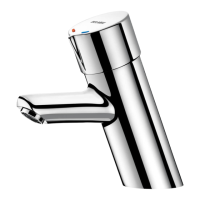
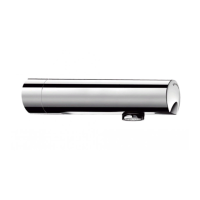
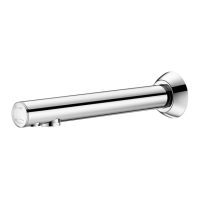
OPERATION
• Press the push-button control to open the valve.
• Rotate the push-button control to select the desired temperature.
• Automatic shut-off after ~20 seconds for washbasins and ~30 seconds for showers (+5/-10 at 3 bar,
according to the European Standard EN 816).
INSTALLATION
• Under no circumstances should the non-return valves
(figs.
,
) be removed from the water inlets.
• Install the filter joints
(figs.
,
) supplied exactly as shown in the diagram. They will protect the
non-return valves from damage.
• Supply with cold water and hot water at a maximum temperature of 60°C, and balance the pressure
between the hot and cold water (∆P < 1 bar). Ensure that hot water is always delivered from the
left side and cold from the right. Maximum supply pressure is 10 bar (we recommend 1 to 5 bar
dynamic pressure). Take care not to pinch the PEX flexibles (fig.
).
Washbasins
• Use the DELABIE elbow connectors ref. 836020 or 838020 for installations with 150mm centres.
Deck-mounted Washbasins
• 34mm diameter hole for installation.
• Mount the body of the mixer on the washbasin and tighten the nuts
(fig.
) on the fixing plate.
• Ensure a waterproof seal between the mixer and the work plan that is appropriate for the type of installation.
Recessed Showers (fig.
)
• The wall mounting area should measure: 130 x 110mm, with an adjustable depth of 55-75mm.
• Attach the connectors
to the recessing box
using the back-nuts
and position the mixer at the
desired height.
• Remove the mixer. Weld/solder the cold water inlet, hot water inlet and mixed water outlet to the Ø14 or
Ø15 copper tubes, depending on the model.
• Seal the boxed unit
and welded/soldered joints.
• Connect the mixer to the connectors
with F3/4" nuts.
• Position the wall plate against the wall using the self-adhesive foam seal, with the vent/drain at the bottom:
- Tighten the Ø195 wall plate with the screw
using a 2.5mm Allen key;
- Or tighten the 160 x 160mm or 300 x 300mm wall plate with the 4 screws (4 x 35) supplied.
• For stainless steel wall plate version: position the silicone washer behind the wall plate to ensure a water
tight seal between the wall plate and the wall. Leave a vent/drain at the bottom to allow any residual
water to drain away.
IT IS THE INSTALLER'S RESPONSIBILITY TO:
• ENSURE THAT THE RECESSED MOUNTING BOX IS WATERTIGHT TO PREVENT ANY WATER INGRESS INTO
THE INSTALLATION.
• GUARD AGAINST THE ACCIDENTAL PRESENCE OF WATER IN THE RECESSED MOUNTING BOX AND
ENSURE THAT THERE IS NO WATER STAGNATION AND THAT ANY WATER (CONDENSATION, RUN-OFF,
LEAKAGE, ETC.) DRAINS AWAY.
• ENSURE THAT THE SEALS/JOINTS BETWEEN THE WALL PLATE AND THE BODY OF THE MIXER ARE
CHECKED REGULARLY (AT LEAST ONCE A YEAR) AND REPLACE THE SEALS/WASHERS IF NECESSARY.
Failure to comply with this advice may lead to leakage into the wall, for which Delabie cannot be
held responsible.
IF IN DOUBT, CONTACT TECHNICAL SUPPORT. FOR DELABIE UK LTD MARKET ONLY:
+44 (0)1491 824 449; FOR ALL OTHER MARKETS +33 (0)3-22-60-22-74.
GB