PS4210 Hardware Owner's Manual
2 Maintaining Drives
Verify that the new drive is operational by examining the LEDs on the front panel, as described in Interpreting
Drive LEDs on page 7. In addition, examine the GUI Member Disks window and the CLI member select show
disks command output.
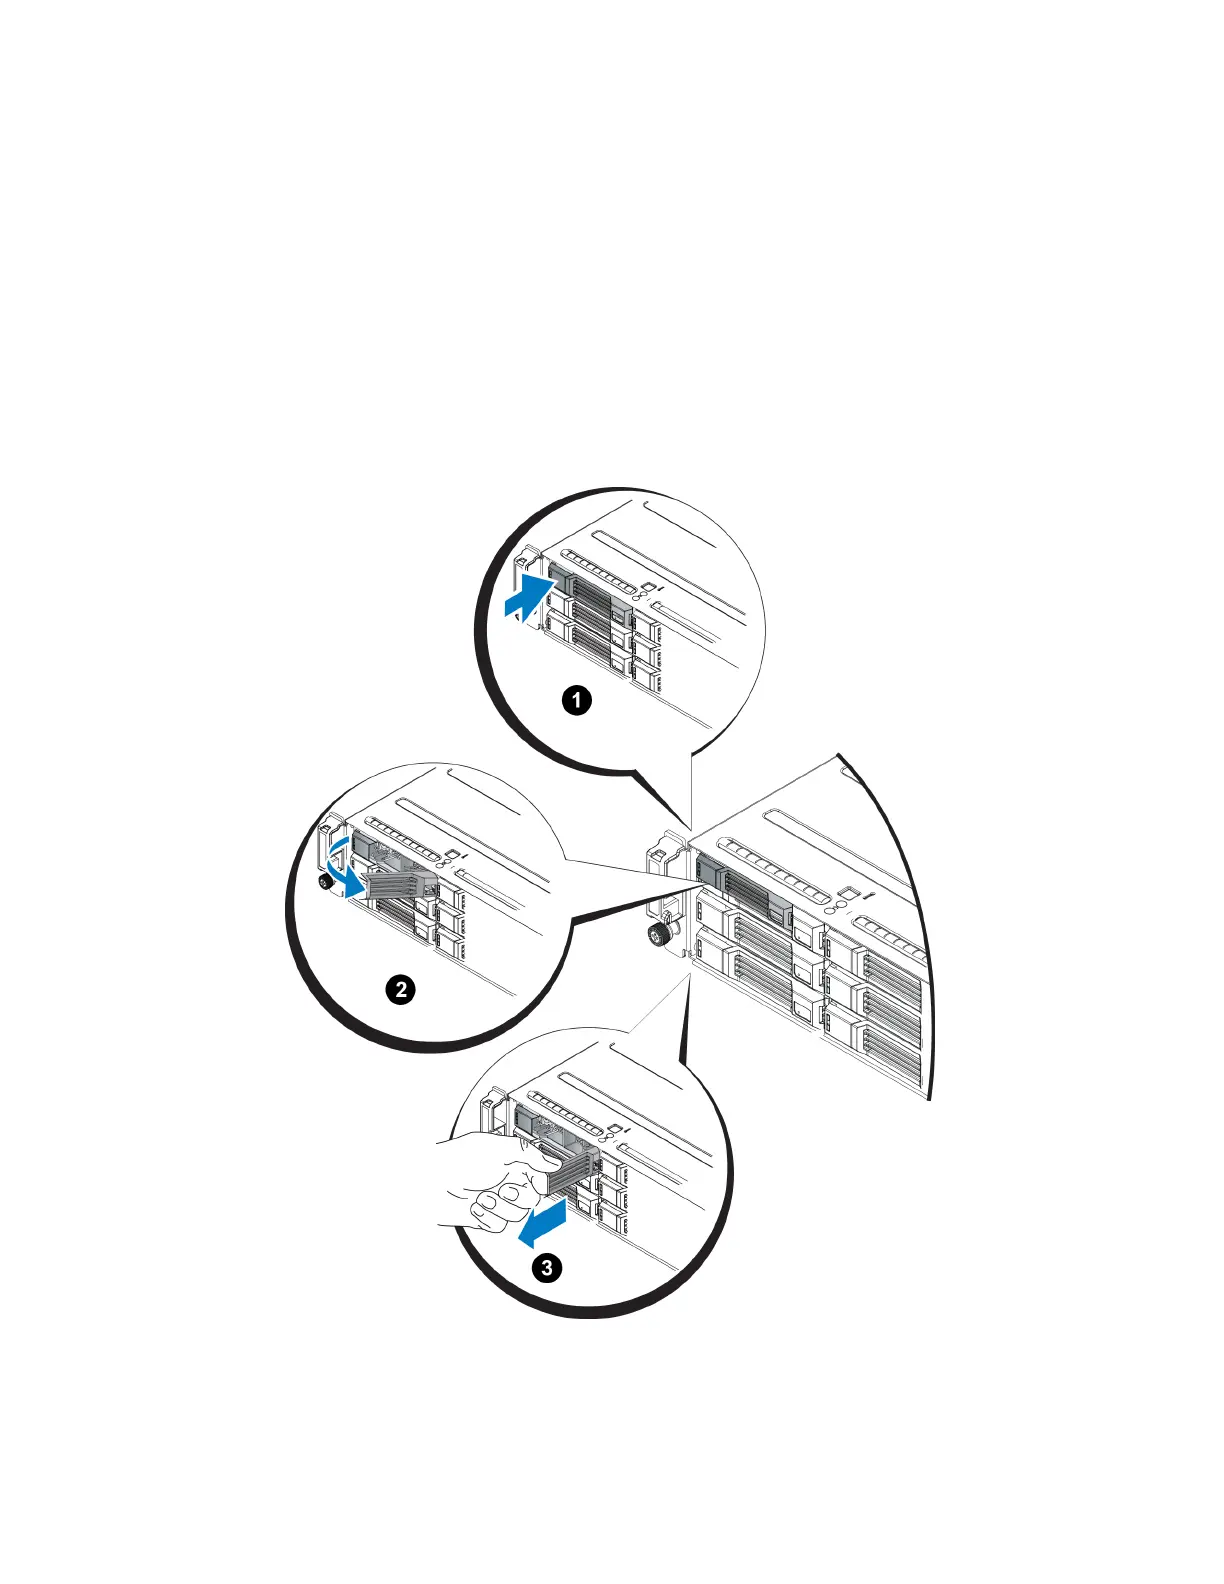
Removing a 3.5-inch Drive
1. Remove the bezel. See Removing the Bezel on page 2.
2. Press the release button (callout 1 in Figure 10). The drive latch opens and the drive emerges partway from
the array (callout 2).
3. Pull the drive out by the handle until it is free of the drive bay (callout 3).
Figure 10: Removing a 3.5-Inch Drive
12