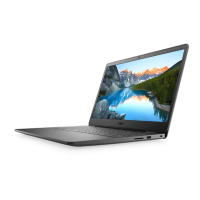
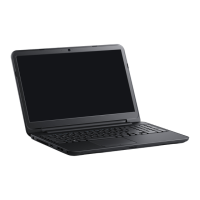
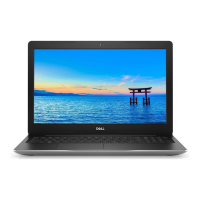
To remove the palmrest assembly, see the exploded view of the palmrest assembly and perform the following steps:
1. Remove the display assembly.
2. Remove the keyboard.
3. Turn the computer face down.
4. Remove the seven 19-mm palmrest screws from the bottom of the computer.
5. Turn the computer face up.
6. Remove the palmrest assembly.
After installing the palmrest assembly, make sure that the battery-bay release latch and the options-bay release latch operate smoothly. If they do
not, slightly loosen the two palmrest assembly screws that secure the latches so that the latches move easily.
Touch Pad Assembly Removal
To remove the touch pad assembly, see the exploded view of the palmrest assembly and perform the following steps:
1. Remove the display assembly.
2. Remove the keyboard.
3. Remove the palmrest assembly.
4. Remove the three 5-mm screws securing the touch pad assembly to the palmrest assembly.
5. Lift the touch pad assembly out of the palmrest assembly.
6. Disconnect the touch-pad FPC cable from the center-lift ZIF connector J1 on the touch pad.
The touch pad buttons are heat-staked into the touch pad assembly and cannot be removed.

 Loading...


