6 Getting Started Guide
3
Make sure that the switch has proper ventilation.
Wall Installation
To mount the switch on a wall:
1
Make sure that the mounting location meets the following requirements:
• The surface of the wall must be capable of supporting the switch.
• Allow at least two inches (5.1 cm) space on the sides for proper
ventilation and five inches (12.7 cm) at the back for power cable
clearance.
• The location must be ventilated to prevent heat buildup.
2
Place the supplied wall-mounting bracket on one side of the switch,
verifying that the mounting holes on the switch line up to the mounting
holes on the wall-mounting bracket.
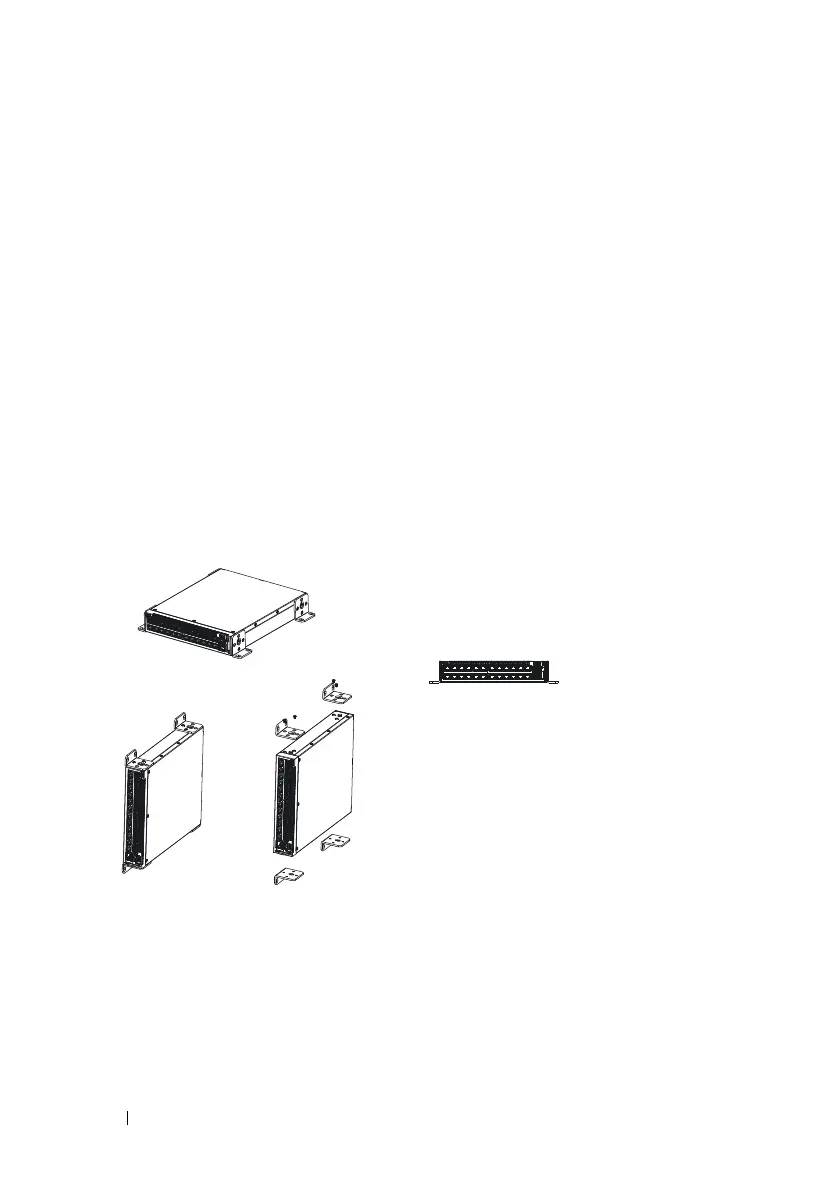
Figure 1-2. Bracket Installation for Wall Mounting
3
Insert the supplied screws into the wall-mounting bracket holes and
tighten with a screwdriver.
4
Repeat the process for the wall-mounting bracket on the other side of the
switch.
5
Place the switch on the wall in the location where the switch is being
installed.