Installing the palm-rest and keyboard assembly
Prerequisites
If you are replacing a component, remove the existing component before performing the installation procedure.
About this task
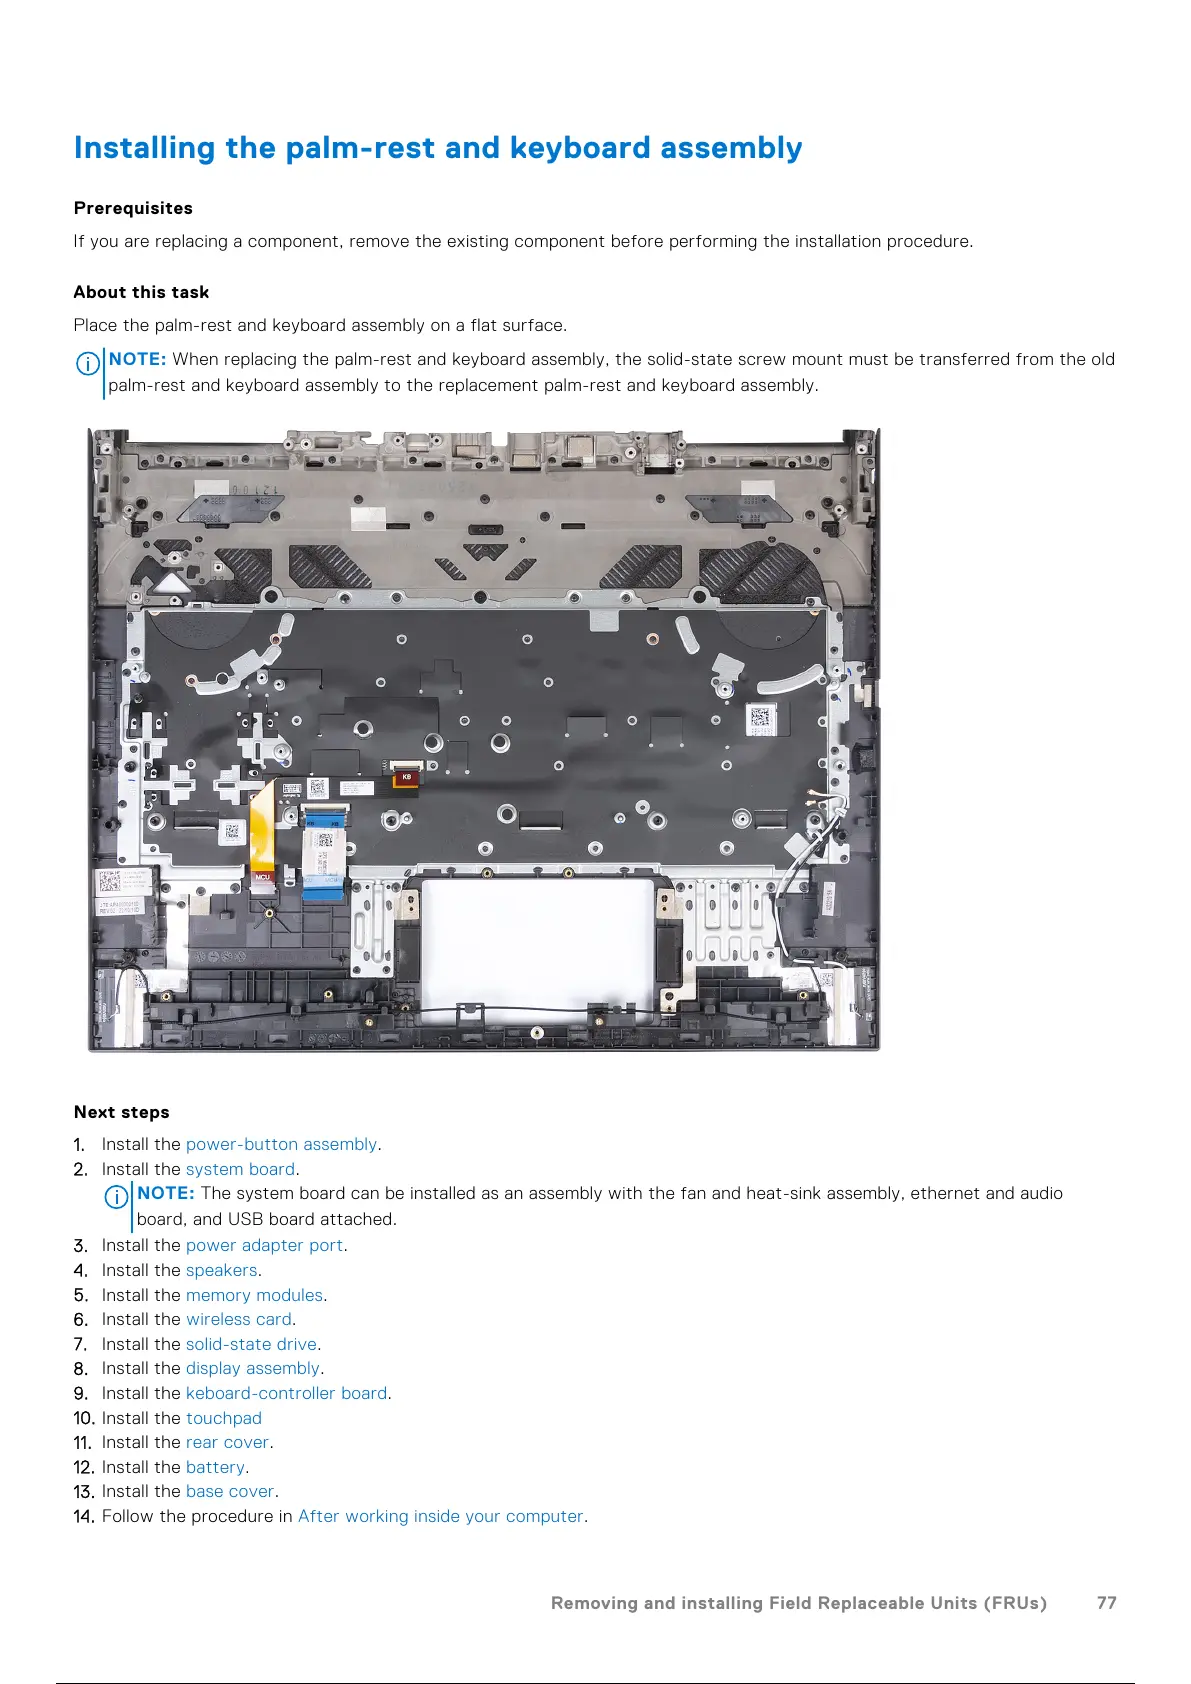
Place the palm-rest and keyboard assembly on a flat surface.
NOTE: When replacing the palm-rest and keyboard assembly, the solid-state screw mount must be transferred from the old
palm-rest and keyboard assembly to the replacement palm-rest and keyboard assembly.
Next steps
1. Install the power-button assembly.
2. Install the system board.
NOTE:
The system board can be installed as an assembly with the fan and heat-sink assembly, ethernet and audio
board, and USB board attached.
3. Install the power adapter port.
4. Install the speakers.
5. Install the memory modules.
6. Install the wireless card.
7. Install the solid-state drive.
8. Install the display assembly.
9. Install the keboard-controller board.
10. Install the touchpad
11. Install the rear cover.
12. Install the battery.
13. Install the base cover.
14. Follow the procedure in After working inside your computer.
Removing and installing Field Replaceable Units (FRUs)
77
78 / 101 77 / 99 78 / 101