3. Remove the filler bracket (if applicable).
4. Align the PS/2 serial-port adapter bracket in the retention slot and press down firmly. Ensure that the adapter is fully seated in the slot.
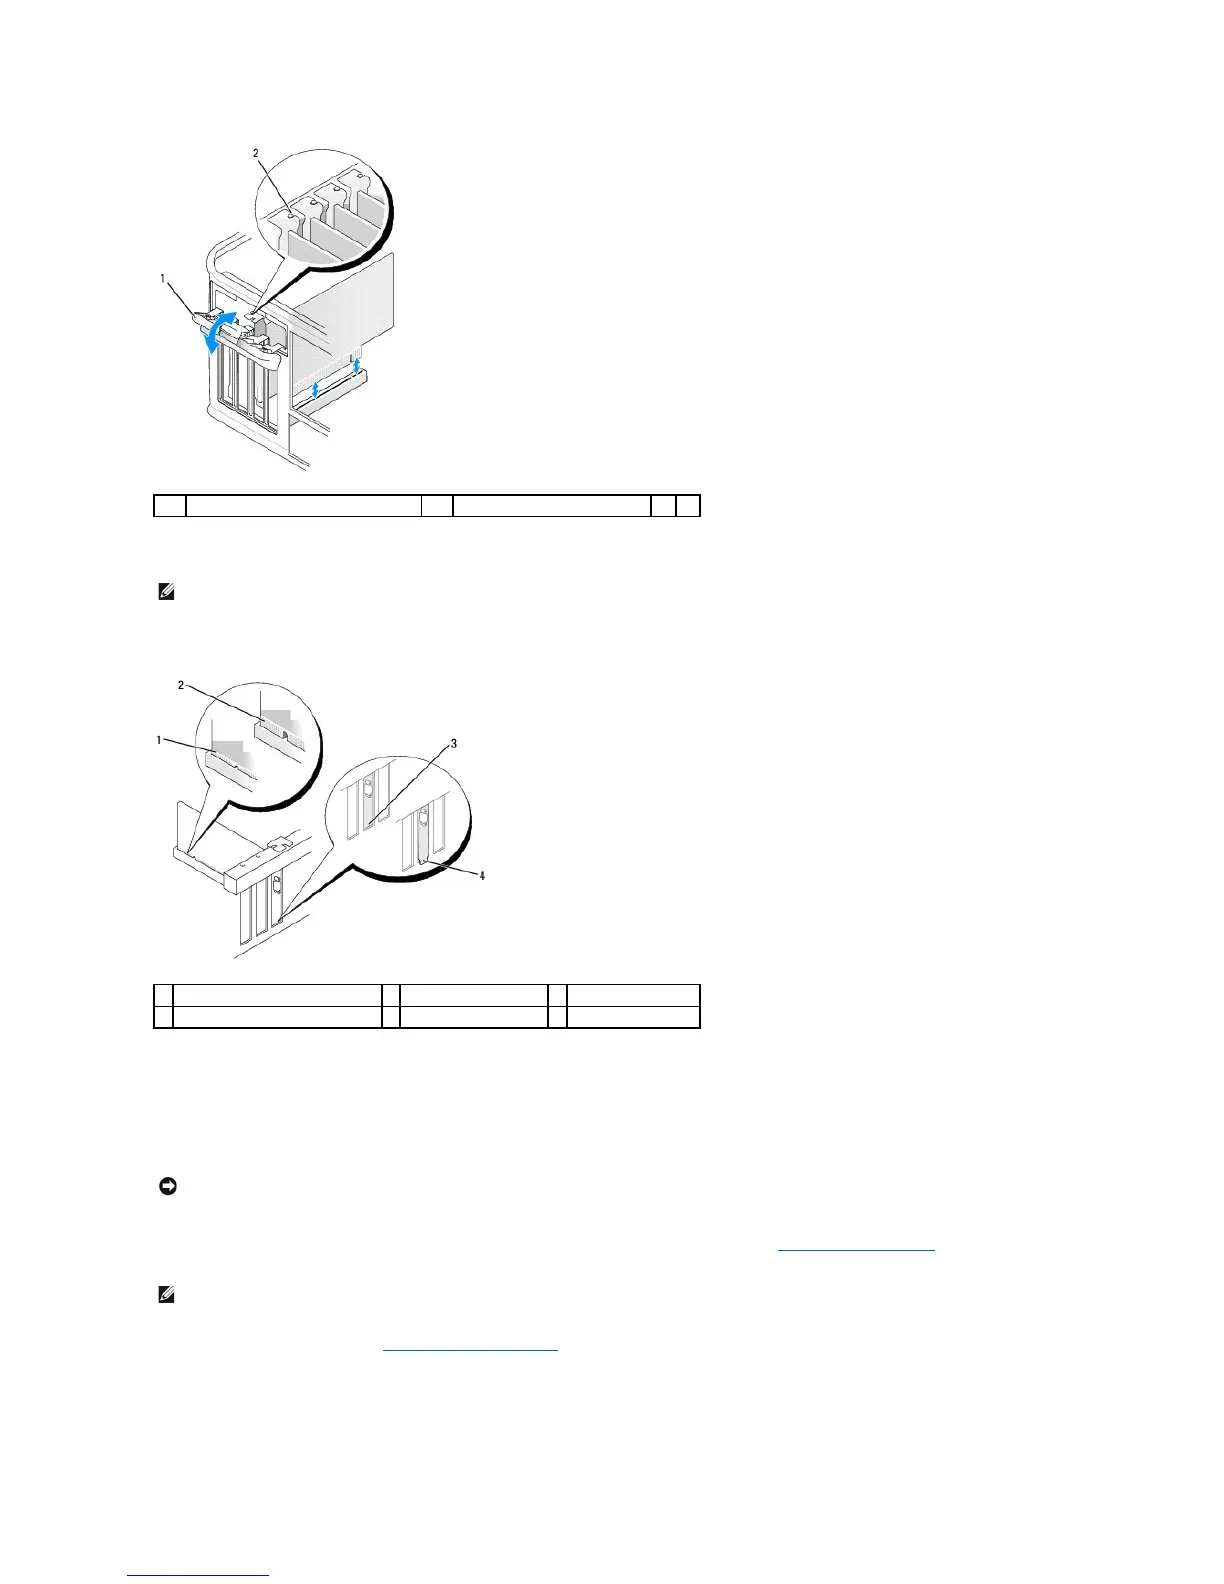
Before you close the card retention mechanism, ensure that:
l The tops of all adapters and filler brackets are flush with the alignment bar.
l The notch in the top of the adapter or filler bracket fits around the alignment guide.
l Close the card retention latch and gently press until it snaps into place.
6. Connect the adapter cable to the serial port adapter connector (PS2/SER2) on the system board (see System Board Components for connector
locations).
7. Replace the computer cover (see Replacing the Computer Cover).
Removing a PS/2 Serial Port Adapter
NOTE: See the documentation that came with the PS/2 serial port adapter for information on configuring the adapter, making internal connections, or
customizing it for your computer.