Floppy Drive
Removing the Floppy Drive
1. Follow the procedures in Before You Begin.
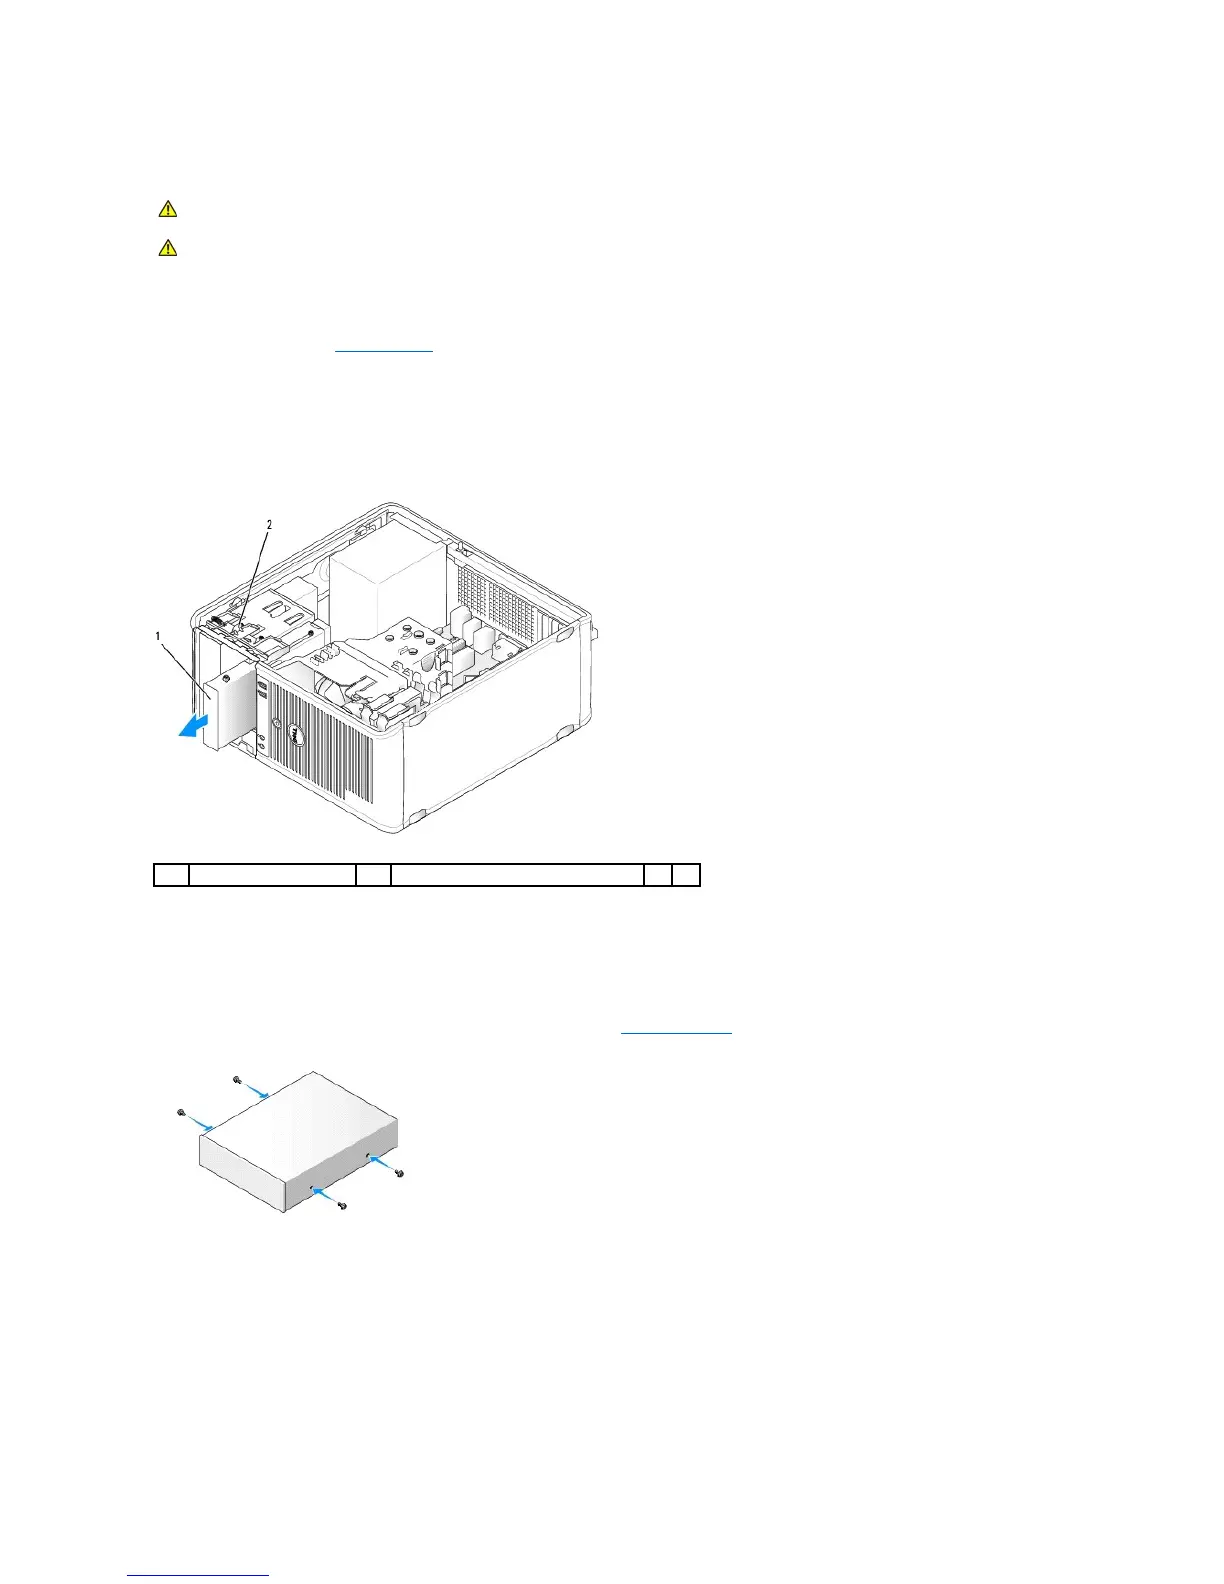
2. Remove the drive panel by sliding the drive release latch in the direction indicated on the latch to open the panel. Then remove it from the hinges.
3. Disconnect the power and floppy-drive cables from the back of the floppy drive.
4. Slide the drive release latch in the direction indicated on the latch until the floppy drive is released; while holding the latch open, slide the drive out of
the computer.
Installing the Floppy Drive
1. If you are replacing a floppy drive, remove the shoulder screws from the existing drive and attach the screws to the replacement drive.
2. If you are installing a new floppy drive, remove the drive-panel insert (see Drive-Panel Inserts) for your new drive, remove the shoulder screws from the
inside of the drive-panel insert and attach the screws to the new drive.
3. Align the shoulder screws on the floppy drive with the shoulder screw slots, and gently slide the drive into the bay until it clicks into place.