EasyManua.ls Logo

Dell OPTIPLEX 740 - Page 116

Dell OPTIPLEX 740
217 pages
To Next Page IconTo Next Page
To Previous Page IconTo Previous Page
Loading...
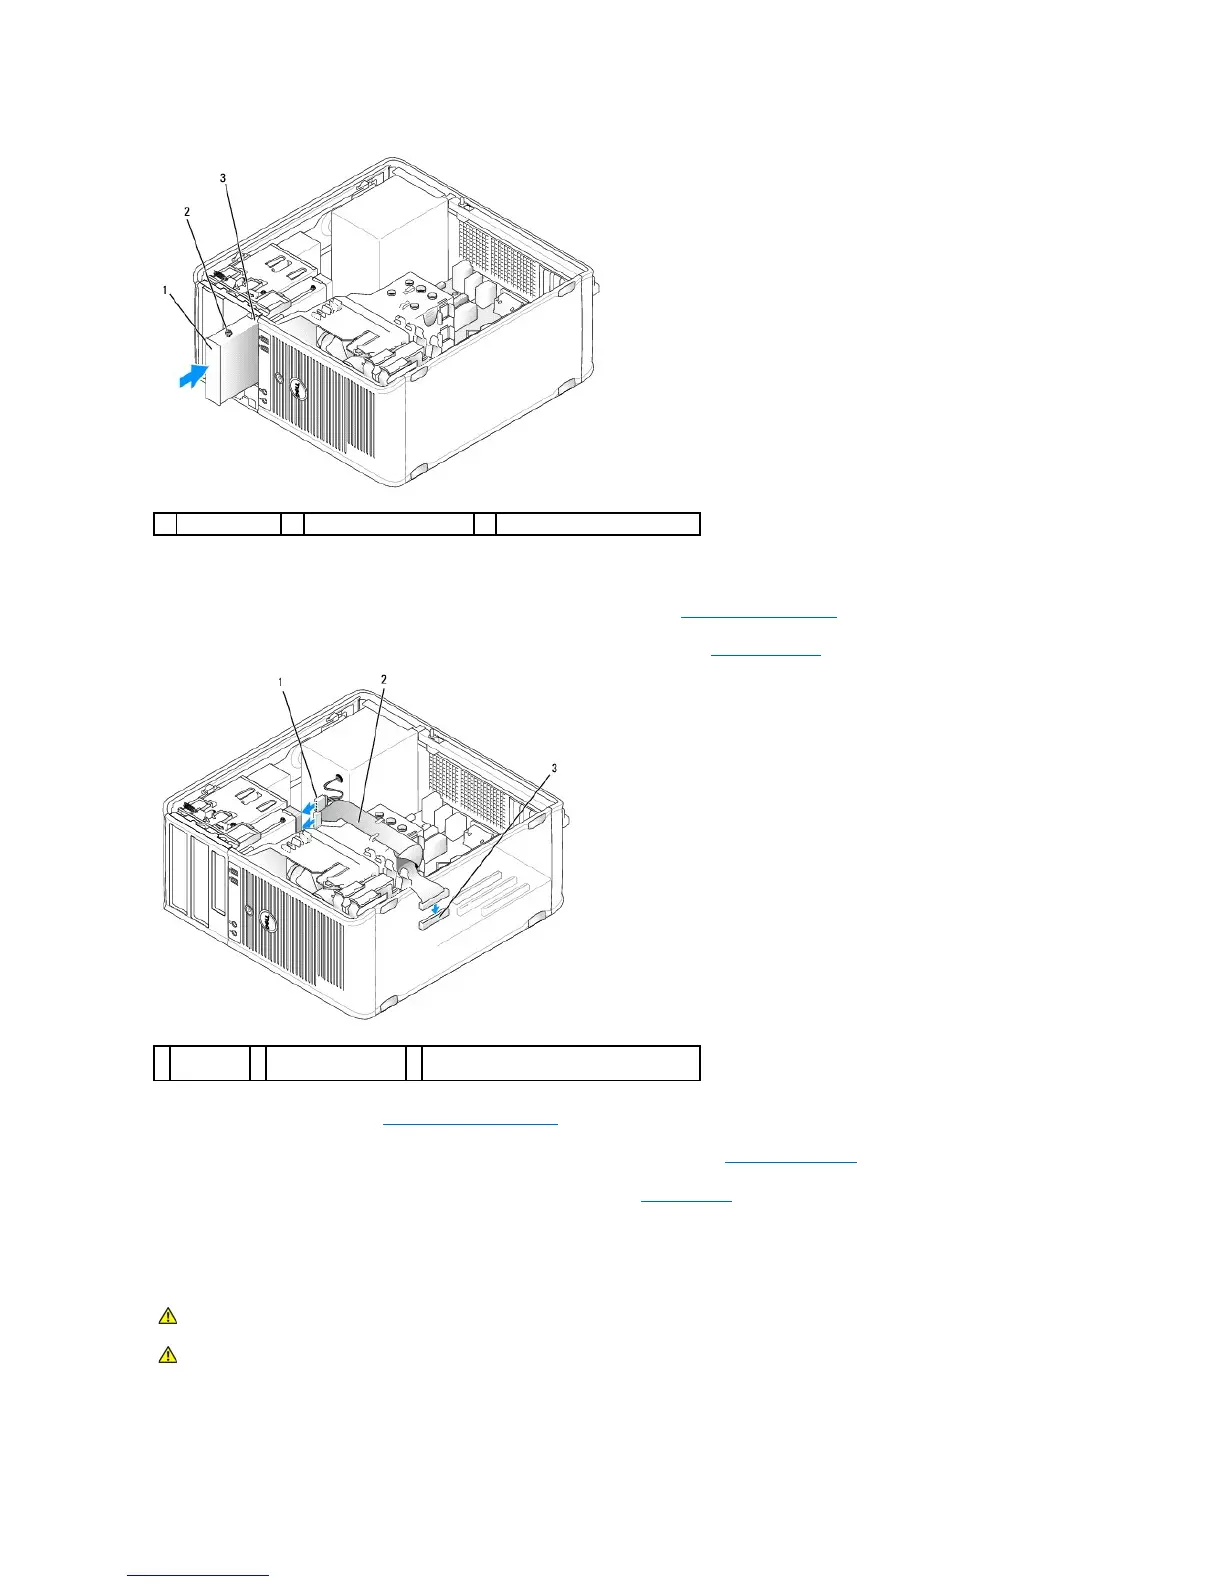
4. Attach the power and floppy-drive data cables to the floppy drive.
5. Connect the flopp- drive data cable to the DSKT connector on the system board (see System Board Components for the connector location).
6. Install the drive panel to the front of the computer. The drive panel only fits one way (see Drive-Panel Inserts).
7. Replace the computer cover (see Replacing the Computer Cover).
8. Enter system setup and use the Diskette Drive option to enable your new floppy drive (see Entering System Setup).
9. Verify that your computer works correctly by running the Dell Diagnostics (see Dell Diagnostics).
Media Card Reader
Removing the Media Card Reader
1
floppy drive
2
shoulder screws (4)
3
shoulder screw slots (2)
1
power cable
2
floppy-drive data
cable
3
floppy-drive connector on system board
(DSKT)
CAUTION: Before you begin any of the procedures in this section, follow the safety instructions located in the Product Information Guide.
CAUTION: To guard against electrical shock, always unplug your computer from the electrical outlet before removing the computer cover.

Table of Contents

Other manuals for Dell OPTIPLEX 740

Related product manuals