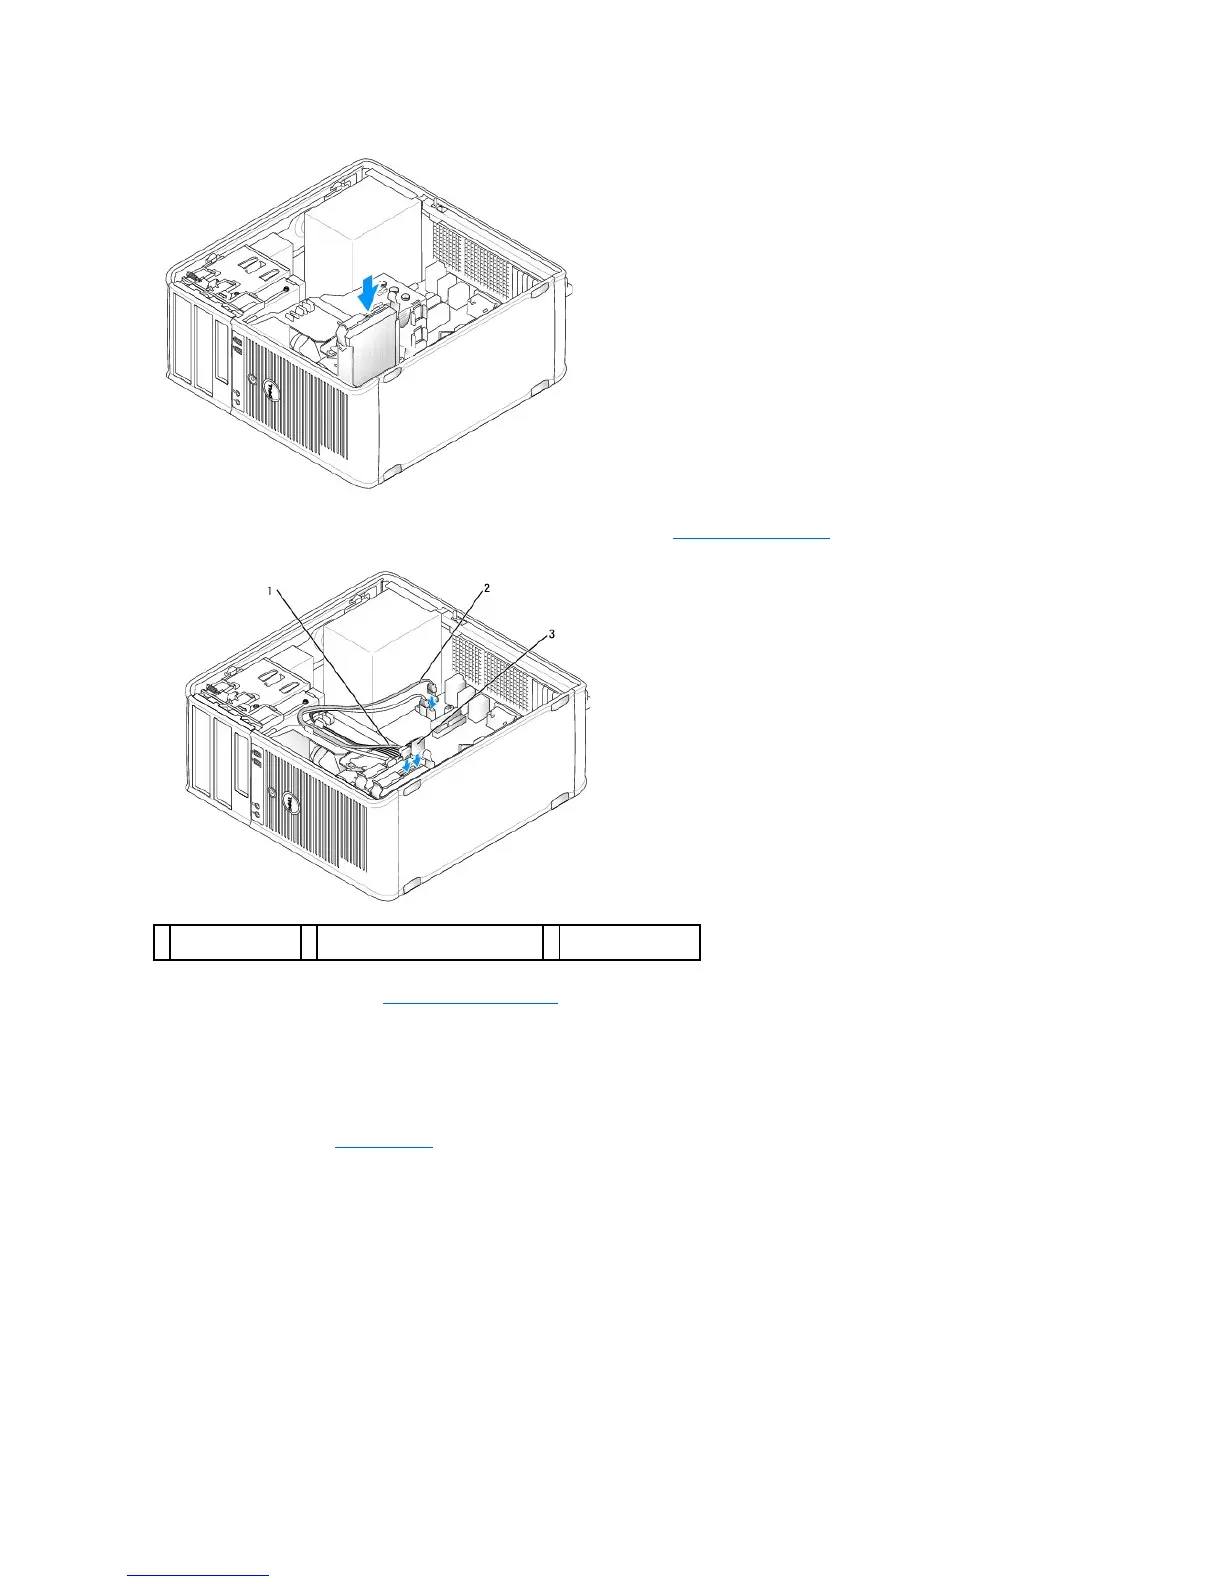
8. Locate and connect a SATA cable to the SATA1 connector on the system board (see System Board Components for mini tower computers).
9. Replace the computer cover (see Replacing the Computer Cover).
Drive-Panel Inserts
If you are installing a new floppy drive, media card reader, or optical drive instead of replacing a drive, remove the drive-panel inserts.
1. Follow the procedures in Before You Begin.
2. Remove the drive panel by sliding the drive release latch in the direction indicated on the latch to open the panel. Then remove it from the hinges.