4. If you are installing a new card, remove the filler bracket to create an empty card-slot opening.
5. If you are replacing a card that is already installed in the computer, remove the card.
6. If necessary, disconnect any cables connected to the card.
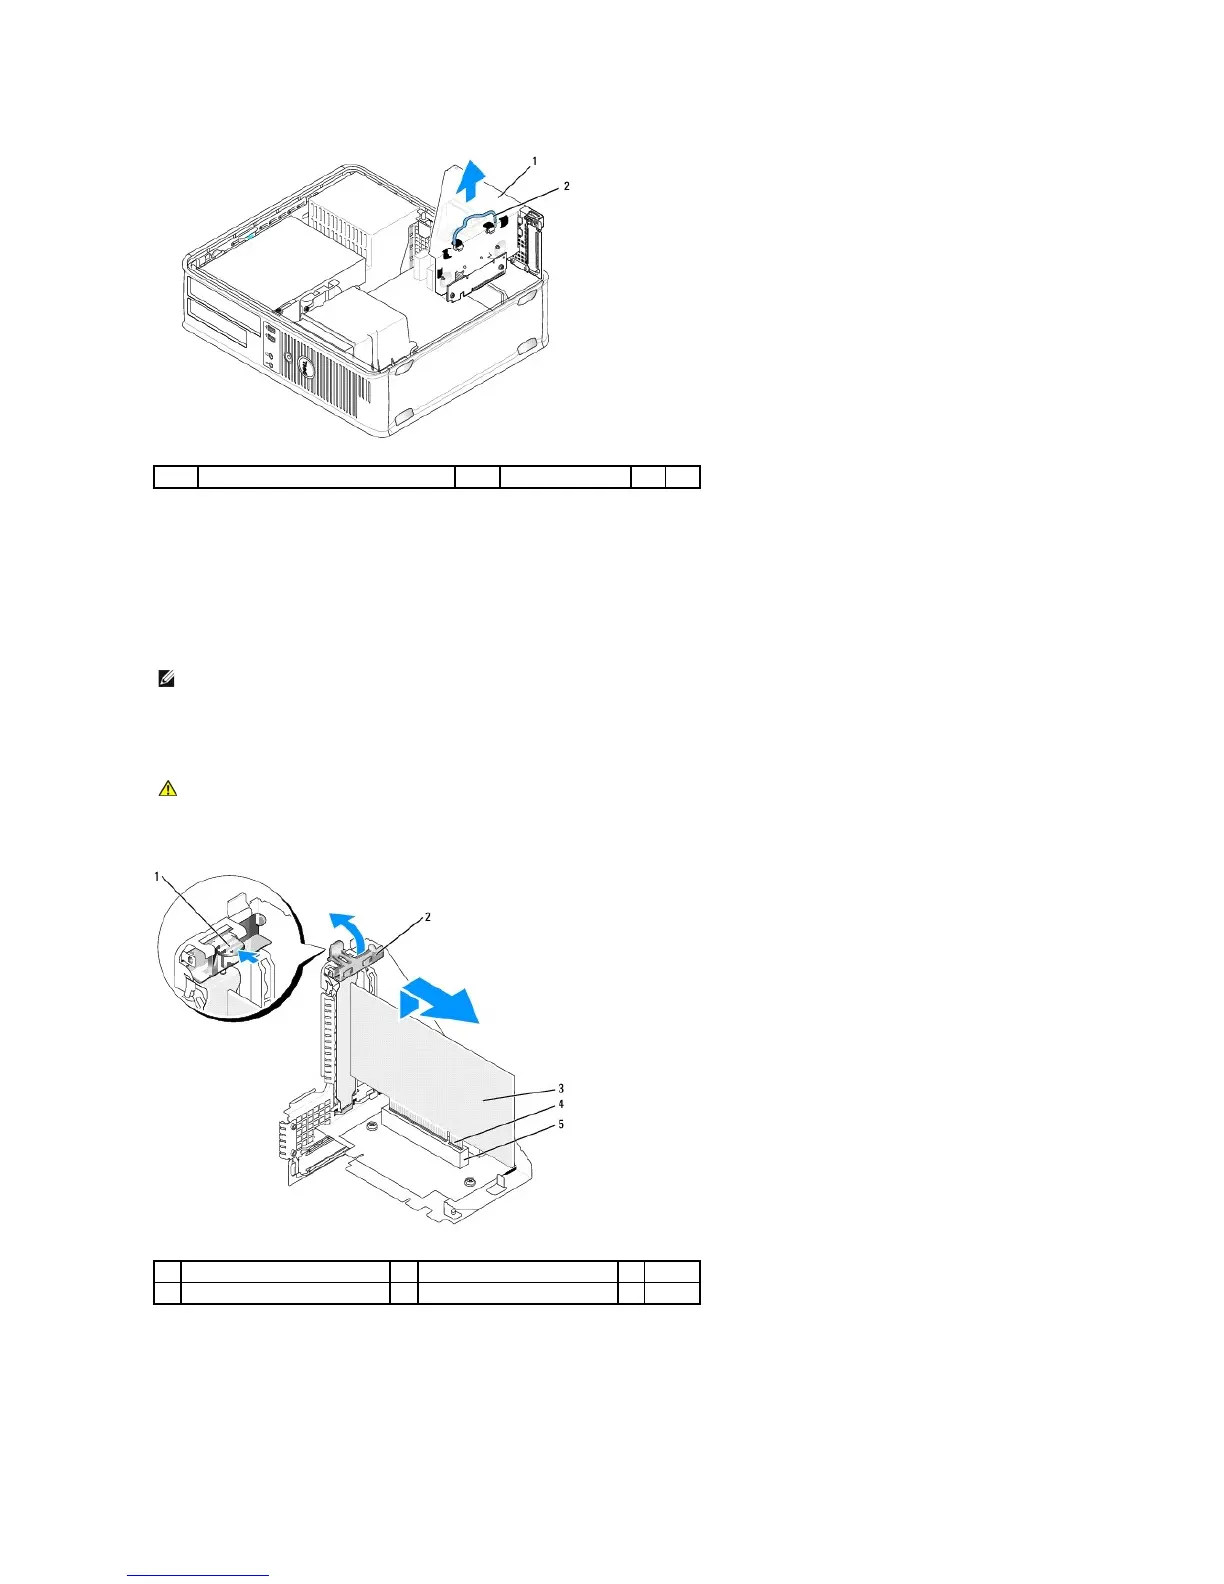
7. Grasp the card by its corners, and ease it out of its connector.
8. Prepare the new card for installation.
9. Gently lift the release tab on the card retention latch from the inside to pivot the latch open. Pivot the latch until it snaps into the open position.
10. Insert the card firmly into the card connector on the riser-card cage.
11. Secure the card(s) by closing the card retention latch and snapping it into place.
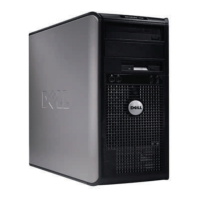
12. Replace the riser-card cage:
NOTE: See the documentation that came with the card for information on configuring the card, making internal connections, or customizing it for your
computer.
CAUTION: Some network adapters automatically start the computer when they are connected to a network. To guard against electrical shock, be
sure to unplug your computer from its electrical outlet before installing any cards.