Installing System Components 65
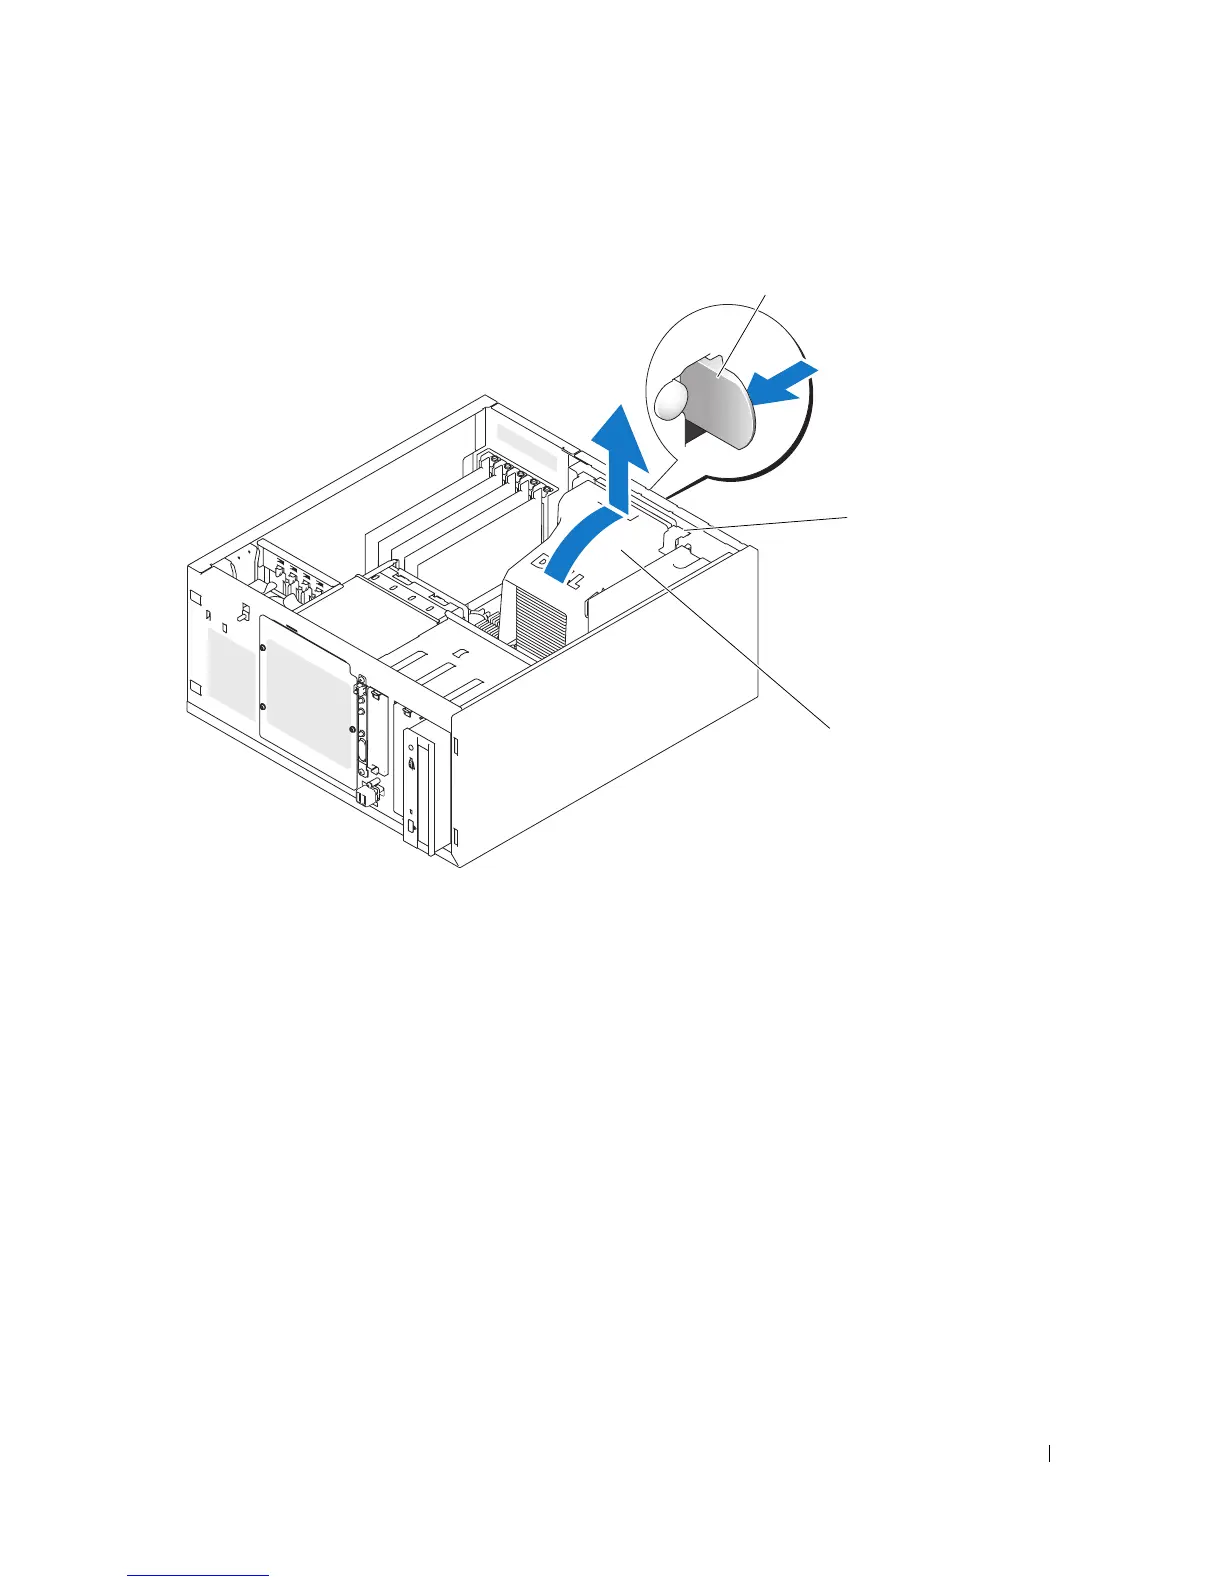
Figure 3-14. Removing the Cooling Shroud
Installing the Cooling Shroud
1
Ensure that no tools or loose parts are left inside the system.
2
Align the anchor tabs on the cooling shroud with the notches in the system chassis.
3
Reposition the SAS or SATA cables and power cables so they do not obstruct the memory modules and
interfere with installing the cooling shroud.
4
Gently lower the cooling shroud until the shroud release tab on the back panel snaps into place.
5
Reconnect the power cable(s) to the SAS backplane (if applicable) or the hard drive(s).
Cooling Fans
The system includes the following cooling fans:
• Front system fan (only when configured with optional SAS or RAID controller cards)
• Back system fan
1 shroud release tab 2 anchor tabs (2) 3 cooling shroud
1
3
2