CAUTION: You must note the number of each hard drive/SSD and temporarily label them before removal so
that you can replace them in the same locations.
CAUTION: To prevent damage to the hard drives/SSDs and the hard-drive/SSD backplane, you must remove
the hard drives/SSDs from the blade before removing the hard-drive/SSD backplane.
3. Remove the hard drive(s)/SSD(s).
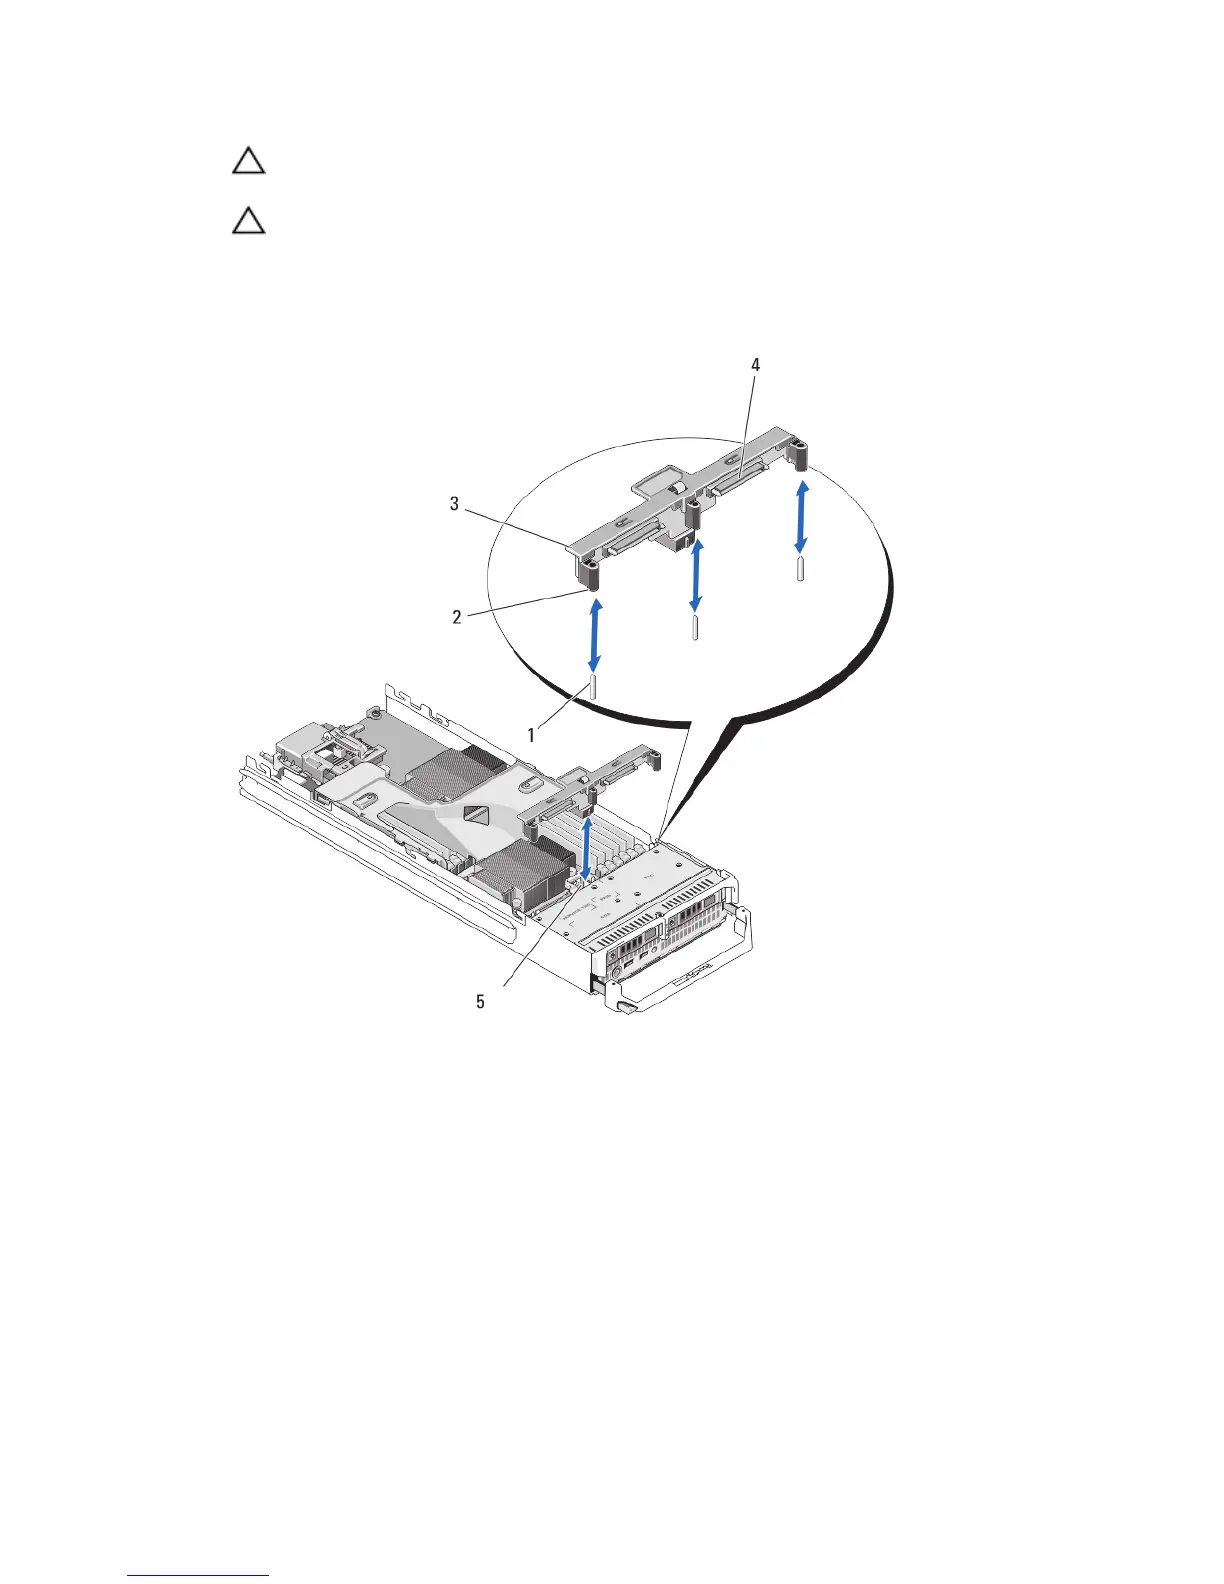
4. Hold both edges of the hard-drive/SSD backplane near the blade chassis and lift the backplane away from the
blade.
Figure 17. Removing and Installing the Hard-Drive/SSD Backplane
1. guide pins (3)
2. guides (3)
3. hard-drive/SSD backplane
4. hard-drive/SSD connectors (2)
5. hard-drive backplane/SSD connector
Installing The Hard-Drive/SSD Backplane
1. Open the blade.
2. Align the guides on the hard-drive/SSD backplane with the guide pins on the system board.
3. Press down the backplane until the connectors on the backplane and the system board are fully engaged.
4. Install the hard drives/SSDs in their original locations.
48