Installing System Components 83
support team. Damage due to servicing that is not authorized by Dell is not covered
by your warranty. Read and follow the safety instructions that came with the
product.
1
Align the optical drive's mounting holes with the retaining pins on the
optical-drive tray. See Figure 3-8.
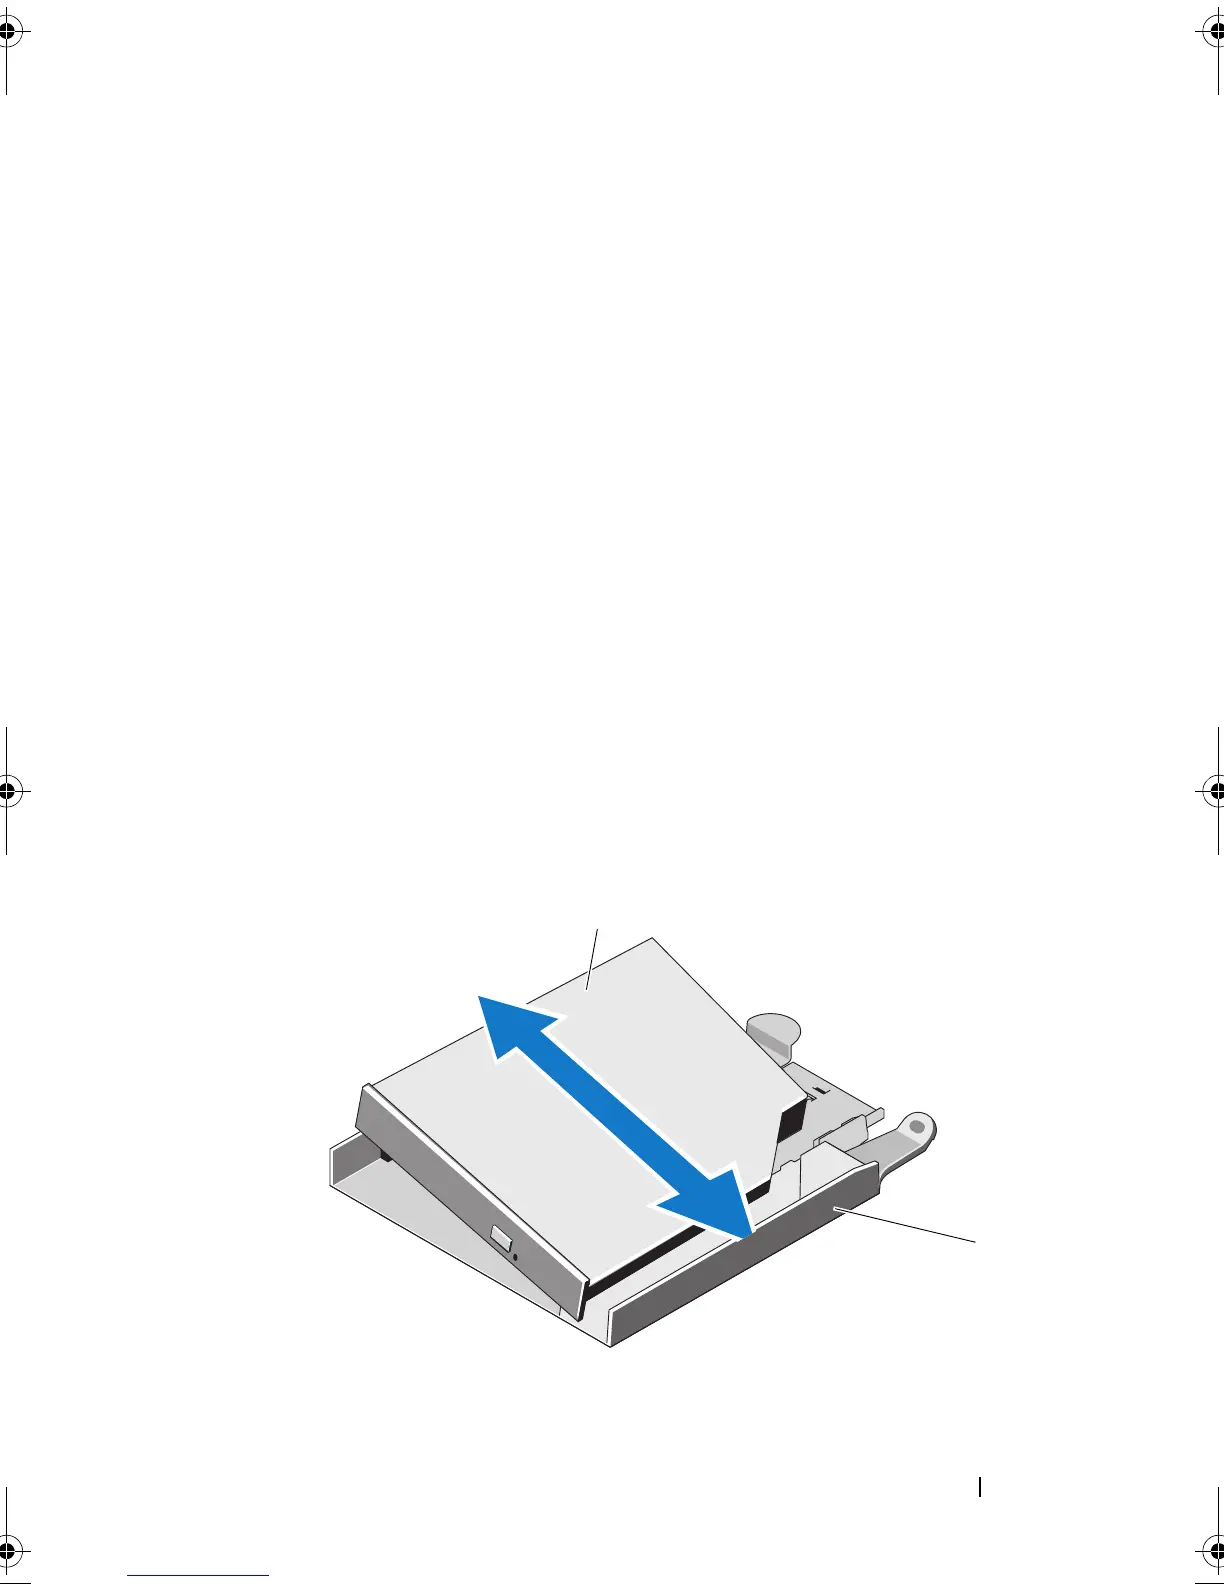
2
With the optical drive at a slight angle to the drive tray, lower the right side
of the optical drive down onto the right side of the drive tray. See
Figure 3-9.
3
Lower the left side of the optical drive and press the drive down into the
tray until it snaps into place.
4
Connect the interface and power cables to the connectors on the optical
drive.
5
Close the system. See "Opening and Closing the System" on page 70.
Removing the Optical Drive From the Optical Drive Tray
Pull outward on the tab at the back of the carrier on the left side and
simultaneously pull up on the left side of the optical drive to separate the
drive from the tray. See Figure 3-9.
Figure 3-9. Removing and Installing the Optical Drive in the Optical Drive Carrier
1 optical drive 2 optical drive tray
book.book Page 83 Sunday, June 21, 2009 5:16 PM

 Loading...


