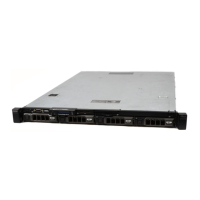
Installing System Components 89
Removing a Cabled Hard Drive
WARNING: Only trained service technicians are authorized to remove the system
cover and access any components inside the system. Before you begin this
procedure, review the safety instructions that came with the system.
1
Turn off the system and attached peripherals, and disconnect the system
from the electrical outlet and from the peripherals.
2
Open the system. See "Opening the System" on page 82.
3
Disconnect the data/power cable from the hard drive in the drive bay.
4
Lift the tab with blue dot on the hard-drive bracket and slide the drive out
of the bay. See Figure 3-7.
Figure 3-7. Removing and Installing a Cabled Hard Drive
NOTE: If you are not replacing the hard drive, remove the drive from the drive
bracket (see Figure 3-8) and insert the empty bracket back into the drive bay.
5
Replace the system cover. See "Closing the System" on page 83.
1 hard drive 2 power/data cable
3 tab 4 drive bracket
3
2
1
4
book.book Page 89 Tuesday, March 31, 2009 5:26 PM

 Loading...