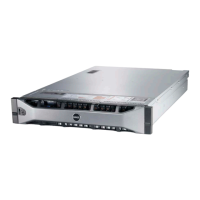
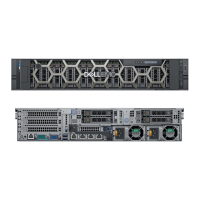
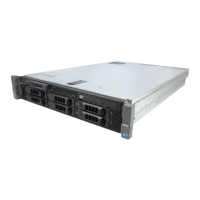
Installing A 2.5 Inch Hard-Drive Blank (Back)
NOTE: This procedure applies only to PowerEdge R720xd.
Insert the hard-drive blank into the hard-drive slot until it clicks into place.
Removing A 3.5 Inch Hard-Drive Blank
CAUTION: To maintain proper system cooling, all empty hard-drive slots must have drive blanks installed.
1. If installed, remove the front bezel.
2. Grasp the front of the hard-drive blank, press the release button and slide the blank out until it is free of the hard-
drive slot.
Figure 21. Removing and Installing a 3.5 Inch Hard-Drive Blank
1. hard-drive blank
2. release button
Installing A 3.5 Inch Hard-Drive Blank
1. If installed, remove the front bezel.
2. Insert the hard-drive blank into the hard-drive slot until the release button clicks into place.
3. If applicable, install the front bezel.
Removing A Hot-Swap Hard Drive
CAUTION: To prevent data loss, ensure that your operating system supports hot-swap drive installation. See the
documentation supplied with your operating system.
1. From the management software, prepare the hard drive for removal. Wait until the indicators on the hard-drive
carrier signal that the hard drive can be removed safely. For more information, see the documentation for the
storage controller.
53

 Loading...


