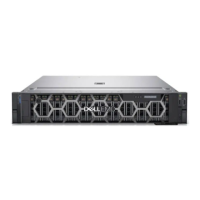
NOTE: The bezel key is part of the bezel package.
Steps
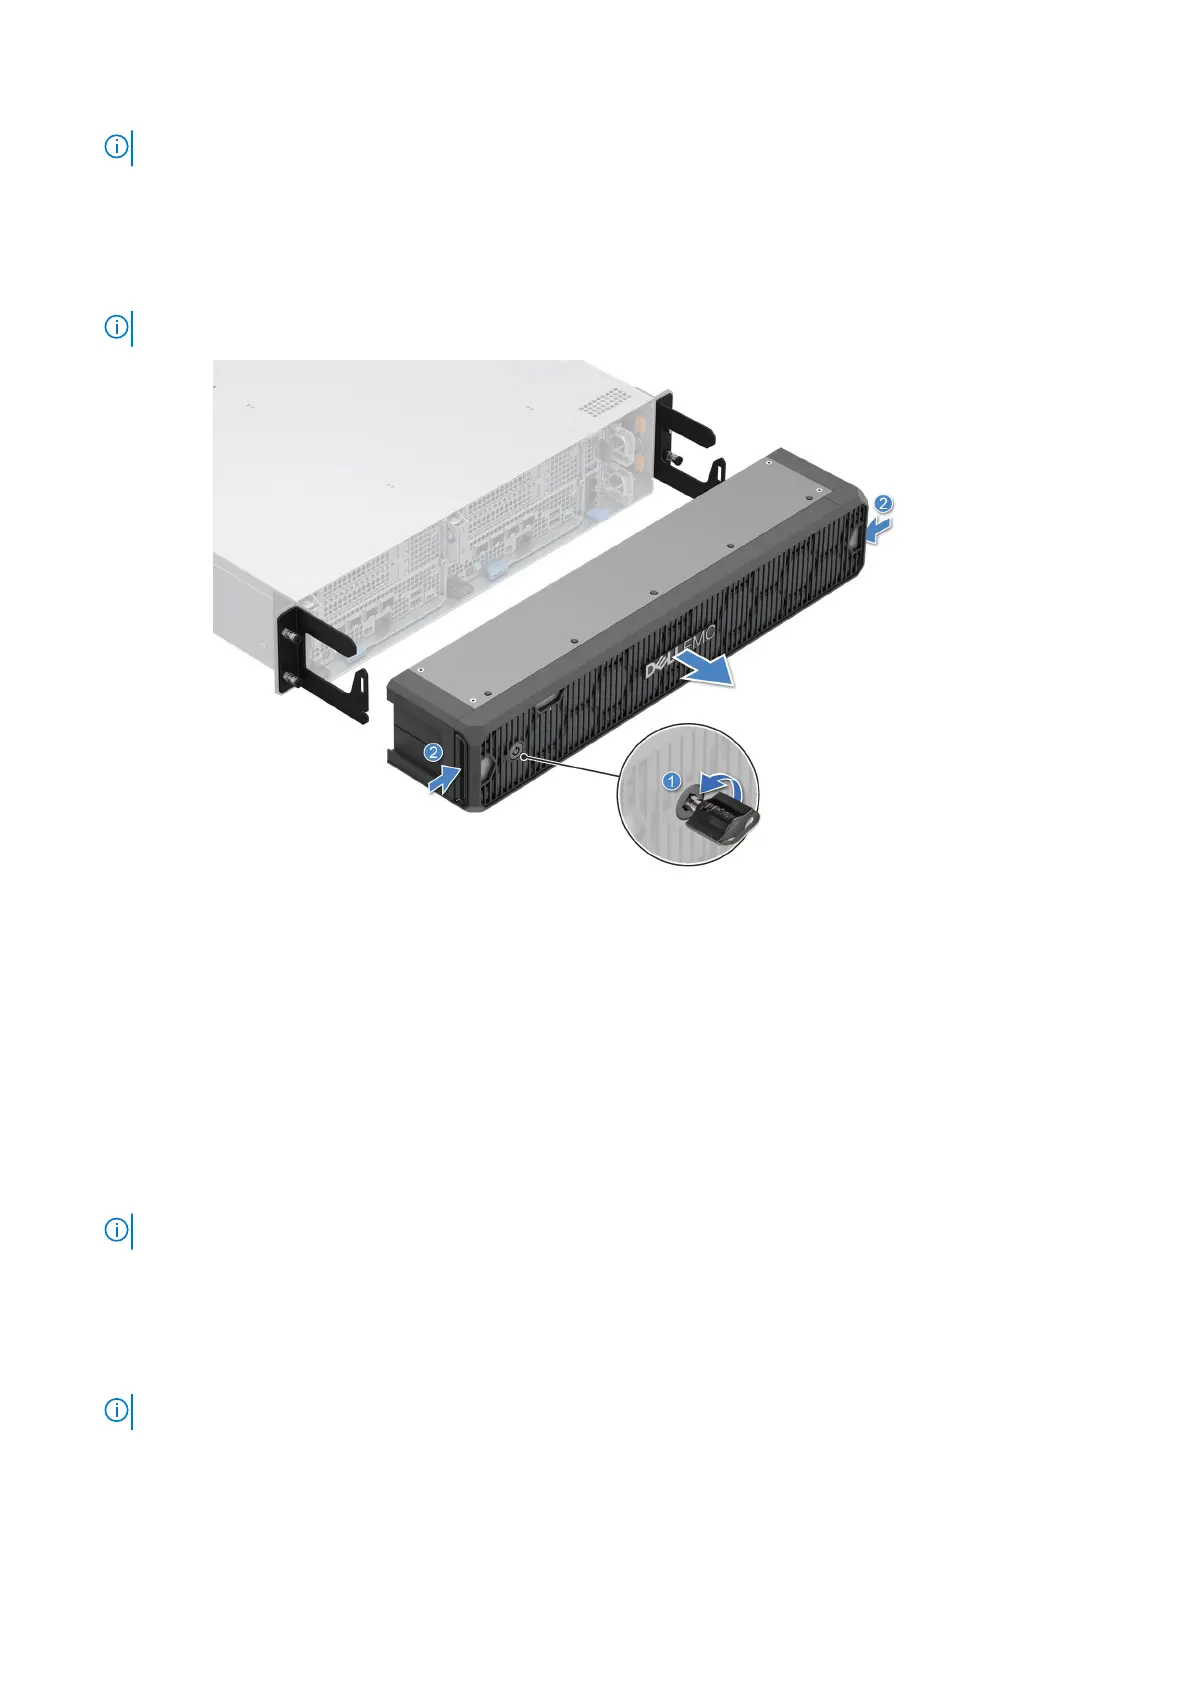
1. Unlock the bezel.
2. Press the release button on both sides of the bezel.
3. Pull the bezel out of the enclosure.
NOTE: The numbers on the image do not depict the exact steps. The numbers are for representation of sequence.
Figure 11. Removing the front bezel
Next steps
Replace the front bezel.
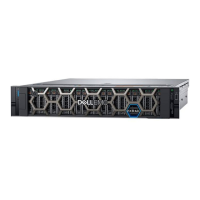
Installing the front bezel
Prerequisites
1. Follow the safety guidelines listed in the Safety instructions.
2. Locate and remove the bezel key.
NOTE: The bezel key is part of the bezel package.
Steps
1. Align and insert the tabs on the bezel into the slots on the system.
2. Press the bezel until the release buttons click in place.
3. Lock the bezel.
NOTE: The numbers on the image do not depict the exact steps. The numbers are for representation of sequence.
26 Installing and removing system components
 Loading...