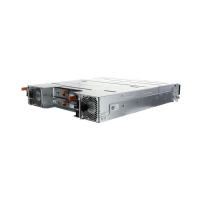
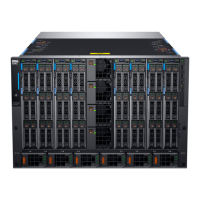
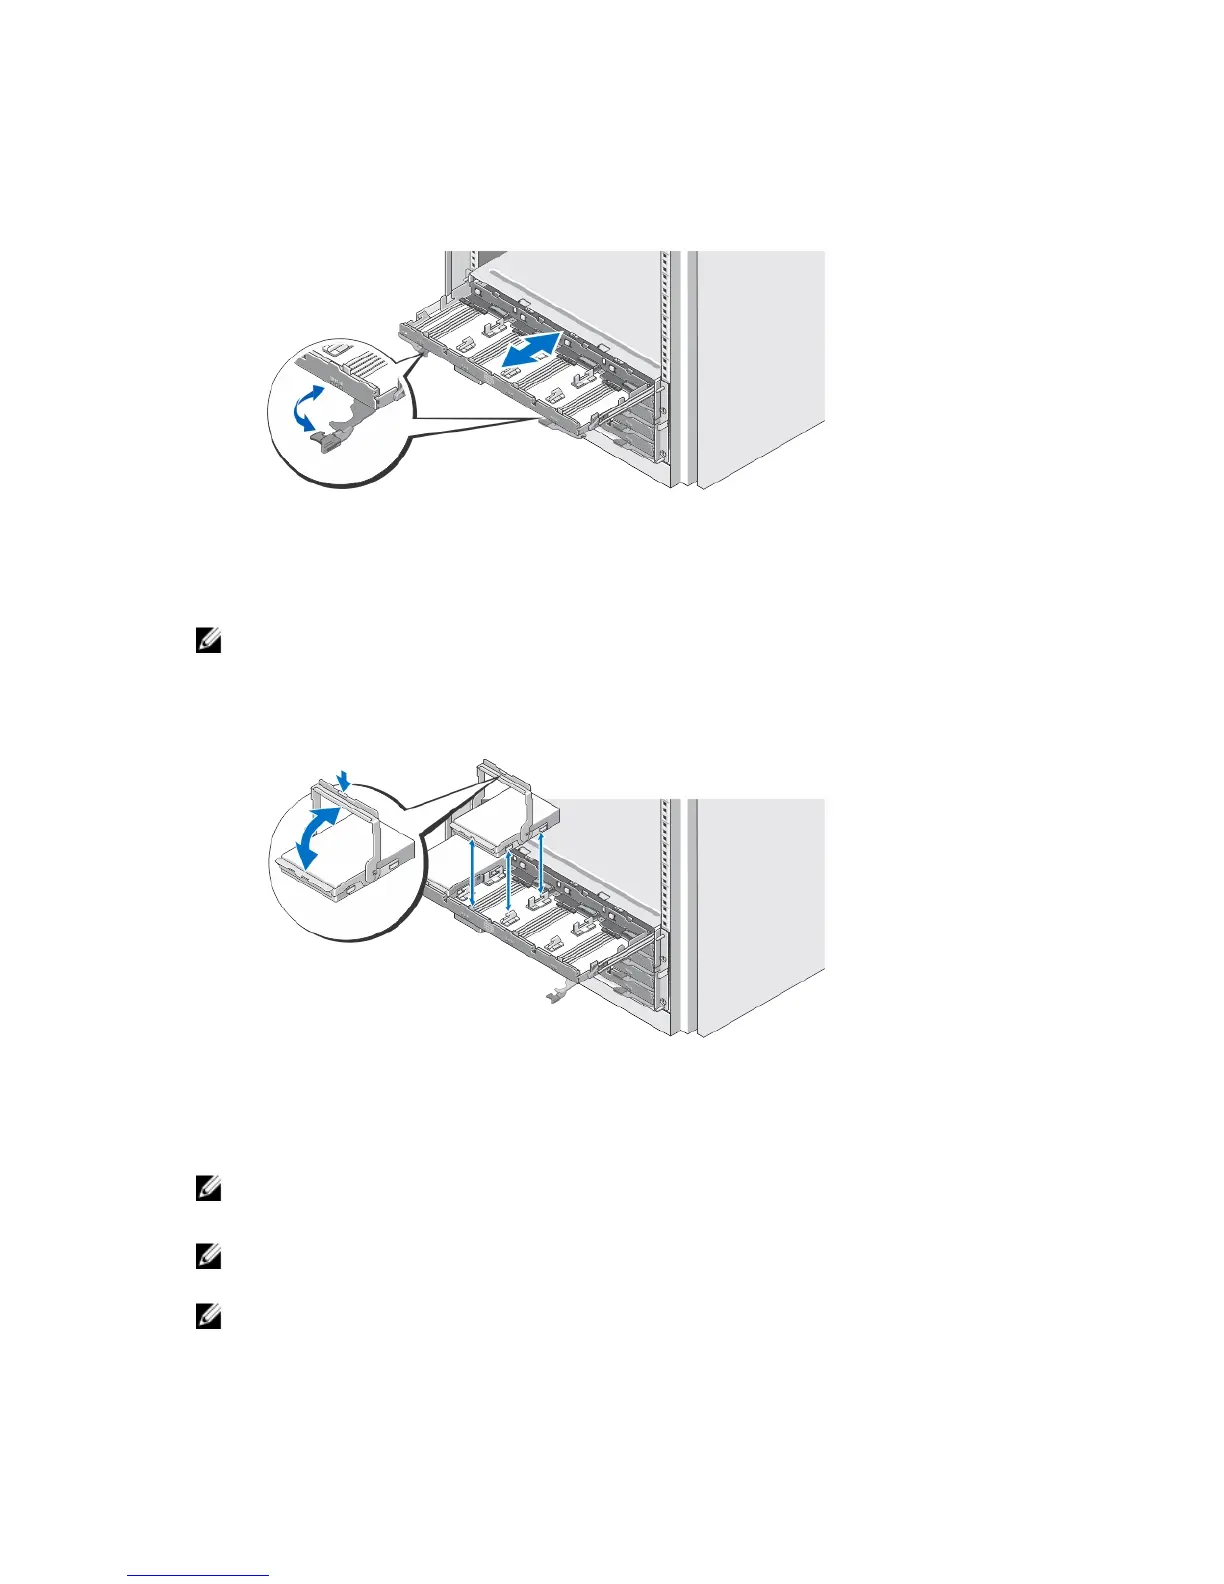
Opening And Closing The Disk Drawer
Figure 2. Opening and Closing the Disk Drawer
Open the disk drawer to install or remove the physical disk carrier(s).
NOTE: You can open only one disk drawer at a time. Forcing to open more than one drawer at a
time may damage the assembly or produce unexpected results.
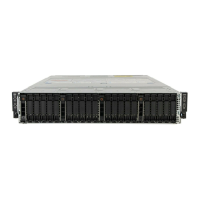
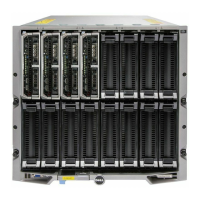
Installing The Physical Disks
Figure 3. Installing the Physical Disk(s)
Install physical disk(s) in the disk drawer.
NOTE: You may receive multiple drives with carriers in separate boxes. Drives need to be installed in
the same enclosure.
NOTE: Each disk drawer must have a minimum of four physical disks installed starting from slots 0,
3, 6, and 9. Always install the physical disks starting from the front row of each drawer.
NOTE: Ensure all drawers are firmly closed using the handles.
4
 Loading...