Removing and Replacing Parts: Dell Precision Workstation 470 and 670 Computers User's Guide
file:///T|/htdocs/systems/ws670/EN/ug_en/before.htm[3/20/2013 9:31:52 AM]
6 control panel connector
Removing the I/O Panel
CAUTION: Before you begin any of the procedures in this section, follow the safety instructions located in
the Product Information Guide.
CAUTION: To guard against electrical shock, always unplug your computer from the electrical outlet before
opening the cover.
1. Follow the procedures in "Removing and Replacing Parts
."
2. Disconnect all cables that are connected to the I/O panel.
Note the routing of the control panel cable as you remove it from the computer so that you can replace it correctly.
3. From inside the computer cover, remove the mounting screw that secures the I/O panel to the computer.
4. Remove the I/O panel from the computer.
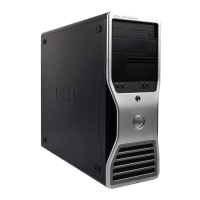
Dell Precision 670 Computer
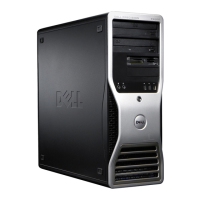
Dell Precision 470 Computer
 Loading...
