Mode selection
MODE SELECTION
Plug the appliance into a mains socket. The appliance will ope-
rate in the previously-set mode. If the symbol , appears
on the display this means that the appliance is in stand-by. Press
the button to turn the appliance on. If the symbol
appears, it is necessary to empty or position the tank correctly.
Dehumidifying Mode
Press the button . The symbol and the previously set
level of relative humidity will appear on the display. Press the + or
- button to select the desired level of humidity (30% corresponds
to a dry environment, 80% corresponds to a humid environment).
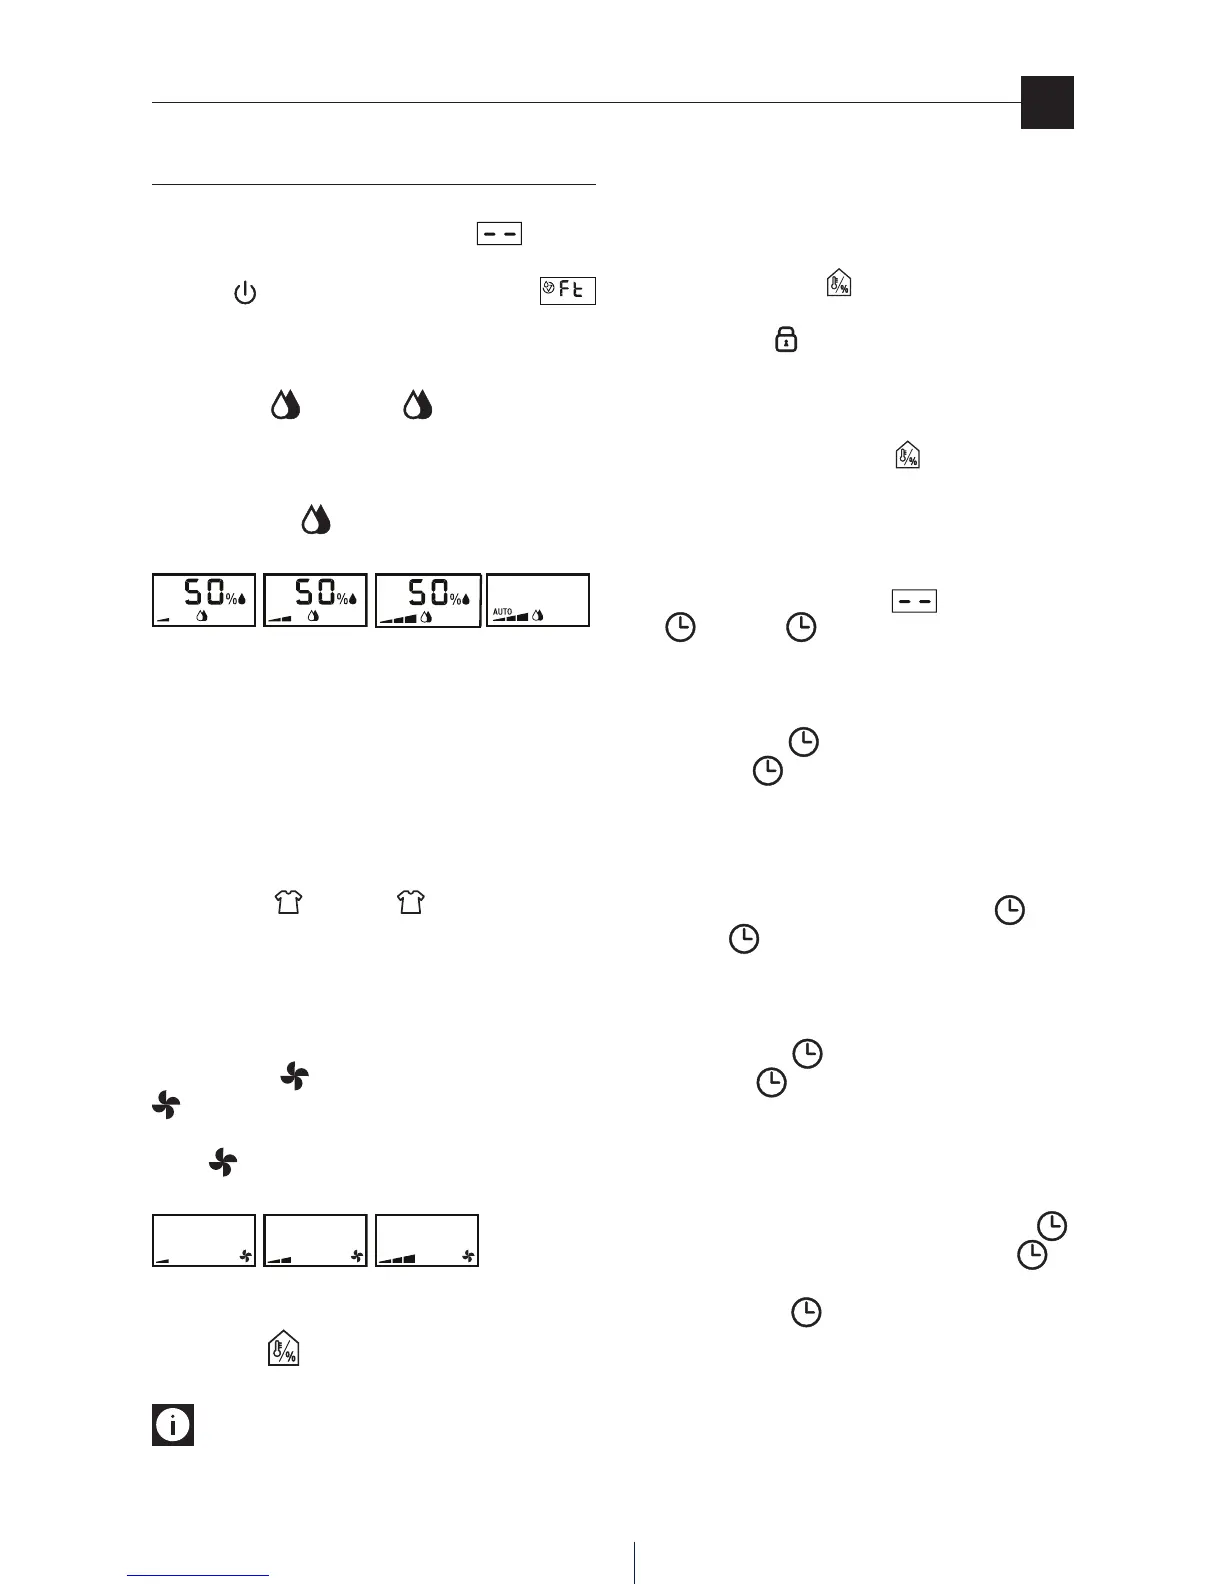
Press the button repeatedly to select the desired
dehumidifying level (MIN/MED/MAX/AUTO).
MIN MED MAX AUTO
With the “AUTO” dehumidifying level the appliance indepen-
dently establishes the most suitable power and level of hu-
midity, based on the ambient conditions. When the room has
reached the set level of humidity, the appliance will stop.
It will automatically begin dehumidifying as soon as the am-
bient humidity exceeds the desired level.
“Laundry” Mode
Press the button . The symbol appears on the display.
The appliance operates at its maximum dehumidifying capa-
city. This mode is suitable for particularly humid rooms or to
allow laundry to dry quicker.
Fan Mode
Press the button to turn on the fan mode. The symbol
appears on the display. This mode puries the room
using silver ion lter that the appliance is tted with. Press the
button repeatedly to select the desired speed ventilation
(MIN/MED/MAX).
MIN MED MAX
Thermometer / Hygrometer Function
Press the button . The screen temporarily displays: tempera-
ture and level of humidity of the area surrounding the appliance.
Notes: the detected and displayed measurements
must be considered indicative.
Keyboard Lock Function
This mode is used to lock the keyboard, with the aim of avoi-
ding unwanted tampering with the appliance. To enable or
disable this mode, with the appliance on (not in stand-by),
press and hold down keys and - for at least 3 seconds.
The appliance will emit an acoustic signal. When the mode is
enabled the symbol appears on the appliance.
Change of the temperature scale
To change the temperature from °F to °C or viceversa, while
the appliance is on, press the button for at least 20 secon-
ds. The appliance will emit an acoustic signal.
Timer Function
How to programme delay ON
1)
With the appliance in stand-by , press the button
. The symbol will appear, together with the num-
ber of hours of delay you wish the appliance to start up.
2) Use the + and - buttons to set the number of hours re-
quired (0.5÷24h).
Press the button to conrm.
The symbol will stay on.
3) When the set time has passed, the appliance will start
up on its own.
How to programme delay OFF
1) While the appliance is on, press the button . The
symbol will appear, together with the number of
hours of delay you wish the appliance to switch o.
2) Use the + and - buttons to set the number of hours re-
quired (0.5÷24h).
Press the button to conrm.
The symbol will stay on.
3) When the set time has passed, the appliance will switch
o on its own.
Changing or disabling the timer function
If you wish to change the timer settings press the key ,
once, and use the + and - buttons. Press the button to
conrm. If you wish to disable the timer mode press the timer
key twice. The symbol will go o.
Auto restart
At start up or when the power comes back on after a black-
out the appliance will start up in the last mode that was ena-
bled before the appliance was switched o. In case of a power
outage, any timer programming will be deleted.
en