12
93546 Rev. A
3
4
2
1
6
1
2
6
3
4
5
551T-DST & 751T-DST538T-DST, 15938T-DST
& 15960T-DST
592T-DST
5
561T-DST & 761T-DST 574T-DST & 774T-DST
1
2
6
3
4
5
Flow Restrictor Inside
Restrictor de ujo interior
Limiteur de débit à l’intérieur
552TLF & 752TLF
1
3
9
10
4
7
1/16"
1/16 po
11
12
8
6
2
13
6
3
5
4
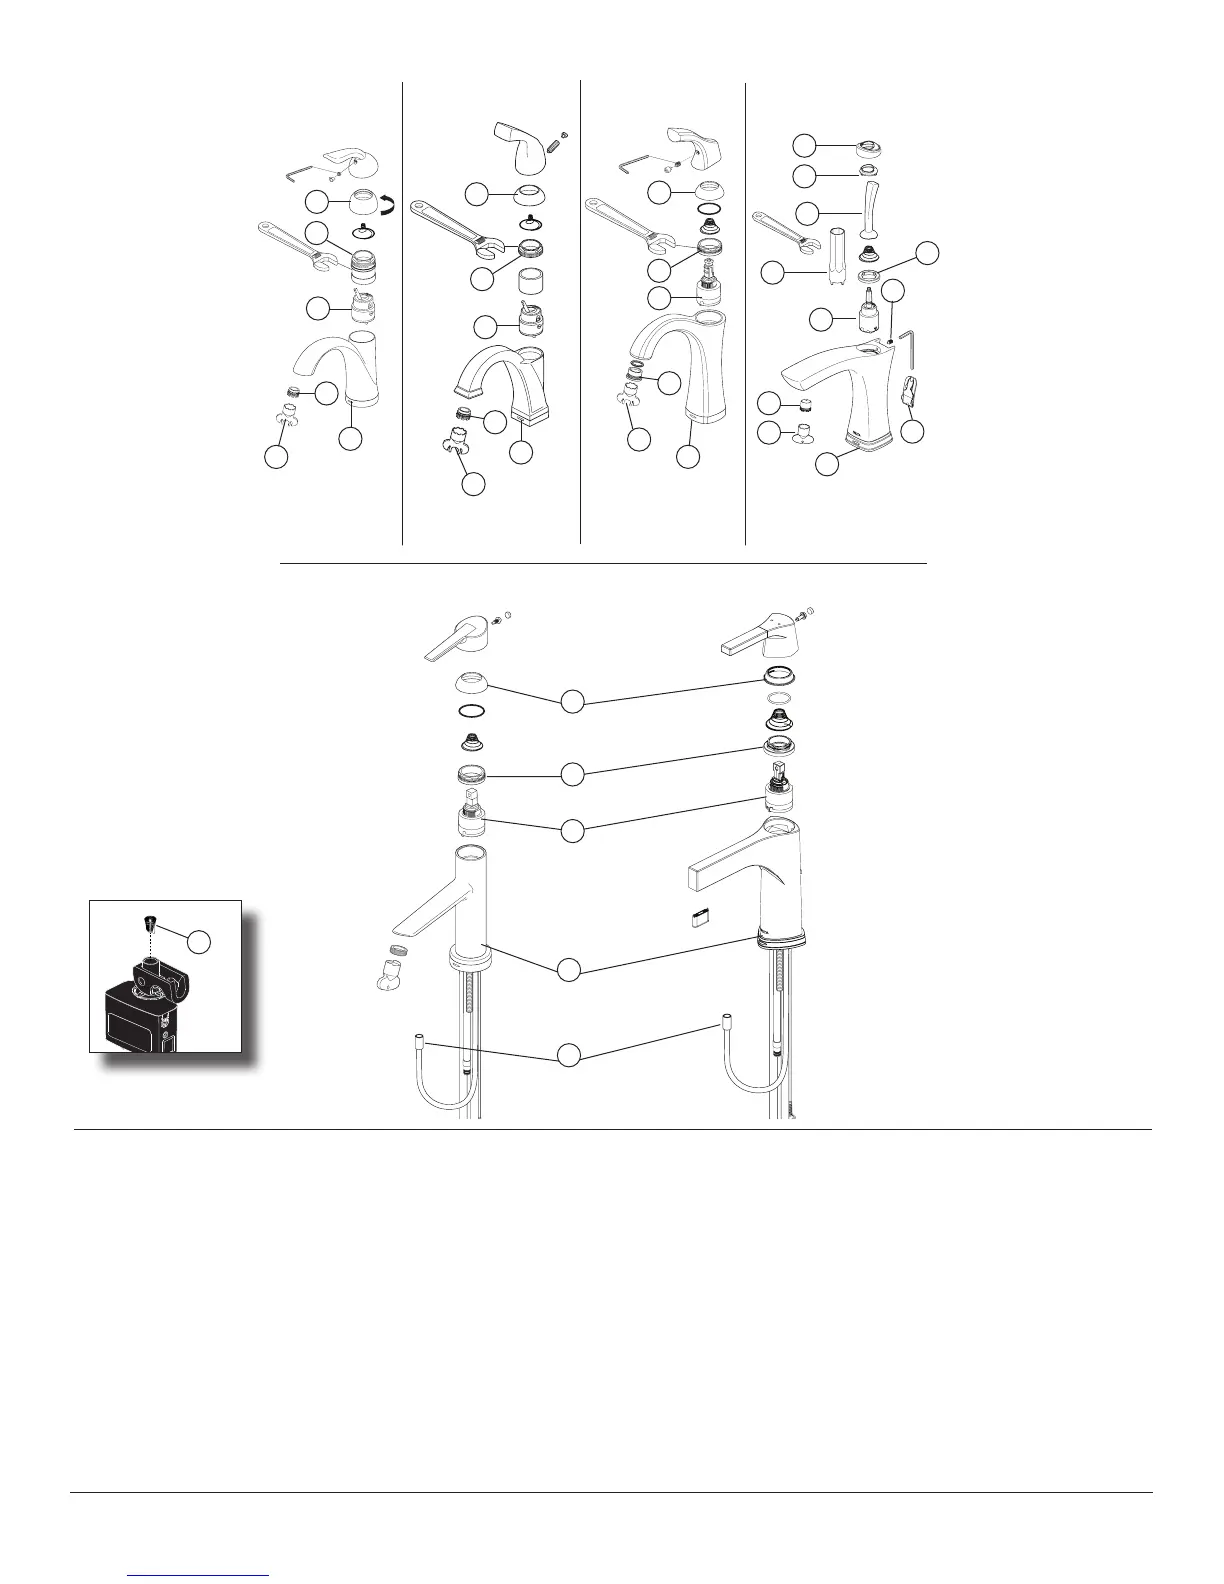
Maintenance
If faucet exhibits very low flow:
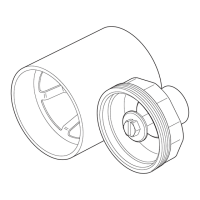
A. Remove aerator (1) with supplied wrench (2) and clean
MODELS 561T-DST & 761T-DST
Refer to step 4 of installation to flush debris at the outlet. Clean and reinstall the
flow restricter (13).
MODELS 574T-DST & 774T-DST
Refer to step 4 of installation to flush debris at the outlet. Clean and reinstall the
flow restricter (13). If low flow still persists remove and replace stream straightener.
B. SHUT OFF WATER SUPPLIES. Replace valve cartridge (3). When reinstalling
parts, make sure bonnet nut (4) is tightened securely with a wrench.*
C.
Remove and clean blue filter (14) inside solenoid valve. Note: Use needle nose pliers
or tweezers to remove and replace filter (14).
If faucet leaks from under handle:
Remove handle and remove trim cap (5). Using a wrench, ensure bonnet nut (4)
is tight.
MODELS 552TLF or 752TLF: remove cover (7), set screw (8), bonnet (9), glide
ring (10) and handle (11). Using provided wrench (12), ensure bonnet nut (4) is
tight.*
If leak persists–SHUT OFF WATER SUPPLIES. Replace valve cartridge (3). When
reinstalling parts, make sure bonnet nut (4) is tightened securely with a wrench.*
If faucet leaks from spout outlet–SHUT OFF WATER SUPPLIES. Replace
valve cartridge (3). When reinstalling parts, make sure bonnet nut (4) is tightened
securely with a wrench.*
* WARNING: Failure to securely tighten bonnet nut with a wrench could
result in water damage.
Note: Do not attempt to disassemble cartridge (3). There are no repairable parts
inside.
14