4
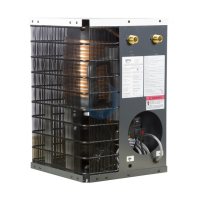
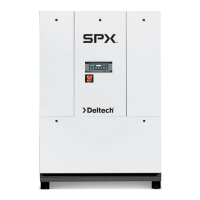
INSTRUMENTATION
ON/OFF Switch
ThedryerisequippedwithanON/OFFswitchonthefrontpanel.
Alightsignalswhenthedryerison.
Color Indicator
Alldryersareequippedwithacolorindicatorwhichindicates
dryerconditionsasfollows:
Itisnormalfortheindicatorcolortobeintheredzonewhen
thedryerisrstturnedonandthenmovetothegreenzone
whenthedryerreachesitsnormaloperatingtemperature.Ifthis
indicatorisintheredzoneduringnormaloperation,turnthe
dryerofftoavoidcompressordamage.RefertotheFieldService
Guideforadditionalinformation,orcallyourlocaldistributor.
DRAIN VALVES
Anelectronicdrainvalveissuppliedtoautomaticallydischarge
condensatefromthedryer.Thedrainvalveanditscontrolsare
accessiblefromtherearofthedryer.Theelectronicdrainvalve
hastwoindicatorsandatestbuttontohelpverifyoperation.
Pushingthetestbuttoncausesthedrainporttoclickopen.If
eitherindicatorfailstoturnonatthepropertime,refertothe
maintenancesectionofthismanual.Drainvalveoperationis
controlled by an electronic timer. The drain opening can be
setfrom0.5secto10sec.Thedraincyclecanbesetfrom0.5
min to 45 min.
Drain Valve Adjustment
Tominimizeairlosses,thedraintimershouldbeadjustedto
openthedrainportjustlongenoughtodischargeaccumulated
condensate.Setthetimersothatonlyairdischargesattheend
oftheopenperiod.
Recommended Drain Settings
Time
Model Open(Sec) Closed(Min)
HG25 2 10
HG35 2 10
HG50 2 10
NOTE:Ifliquiddischargesastheportisclosing,setthetimerfora
shortercycleoralongeropening.Theamountofcondensatewill
vary as ambient conditions and inlet flow rates change.
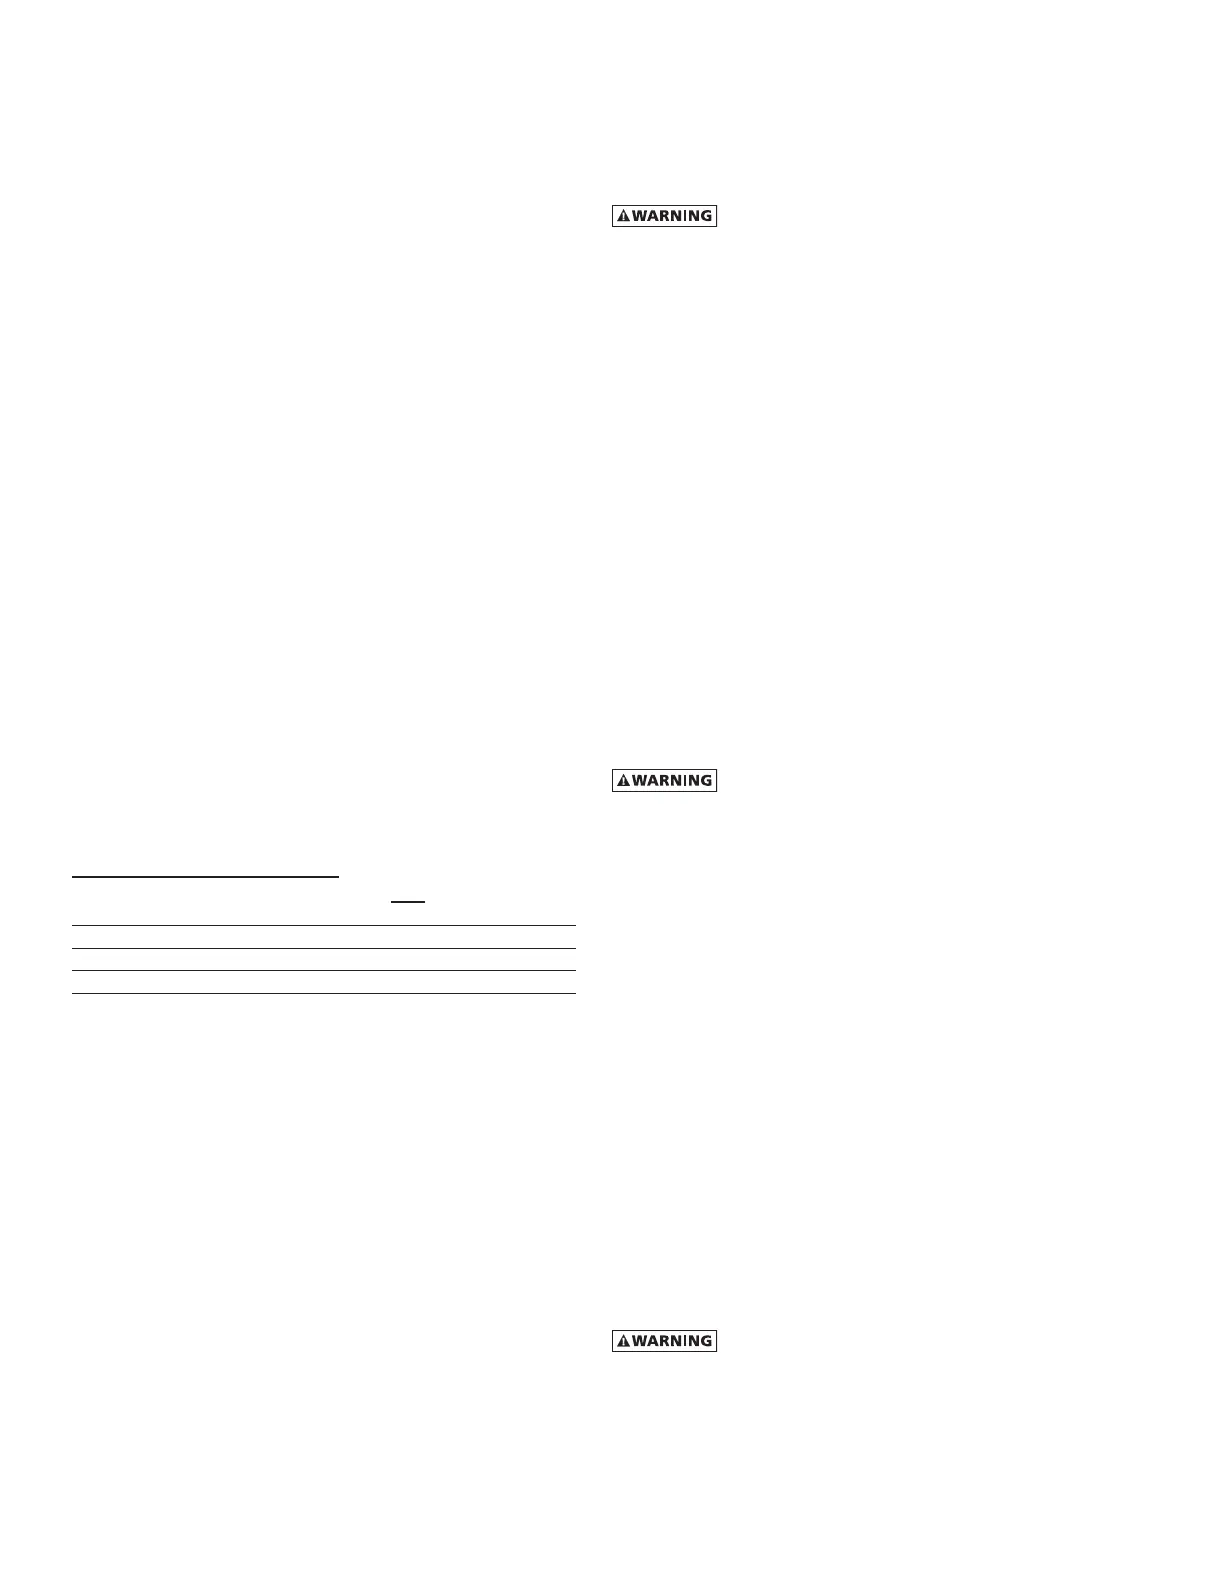
START-UP/OPERATION
Followtheprocedurebelowtostartyourdryer.Failuretofollow
theprescribedstart-upprocedurewillinvalidatethewarranty.If
problemsariseduringstart-up,callyourdistributor.
RefertoSerialNumberTagfordryeroperating
capacity.Donotexceedrecommendedcapacity.
Drainconnectionsmustbemadebeforethedryercanbeop-
erated.Thedryersarefullyautomaticandrequirenoauxiliary
controls.
1. Connectinletandoutletlinestothedryer.Referencedryer
indentationsandinstructiontagforappropriateinletand
outlet connections.
2. Route drain connections to a condensate separator or ap-
proved collection point.
3. Turntheon/offswitchtoon.Doublecheckconnections.
4. Afterthedryerhasbeenrunningfor30minutes:
a. Check that on/off lighted switch is glowing. If light
isnotglowing,unplugunitandrefertoFieldService
Guideforadditionalinformationorcallyourlocaldis-
tributor.
b. ChecktheColorIndicator.IftheIndicatorisinthered
zone,unplugthedryer.RefertotheFieldServiceGuide
foradditionalinformation,orcallyourlocaldistributor.
c. Conrmthatcondensateisdischargingfromthedrain.
This can only be done when there is air flow through
the dryer.
Reference Serial Number Tag for appropriate
powerrequirement/connectionrating.Makeotherdryercon-
nections prior to connecting power source.
Thedryer is designedto runcontinuously.Let the dryerrun
evenwhenthedemandforcompressedairisinterrupted;the
dryerwillnotfreezeup.
Operating Check Points
1. Powerlightison,lightisilluminated.
2. Condensate is discharging properly.
3. ColorIndicatorisintheGreenZone.
SHUTDOWN
Whenthedryermustbeshutdownformaintenanceorother
reasons,usethefollowingprocedure:
1. Turnthepoweron/offswitchtooff.
2. Disconnectthemainpowersupply.
Ifmechanicalrepairsaretobemadeorserviceisperformed,
venttheinternalpressureofthedryertoatmosphericpressure.
Restart the dryer according to the start-up instructions.
Disconnectpowersupplyanddepressurizedryer
beforeservicing.Dismantlingorworkingonanycomponentof
the compressed air system under pressure may cause equip-
mentfailureandseriouspersonalinjury.