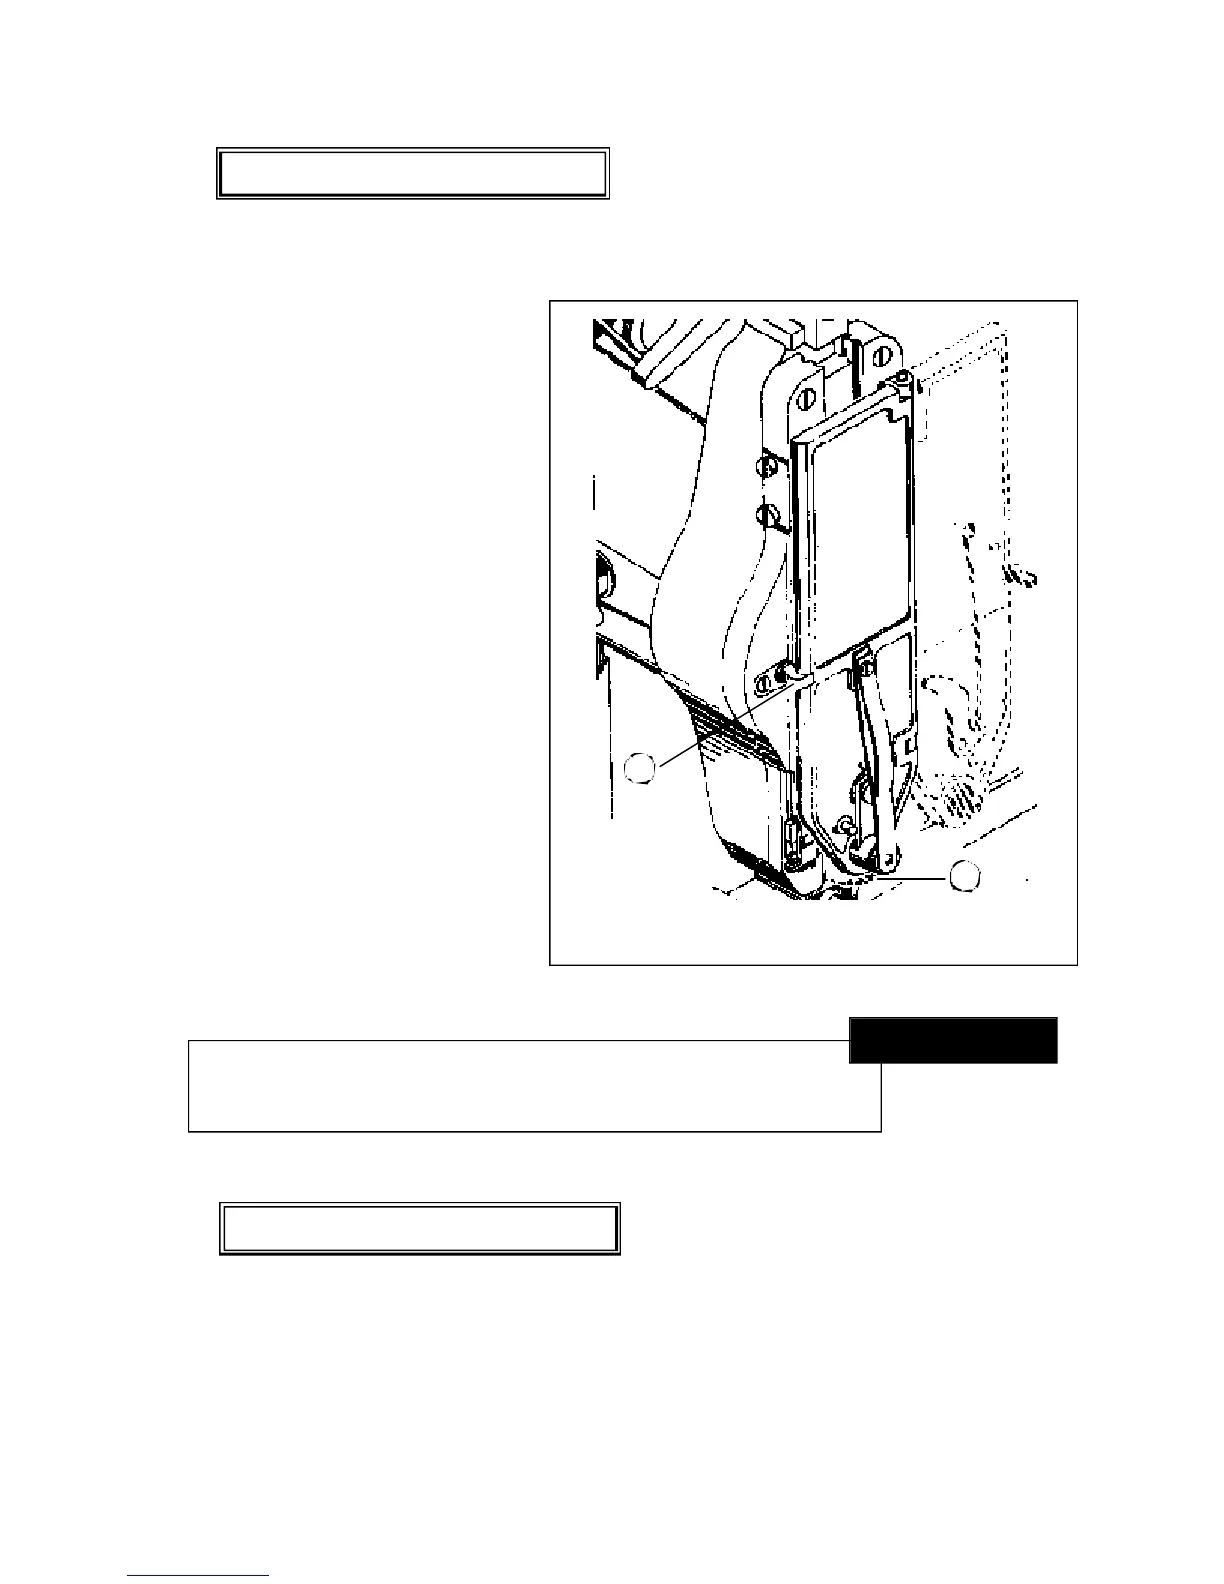
To open the stitcher head Door, press the Door Latch (1) to the right, thereby releasing the Latch
from the Latch Catch and permitting the Door to swing to an open position (shown by the dotted
line in Figure 2). To close the Door, first
check that the machine is at the top of its
stroke (the Supporter (2) will be at a
forward position), then depress the
Supporter back to its retracted position
with one hand and close the Door with
the other hand while compressing the
Latch (1) until it catches in the Latch
Catch.
Stitcher Head Door (Figure 2)
6
Turn the thickness adjustment handwheel (1) counter-clockwise (to the left) until the Column Gauge
(2) has raised sufficiently to allow a sample of work to be stitched to be inserted between the Gauge
and the Gauge Shelf, as shown in Fig. 3. With work held in this position, turn the handwheel (1)
clockwise (to the right) until the work is firmly clamped between the Gauge (2) and the Gauge Shelf;
Adjusting Thickness (Figure 3)
Figure 2 - Opening and Closing Door
Do not slam door shut, or attempt to force door shut while
cycling machine or with machine positioned at bottom of stroke.
Failure to comply with this may result in damage to the stitcher head.
rCAUTION
!
1
2
 Loading...