TB20048 Page 3
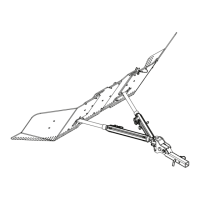
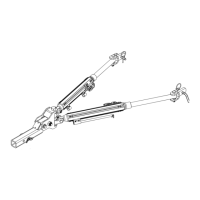
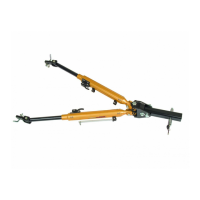
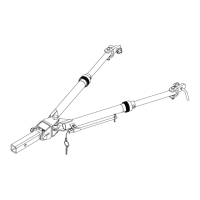
3. Attach tow bar to towed vehicle and latch rear connect-
ing legs by backing towed vehicle. Long end of Sentry
connecting clevis must be on top. If not, unlatch rear
connecting leg and rotate shaft, reattach.
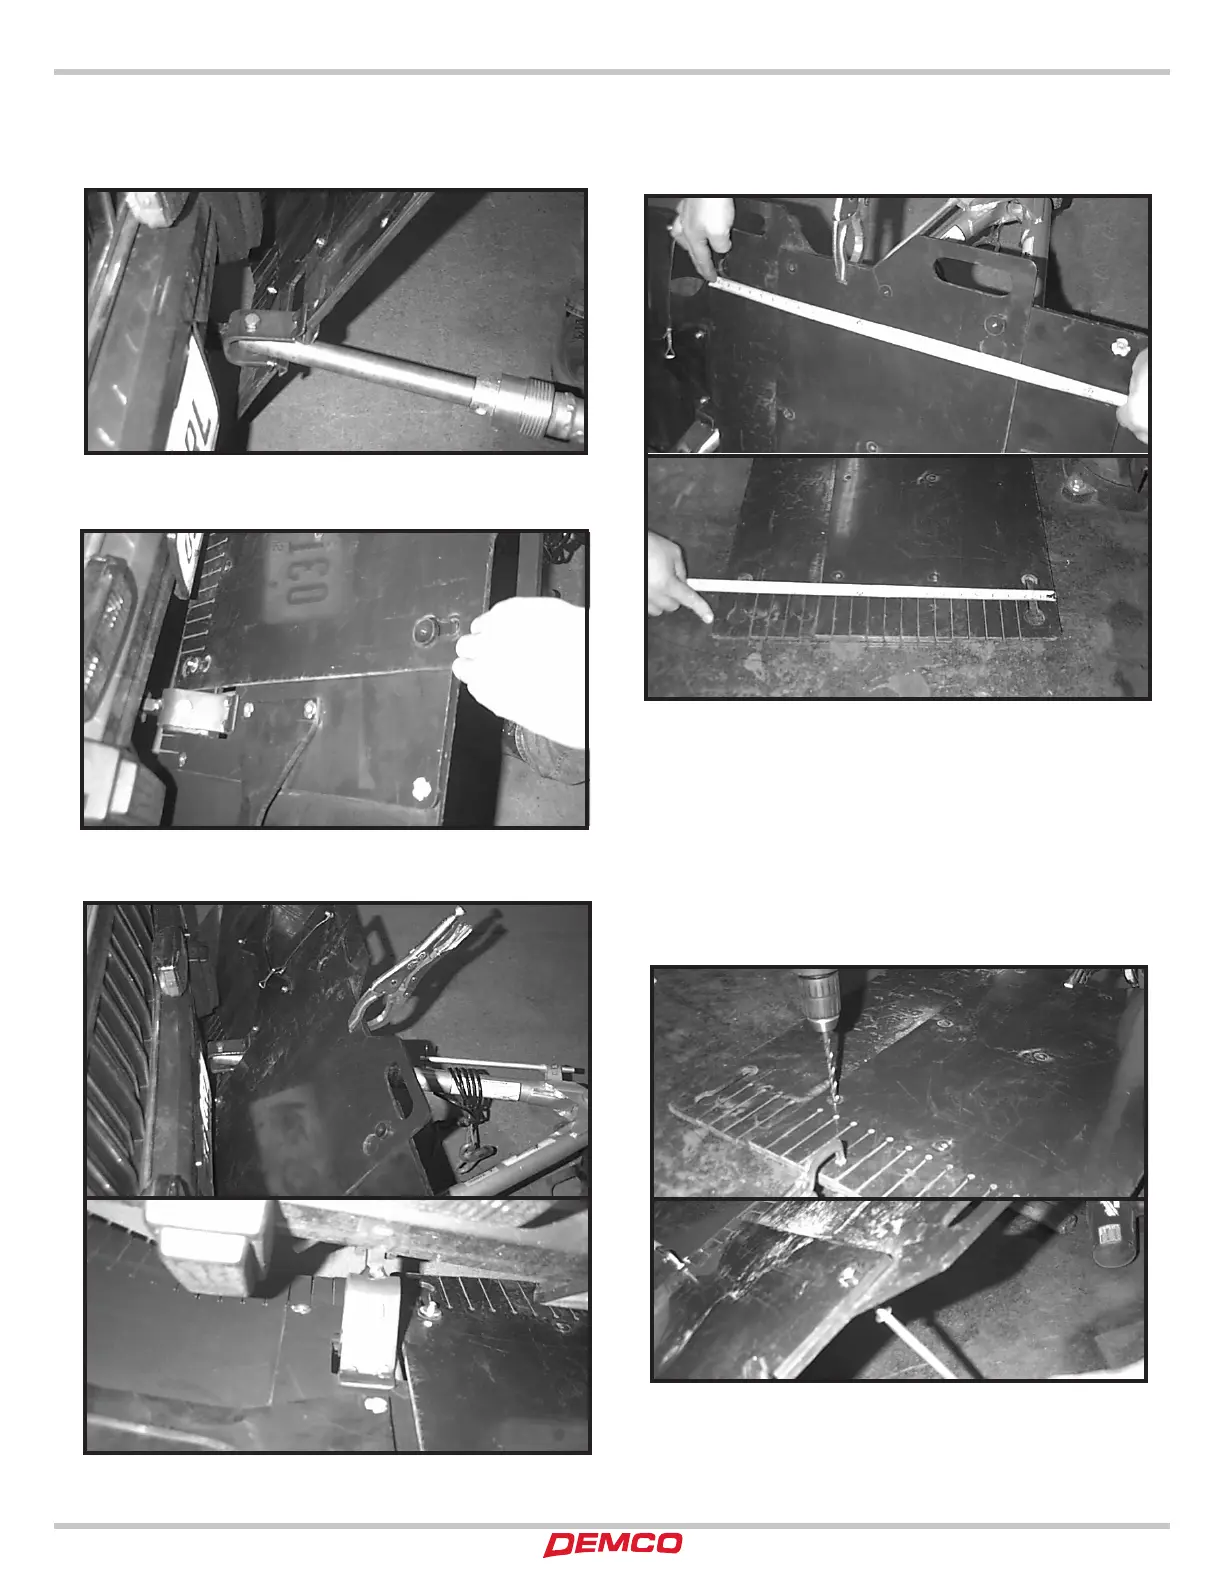
4. Slide right and left wings into Sentry connecting clevis
until wings are approximately 1/4” away from bottoming
out against clevis.
5. Slide one side of center section on left wing and the other
center on the right wing and push down to latch in key
slots.
6. Clamp center section together at top when they are even
at top and gap at clevis is 1/4” from bottoming out on each
side.
7. Measure the top outside distance of center sections
as a unit. Take center section out, lay it on a flat surface
and measure the bottom of center section. The bottom
should measure the same as the top. Move bottom until
it measures the same, making sure the top is still even or
flush and clamp into place.
8. Drill six holes through center section with a 9/32” drill
bit, (On wider setting, it may require three holes) using
existing holes as a template to drill through. Install tee
nuts and truss head bolts in these holes and remove
clamps. Apply thread lock to the threads.
ASSEMBLY INSTRUCTIONS