Page 2 TB20048
Safety is of utmost importance at all times. There are several items that must be checked each time before using and
while using a tow bar with Sentry deflector.
Before allowing anyone to hook up or operate a tow bar, be sure they have read and understand the proper operating
procedure.
DO NOT use worn or damaged cables and/or pins.
Be sure the SAFETY CABLES are hooked, chassis to chassis, to both the towing and towed vehicles using the crisscross
method.
Check clearance between vehicles and deflector in a turning situation.
Check base plate mounting bolts for tightness and frame for metal fatigue.
Keep fingers away from pivot points to prevent personal injury.
Be sure the steering components of the towed vehicle are properly aligned.
NOTE: This unit can be backed up with deflector in moderate increments. Any severe backwards cornering could result
in damage to the Tow Bar and/or towed vehicle chassis.
Check to make sure that all lights are in proper working order.
Make sure Sentry deflector is locked down and safety pin installed before towing.
Make sure tow bar is latched before towing vehicle. Damage may occur to tow bar and connecting clevis.
Thank you for purchasing a Demco Sentry deflector. We feel you have made a wise choice and hope you are com-
pletely satisfied with your new tow bar.
GENERAL INFORMATION
1. Whenever terms “LEFT” and “RIGHT” are used in this
manual it means from a position behind tow unit and
facing forward.
2. When placing a parts order, refer to this manual for
proper part numbers and place order by PART NO.
and DESCRIPTION.
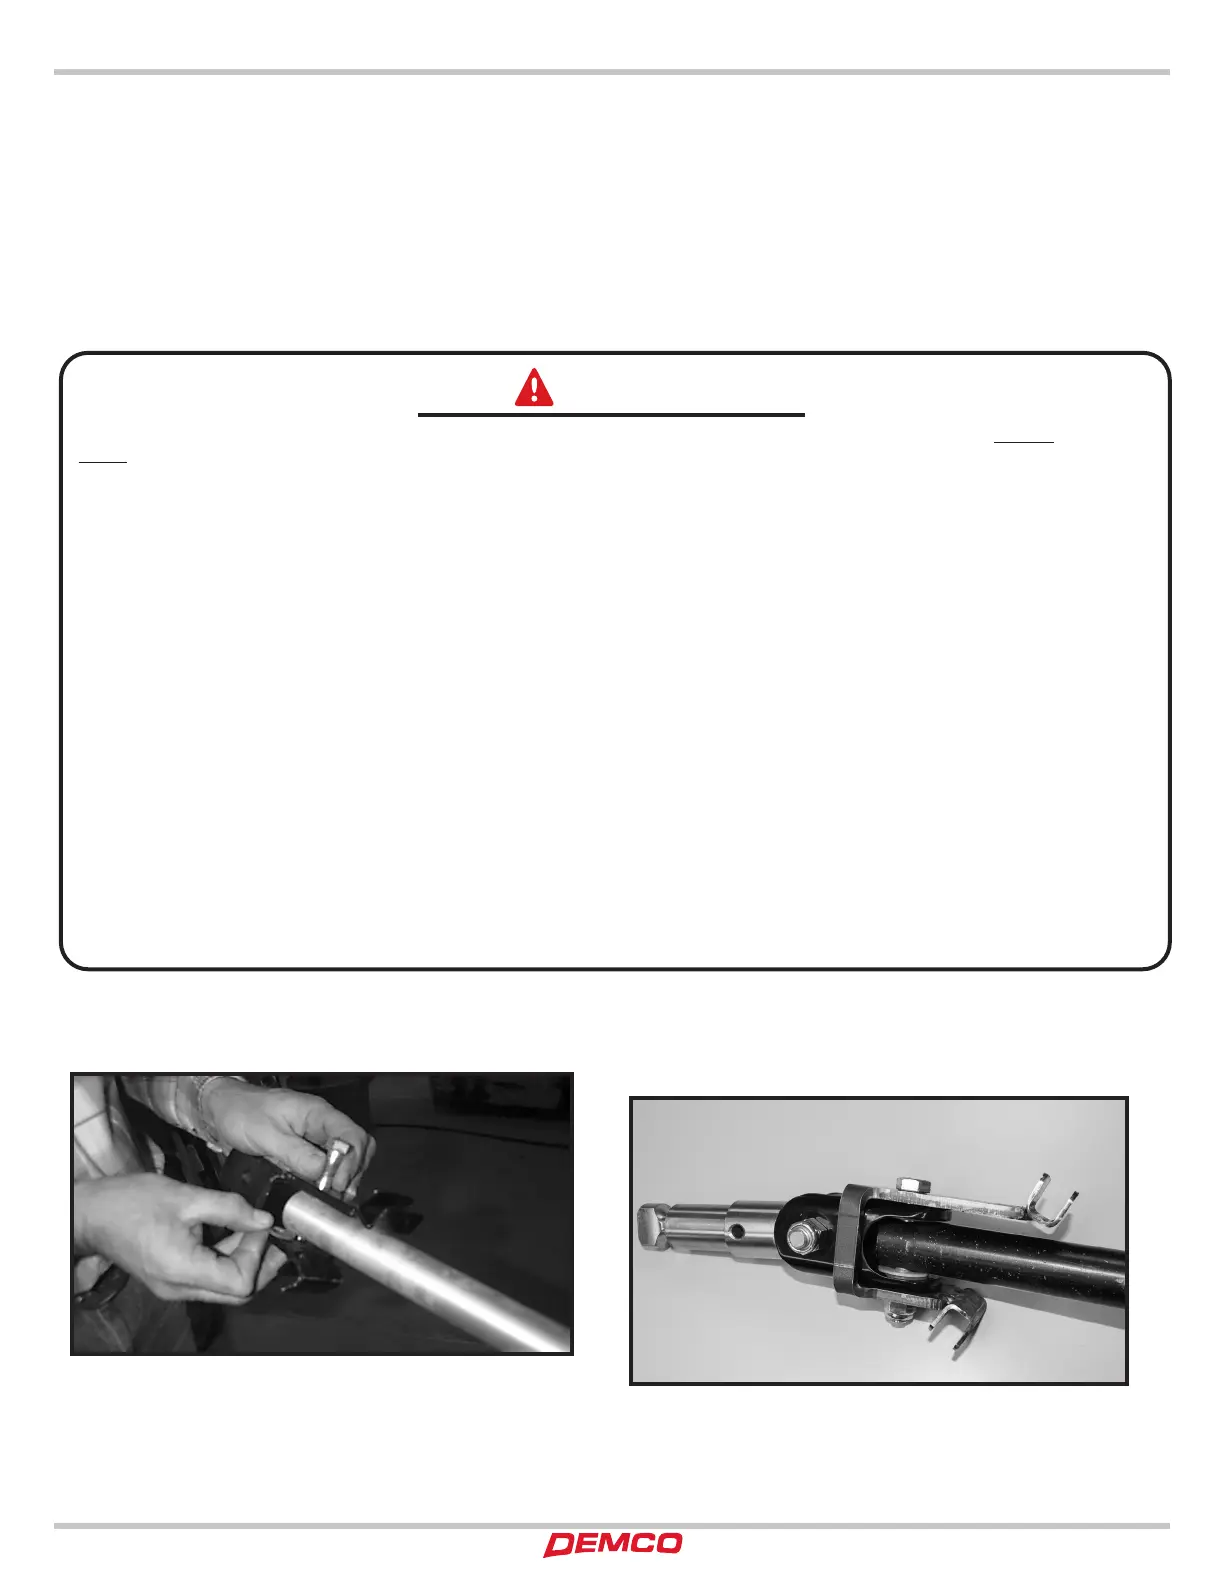
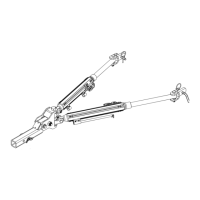
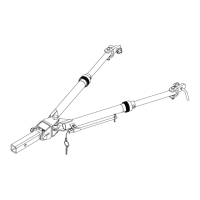
1. Remove connecting clevis from Excali-bar, Aluminator,
or Kwik-Tow.
2a. Install new Sentry connecting clevis, using new wash-
ers, 1/2” bolts, and locknuts. Note: Excali-bar, and
Aluminator use gray (thick) washers inside of clevis.
Kwik-Tow uses white (thin) washers. Tighten 1/2” bolt
so that there is a slight drag when pivoting clevis side
to side. Note: On Kwik-Tow, long leg of clevis goes on
top side of tube.
2b. Install new tabless Sentry connecting clevis over tabless
clevis, using new hardware to install clevis (See parts
breakdown for the hardware to use).
ASSEMBLY INSTRUCTIONS
Warning
WARRANTY POLICY, OPERATOR MANUALS & REGISTRATION
Go online to www.demco-products.com to review Demco warranty policies, operator manuals and register your Demco
product.
INTRODUCTION