COPYRIGHT © DENAFRIPS 4 | P a g e |
V 3 . 0 | 2 4
t h
N o v 2 0 1 7
3. INSTALLATION AND SETUP
The Pontus is easy to use. Nonetheless, DENAFRIPS advice to read this section to fully
understand the functions and features available.
1
2
3
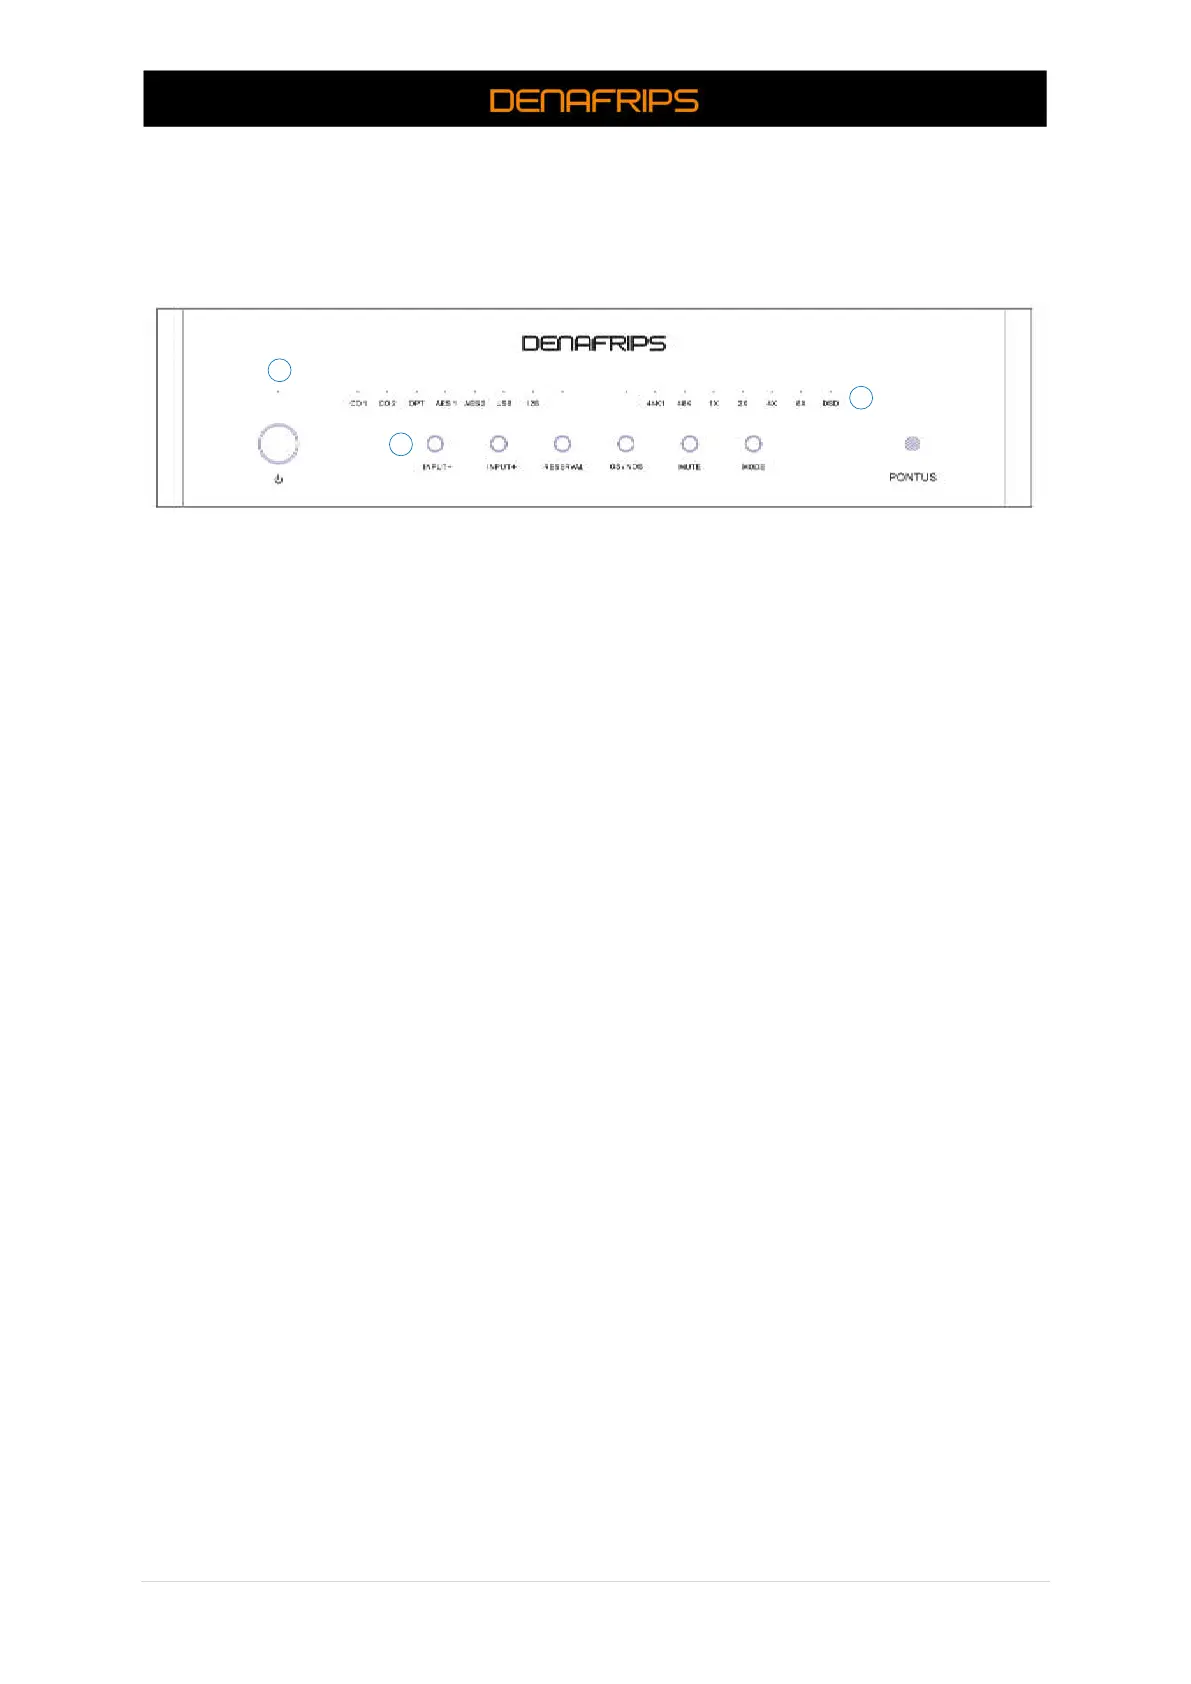
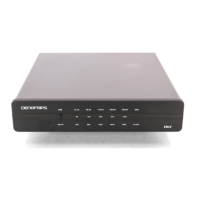
Figure 1. Pontus Front Panel
Description:
(1) Standby Button
Press the button once to switch on the DAC, vice versa, press once to switch the DAC into
standby mode. The Standby LED shall be on when the DAC is in Standby Mode. The LED shall
be off when the DAC is in Operating Mode.
(2) Control Button (From left to right)
a. INPUT +- :
Press the button to select the input source, namely, CO1, CO2, OPT, AES1, AES2,
USB, I2S. Press + to select the next right input. Press – to select the previous left
input. The respective input source LED shall be on to indicate that the input
source is selected.
b. RESERVAL (Yes this is a misprint, we can’t do anything now, more than hundreds
of front panels are stocked in our factory).
Press the button to toggle Phase Output.
LED On: Positive Phase, LED Off: Negative Phase
c. OS/NOS
Press the button to toggle between OS/NOS model. The LED lit to indicate the
DAC is in NOS mode.
The OS/NOS mode works in PCM mode only. In DSD playback, OS/NOS function is
disabled.
d. MUTE
Press the button to enable/disable Mute. When mute, the Mute LED will be
blinking 1s in interval.