11
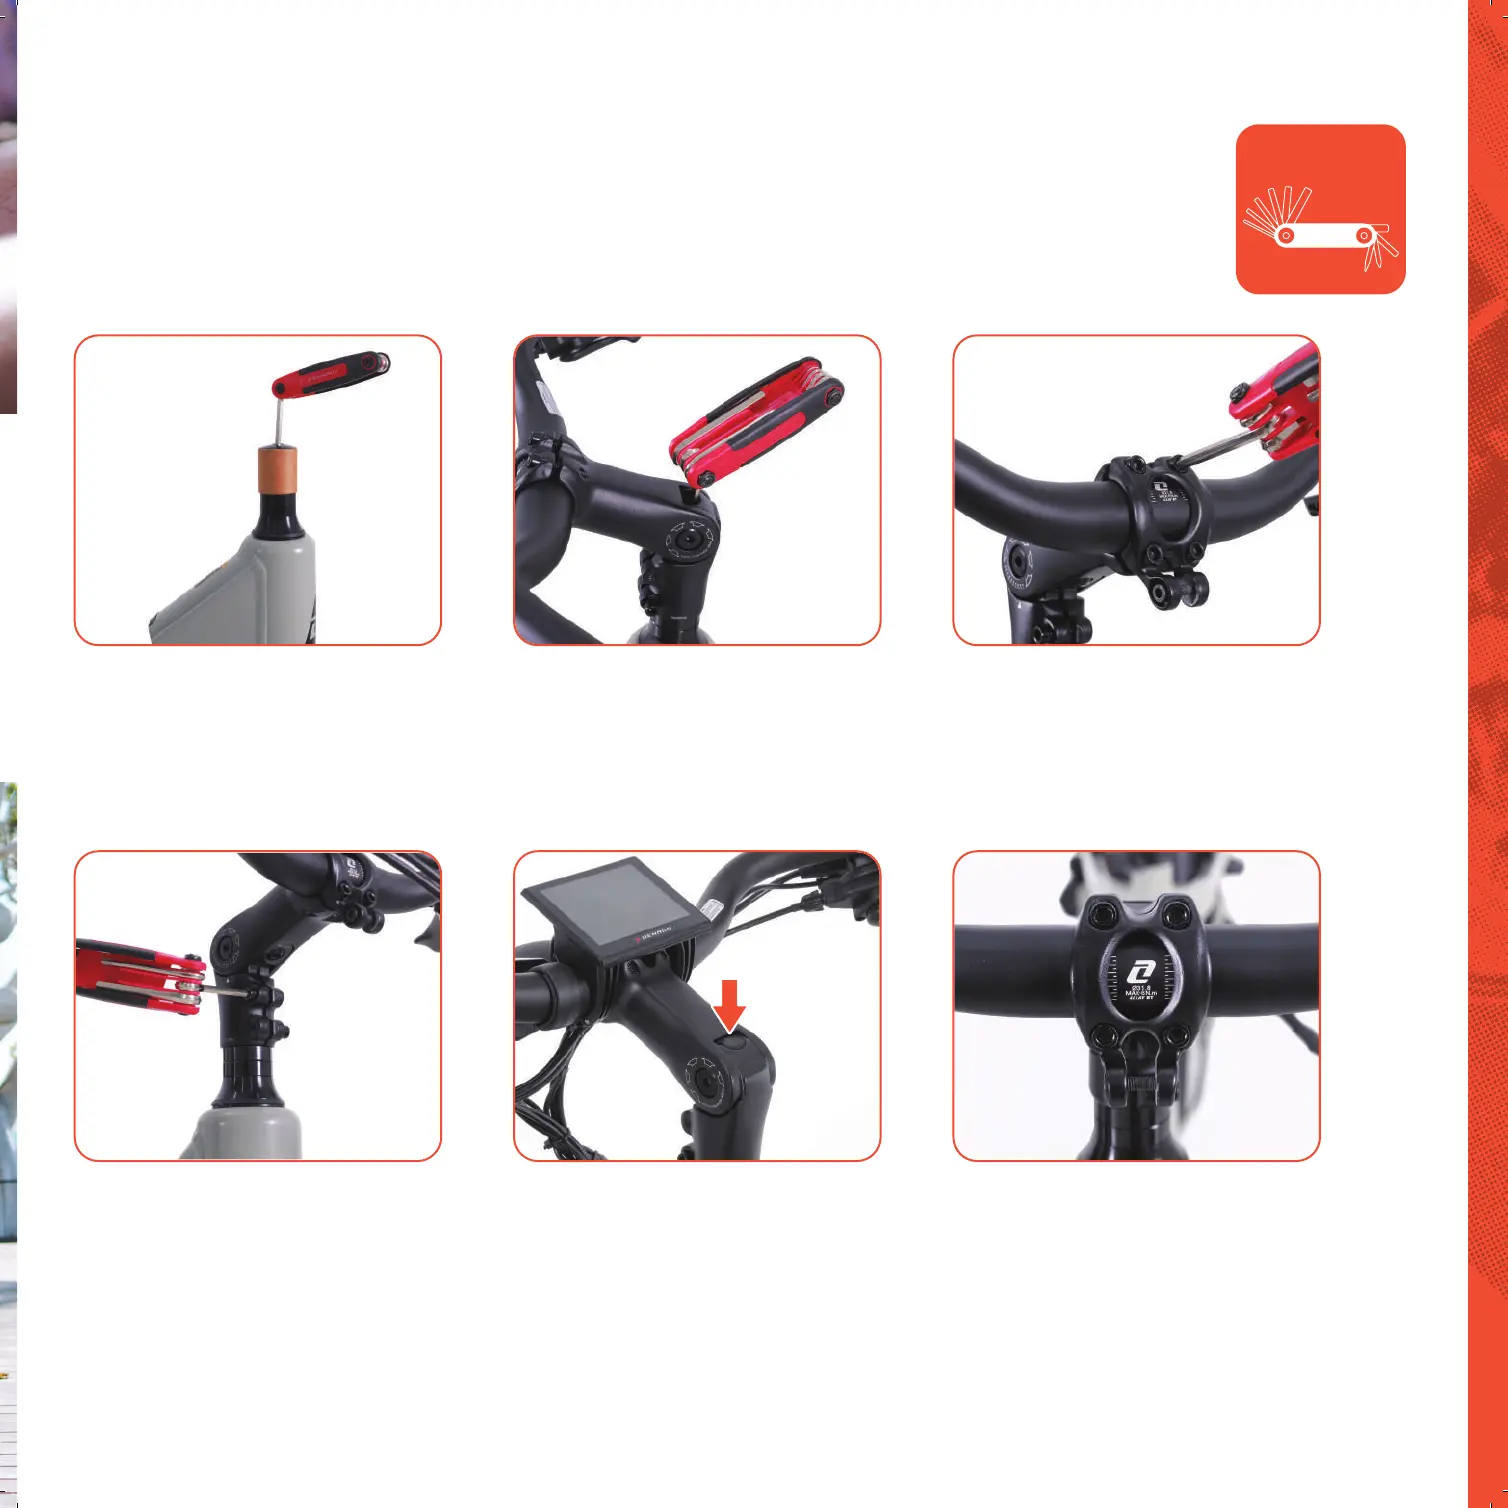
HANDLEBAR2
Multi Tool
5mm allen key
Handlebar components have been pre-assembled
Please tighten and secure all bolts
1.
Unscrew the bolts and remove the covers,
bolts and sleeves, leaving all washers in place.
4. Align the handlebar with the center position,
WLJKWHQDQGȴ[WKHEROWVRQERWKVLGHVRIWKH
handlebar.
2. Place the handlebar riser on the front fork,
WLJKWHQWKHEROWVRQWKHWRSRIWKHVWHPDQGȴ[
the stem on the front of the bicycle.
5. Add top cap to stem bolt.
3. /RRVHQWKHȴ[LQJVFUHZVEHWZHHQWKHVWHP
and the handlebar, and adjust the handlebar
to an angle which is comfortable for riding.
6. $IWHUWLJKWHQLQJVWHPEROWVFRQȴUP
alignment with stem and front wheel.