CAIRplus Assembly
PR-2009-0096-GB • Subject to modifications • R8-10/2015 35
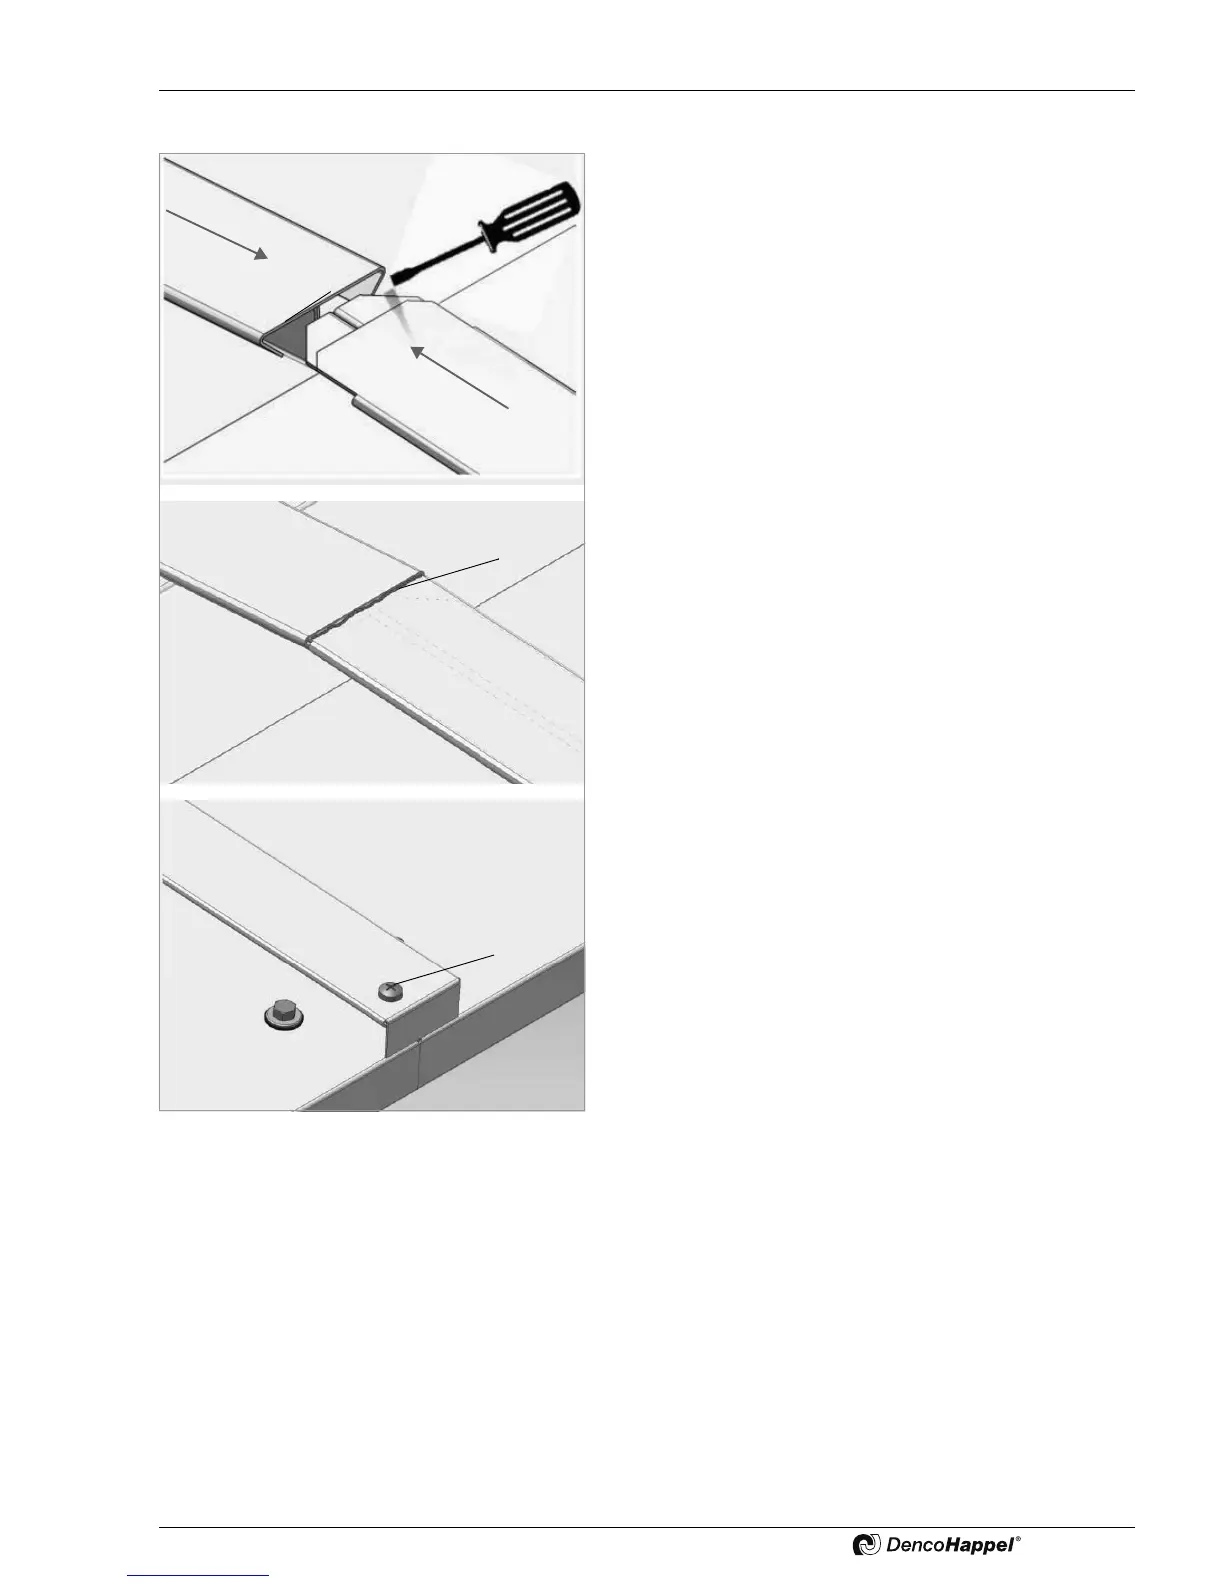
Single unit 188.xxx to 252.xxx with inclined roof design
• Secure the separately supplied joint strip as described
above.
• Slide the separately provided joint strips (1) from both sides.
• Use a screwdriver to ensure that the connecting plate is
placed below the opposite joint strip.
• Use the supplied sealant to caulk the joint strips (2).
• Secure in place with the fixing screw (3).
Fig. 5-28: Single unit 188.xxx to 252.xxx
with inclined roof design