CAIRplus Commissioning and Maintenance
PR-2009-0096-GB • Subject to modifications • R8-10/2015 65
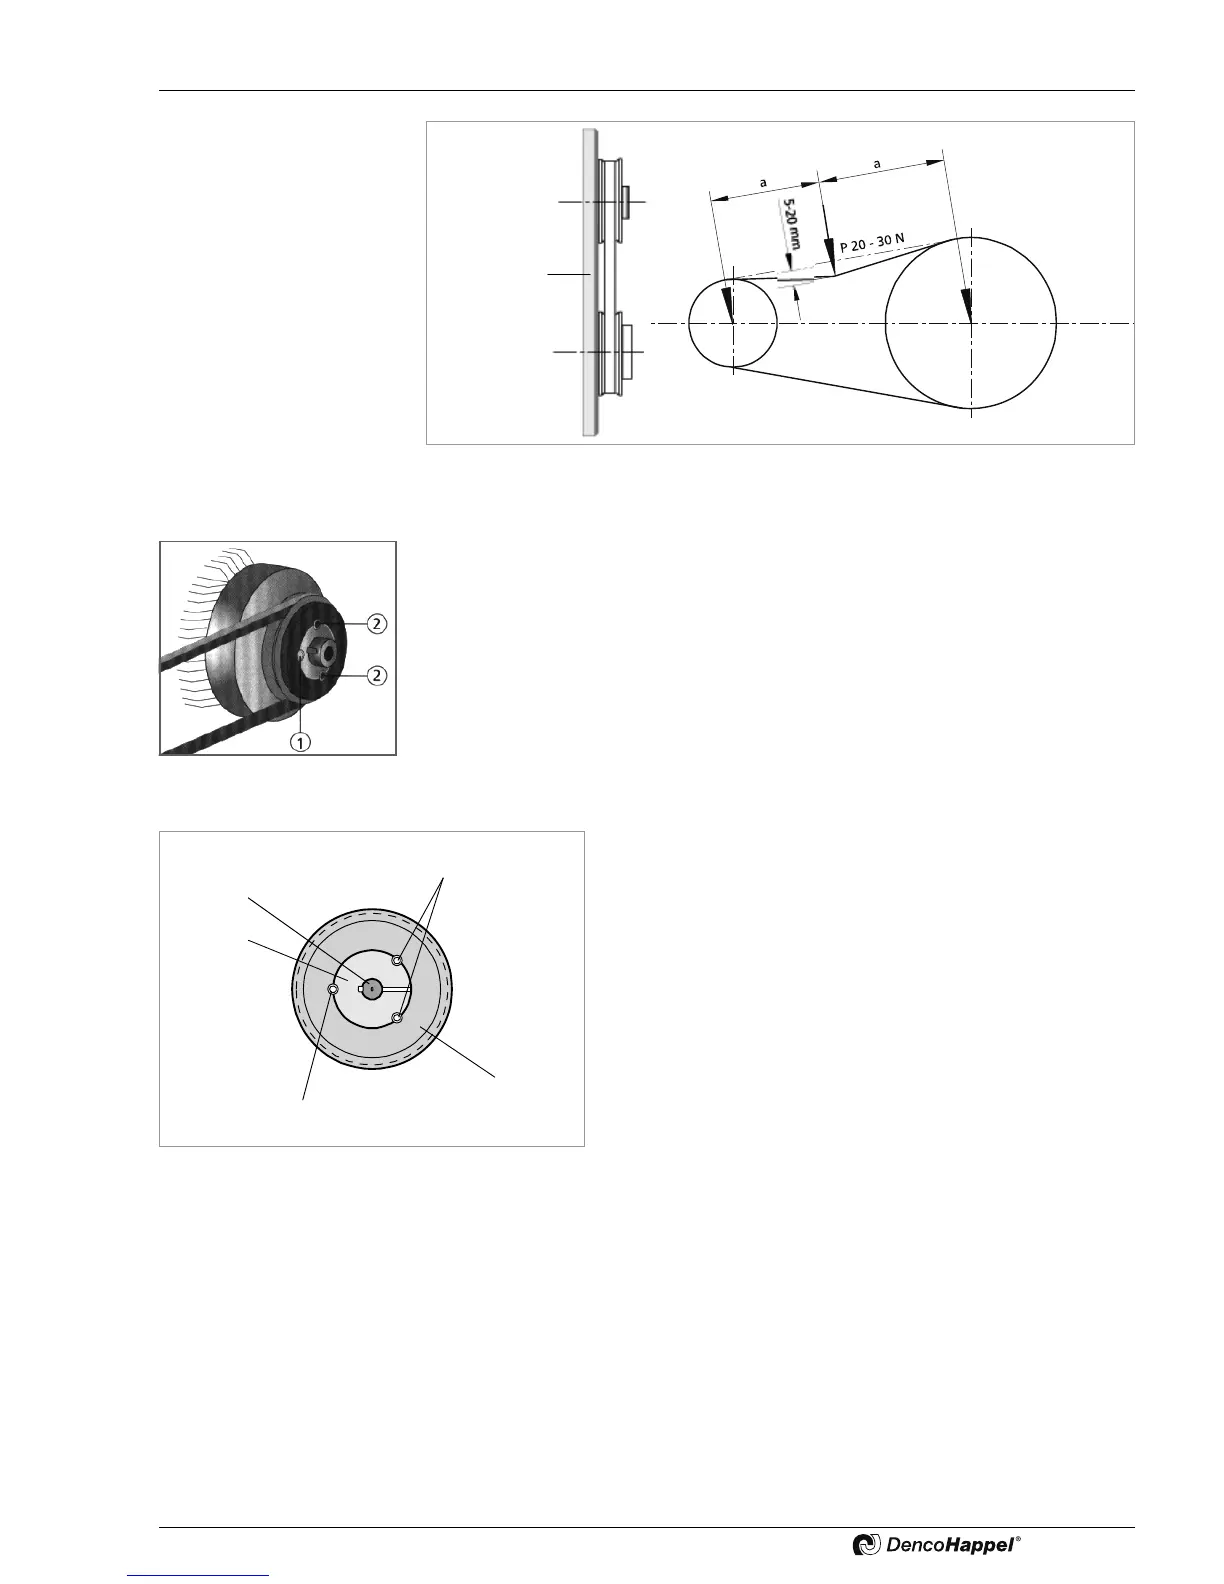
Fig. 8-2: Pulley alignment and fan belt tensioning
Adjusting or removing fan belt pulley
• Slacken fan belt, see “Re-tensioning or replacing V-belt” on page 64, and:
• remove the belt.
• Loosen and remove both hexagon-socket screws (2).
• Screw a hexagon-socket screw into the empty threaded hole (1) and turn it until both
pulley and bush are loose.
• Pull the pulley assembly off the motor shaft (fan shaft) and remove.
Fig. 8-3
To mount the fan belt pulley, proceed as follows:
• Position the pulley and bush so that these engage with one
another. Align both holes and insert screws without tighten-
ing.
• Slide the pulley and bush on the shaft as close to the motor
or fan as possible (to keep leverage small) and align. (For
alignment see “Re-tensioning or replacing V-belt” on page
64.)
• Evenly tighten the hexagon-socket screws.
Fig. 8-4: Installing fan belt pulley