ENGLISH
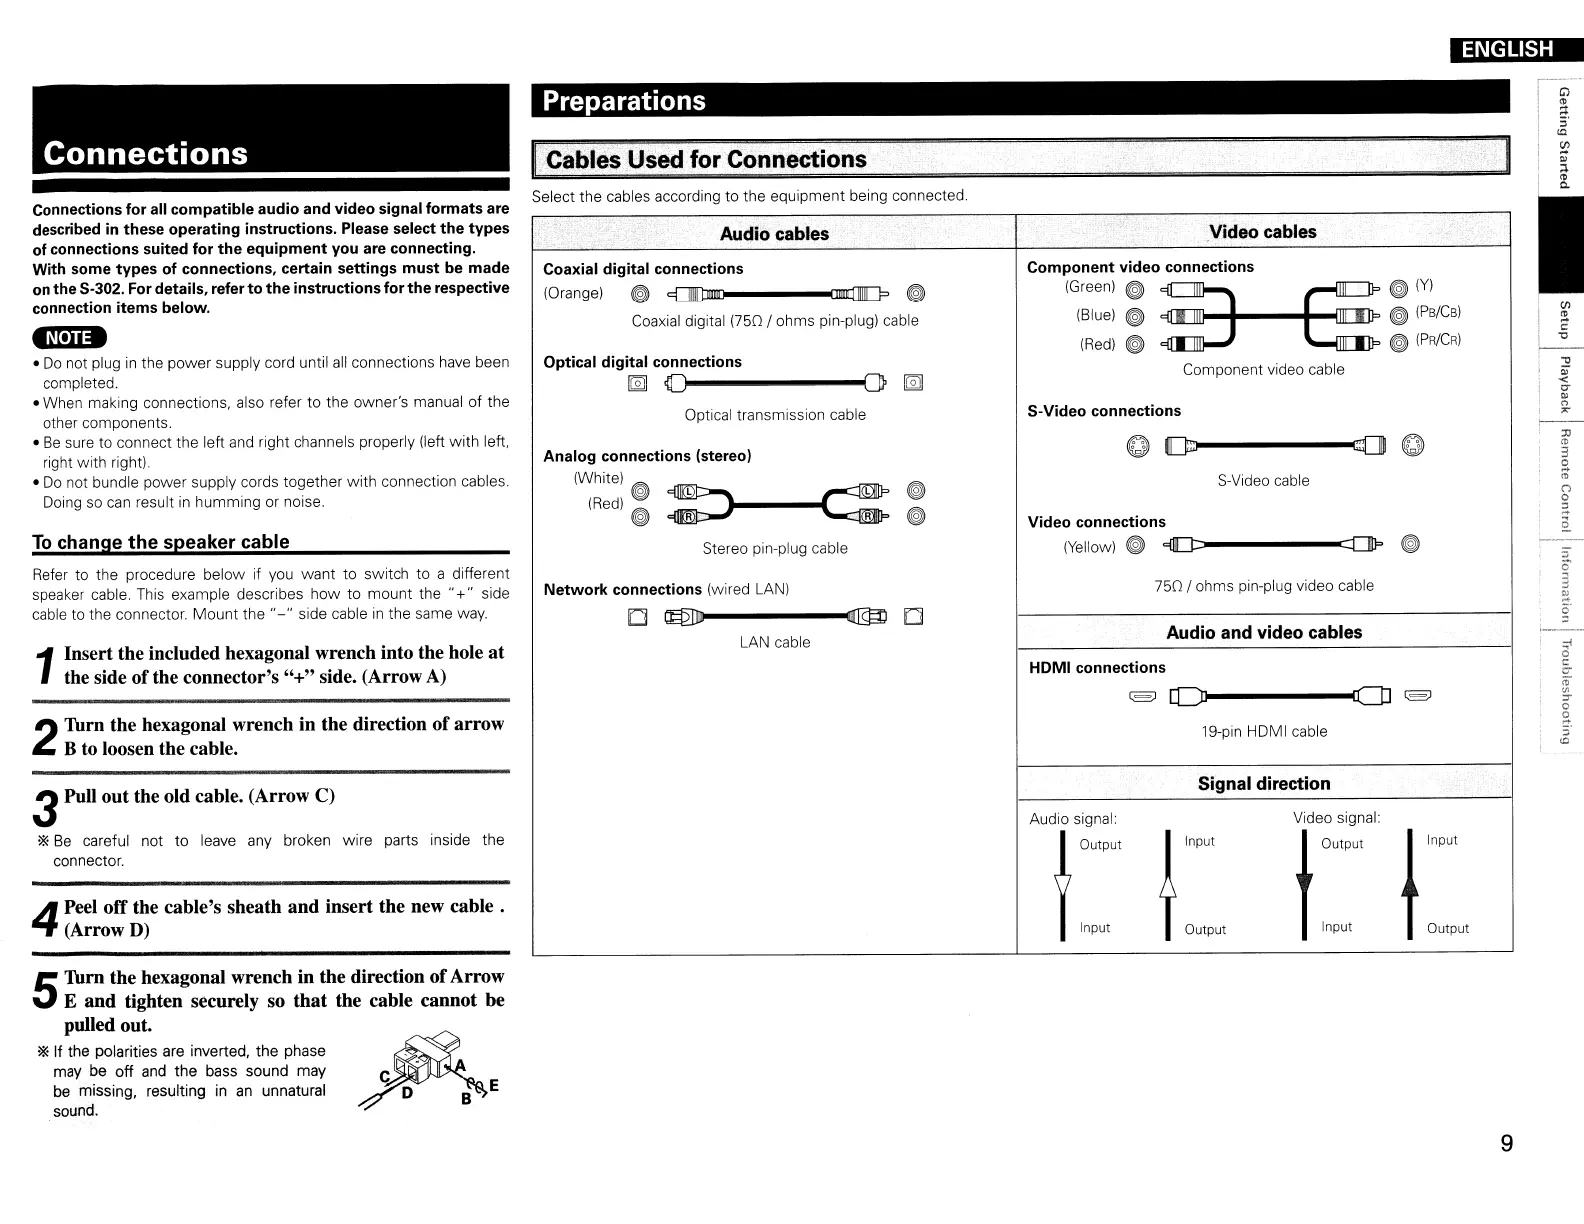
LAN cable
Network
connections (wired LAN)
""
~
-<
c:r
'"
n
7<
,--
:lJ
'"
3
~
'"
(')
o
~
e.
I
~
,
c:
~
IeJ
[[)J1oooo------O
IeJ
Video cables
Audio and video cables
750/
ohms pin-plug video cable
19-pin HDMI cable
S-Video cable
c
0"""---0
C
HOMI connections
Video connections
(Yellow) 0
9lD::::------=:QP
0
Component video connections
(Green) G
cIIlm-..
~
G
(Y)
(Blue) 0
~
1
~:::IIP
0
(PB/CB)
(Red)
0
9lI:llII-'
.....-nrTIP e
(PR/CR)
Component video cable
S-Video connections
~G
~G
Audio cables
o
mD~---~
0
Optical transmission cable
Stereo pin-plug cable
Coaxial digital connections
(Orange) G
~
G
Coaxial digital
(750/
ohms pin-plug) cable
Optical digital connections
[£1
{J~------~ClP
[£1
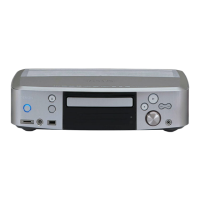
Preparations
Analog connections (stereo)
(White) Iff&
~
(Red)
Iff&
~
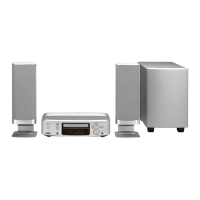
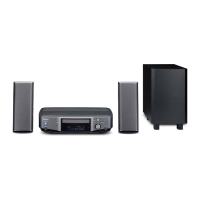
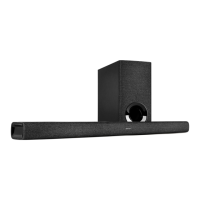
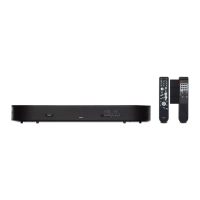
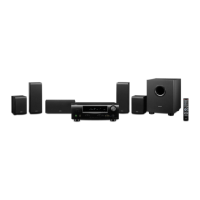
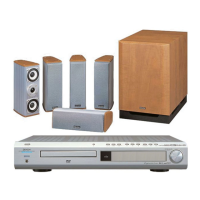
Select the cables according to the equipment being connected.
ICables Used for Connections
Connections for all compatible audio and video signal formats are
described in these operating instructions. Please select the types
of connections suited for the equipment you are connecting.
With some types of connections, certain settings must be
made
on
the 8-302. For details, refer to the instructions for the respective
connection items below.
,
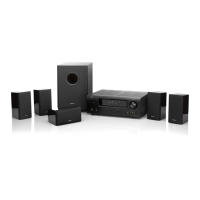
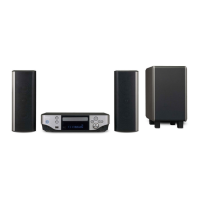
Connections
Refer
to the procedure below if you want to switch to a different
speaker cable. This example describes
how
to mount
the"
+"
side
cable to the connector.
Mount
the"
-"
side cable
in
the same way.
To
change
the
speaker cable
41¢"l
••
•
Do
not plug
in
the power supply cord until
all
connections
have
been
completed.
• When making connections, also refer to the owner's manual
of
the
other components.
•
Be
sure to connect the left
and
right channels properly (left with left.
right with right)
•
Do
not bundle power supply cords together with connection cables.
Doing
so
can
result
in
humming or noise.
1
Insert the included hexagonal wrench into the hole at
the side
of
the connector's "+" side. (Arrow A)
2
lOrn the hexagonal wrench in the direction
of
arrow
B to loosen the cable.
3
Pullout
the old cable. (Arrow C)
'*
Be
careful not to leave any broken wire parts inside the
connector.
4
Peel
off
the cable's sheath and insert the new cable .
(Arrow D)
Signal direction
Audio signal: Video signal:
to,,,"
f
,",",
to"''"'
f
'","'
Input
Output
Input
Output
C~A
E
~
5
lOrn the hexagonal wrench in the direction
of
Arrow
E and tighten securely so that the cable cannot be
pulled out.
'*
If the polarities are inverted, the phase
may be off
and
the bass sound may
be missing, resulting in
an
unnatural
sound.
9
 Loading...