Eng-5
Usethe30mm
NO.2Screwsx2
Usethe26mm
NO.2Screwsx2
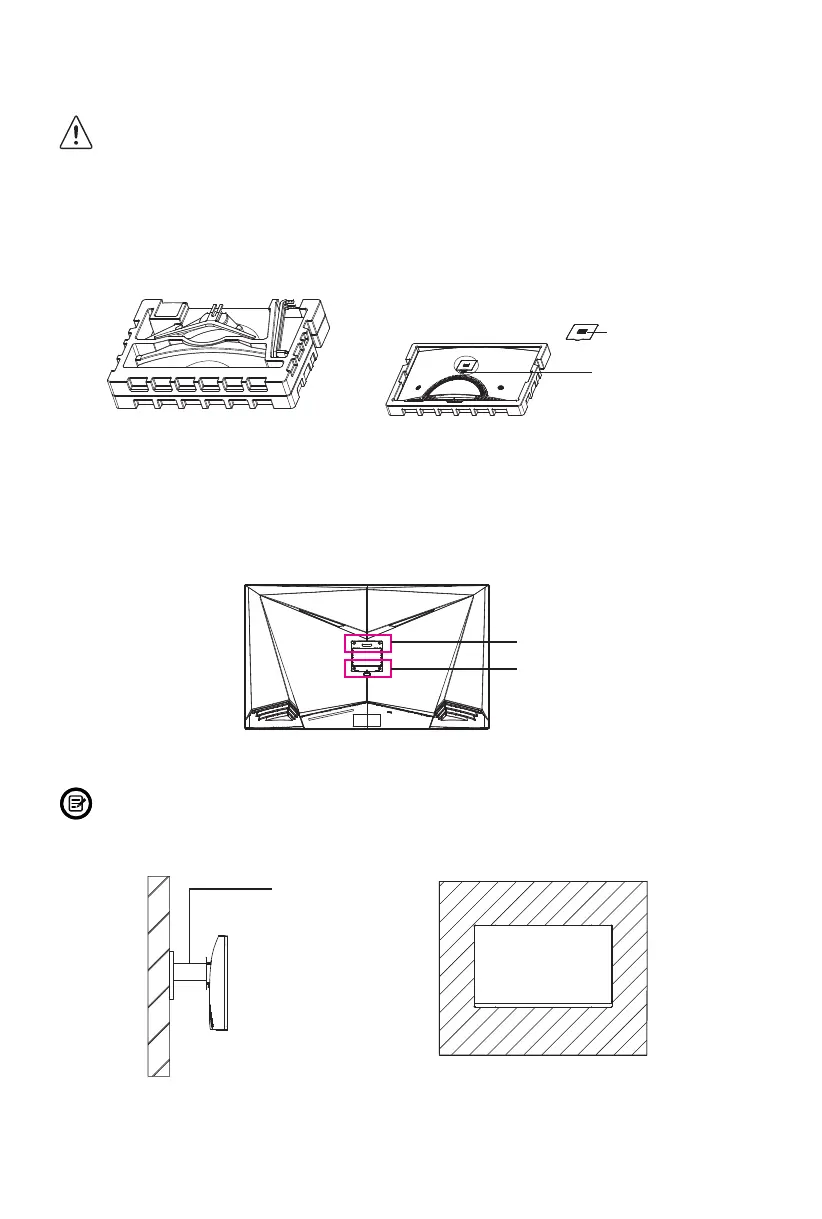
- Use only the NO. 2 Screws (30 mm x 2 pcs, 26mm x 2 pcs) provided with
this type of installation.
- Do not discard the original screws as these may be needed for future use.
Mount
(Not Included)
Section 3: Mount Installation
This monitor ONLY includes screws which may be used when attaching the
monitor to a VESA 75x75mm type mount. No VESA mount or mounting
accessory is included.
2. Remove the original screws x 4from the opening in the back of the monitor,
3. Follow the directions received with your VESA mount, stand,or accessory and
install the monitor on the wall or fixture as desired. Remember to use the
included NO. 2 screws when attaching any mount etc. to the back of the monitor.
Refer to the image for correct screw placement
1. Open the package, take out the product with foam still attached, and gently place
it on a desktop or table. Remove the extra parts and the foam covering the back
of the monitor and press the button to remove the stand plate.If the monitor is
already attached to stand,remove the stand.
Button
Stand Plate
 Loading...