2
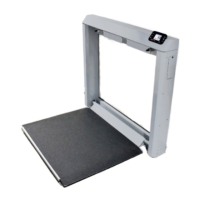
Mounting the Unit
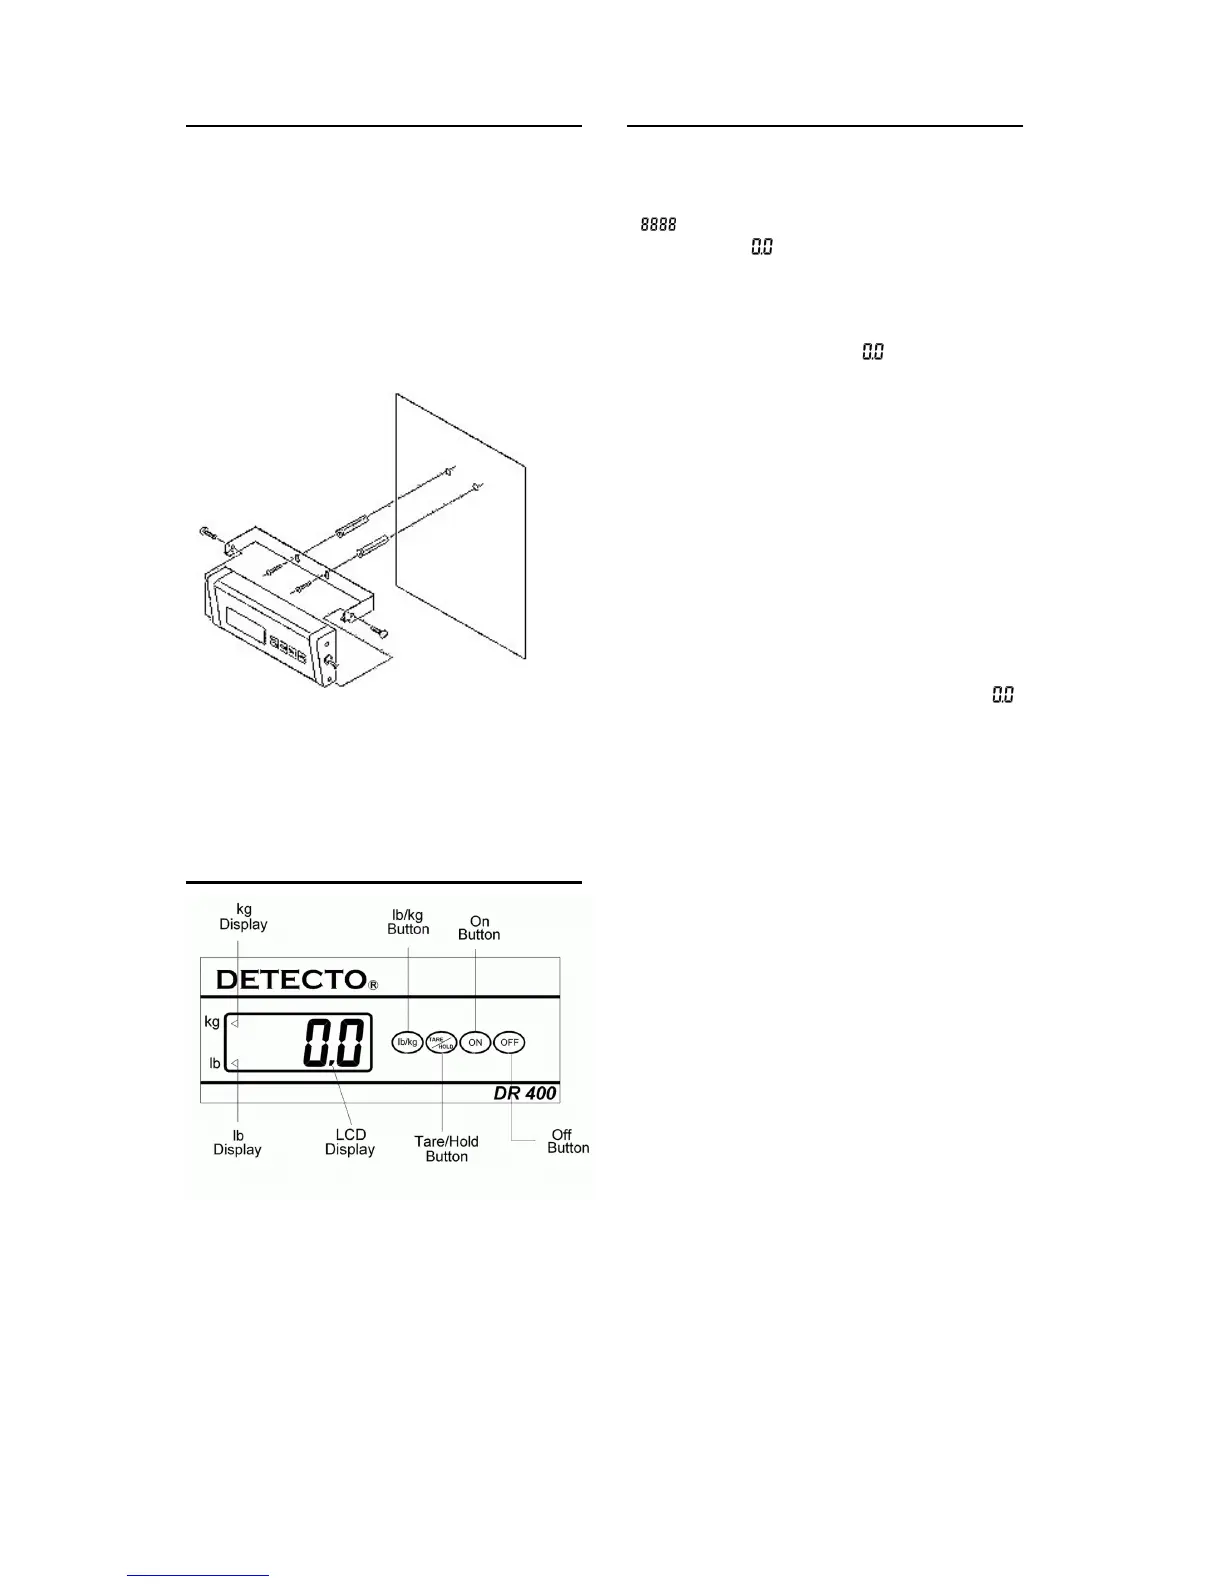
1. Mount bracket to wall using (2) screws
that are appropriate anchors for the
surface being mounted to.
2. Lower control panel into mounted
bracket. Insert flat tip screws (included)
through round holes in mounting bracket
and drive the screws into existing
threaded holes in lower half of control
panel to secure control panel to bracket.
YOUR SCALE IS NOW READY FOR USE.
Display and Function
General Operation
POWER ON
To turn the scale on, press the button
marked “ON”. The display will first show
“
” for approximately two (2) seconds,
then display “
”. This indicates that the
scale is ready for use.
WEIGHING
When the display shows “ ” it is ready to
weigh an object. If the object exceeds the
capacity of the scale by more than 5%, the
display will show “
RRRR
”.
Until the overload condition is reached,
objects can be placed on the platform, with
the display showing the total weight of all
objects on the platform.
TARE OPERATION
To tare (zero out) a load on the platform (i.e.:
the weight of a container), press the button
marked “TARE/HOLD” one time. When this
is done, the display will show the value “
”.
This could be followed by the addition of
another load, if so desired. The display will
show the sum of all additional loads above
and beyond the tared load.
TARE CAPABILITY
A load of up to the capacity of the scale can
be tared (zeroed out).
When a load is tared, an additional load up to
the full capacity of the scale can be weighed.
Example: The Model DR400C has a
capacity of 400 lbs if a load of 20 lbs on that
scale is tared (zeroed out), an additional load
or loads of up to 380 lbs can be weighed.