10
English
Cleaning
WARNING: Blow dirt and dust out of all air vents with clean, dry air
at least once a week. To minimize the risk of eye injury, always wear
ANSI Z87.1 approved eye protection when performing this.
WARNING: Never use solvents or other harsh chemicals for
cleaning the non-metallic parts of the tool. These chemicals may
weaken the plastic materials used in these parts. Use a cloth
dampened only with water and mild soap. Never let any liquid get
inside the tool; never immerse any part of the tool into a liquid.
Lubrication
Your tool was properly lubricated before leaving the factory. In from
two to six months, depending upon use, take or send your tool to
an authorized service center for a complete cleaning, inspection
and lubrication. Tools used constantly on production jobs will need
relubrication more often. Also, tools “out of service” for long periods
should be relubricated before being put back to work.
Accessories
WARNING: Since accessories, other than those offered by
D
EWALT, have not been tested with this product, use of such
accessories with this tool could be hazardous. To reduce the risk of
injury, only D
EWALT recommended accessories should be used with
this product.
Recommended accessories for use with your tool are available at
extra cost from your local dealer or authorized service center. If you
need assistance in locating any accessory, please contact D
EWALT
Industrial Tool Co., 701 East Joppa Road, Baltimore, MD 21286, call
1-800-4-D
EWALT (1-800-433-9258) or visit our website: www.dewalt.
com.
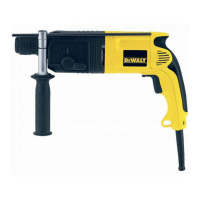
Chipping and Chiselling (D25013, D25023)
1. To switch from hammer drilling to chiselling, first insert the SDS
Plus
®
chisel and check if it is properly locked.
2. When switching from hammer drilling mode to chiselling mode,
turn the chisel to the desired position. If you find resistance during
mode change, turn the chisel slightly to engage the spindle lock.
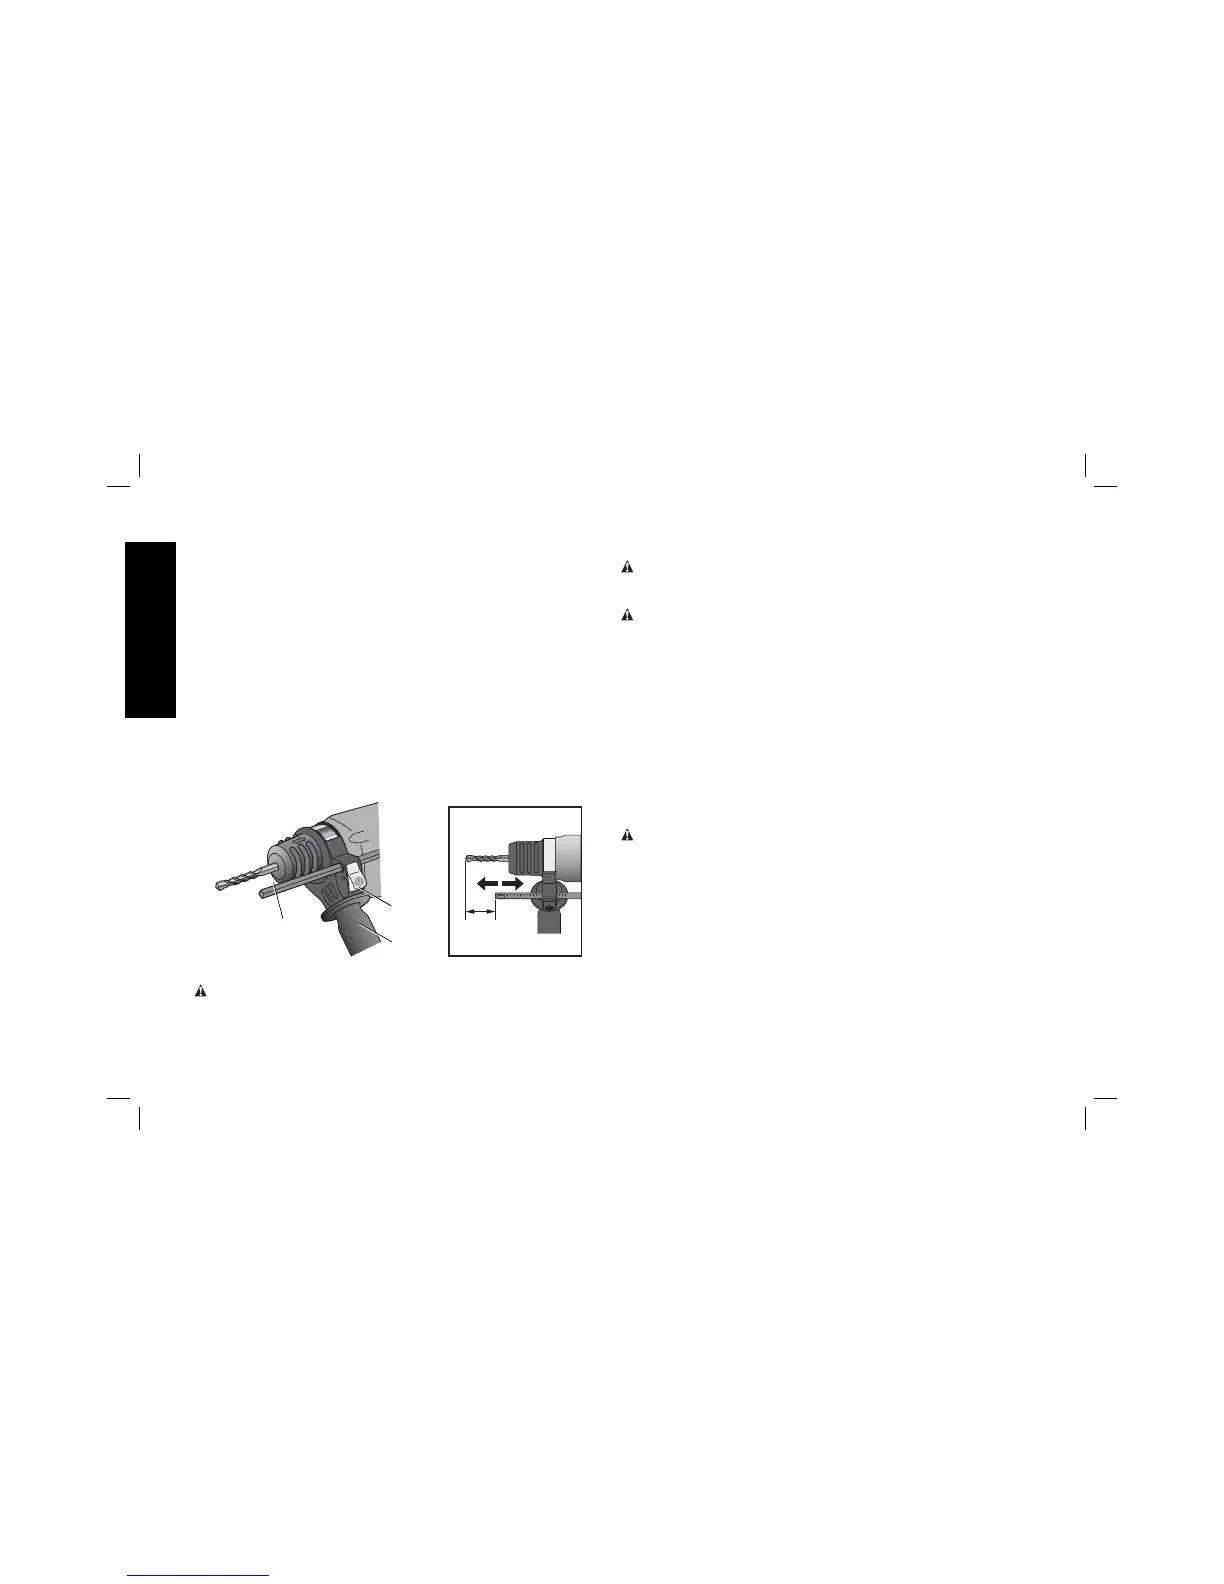
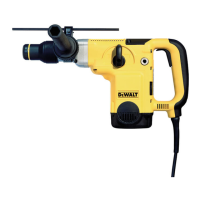
Depth Rod (Fig. 5)
TO ADJUST THE DEPTH ROD
1. Push in and hold the depth rod release button (J) on the side
handle.
2. Move the depth rod (D) so the distance between the end of the
rod and the end of the bit equals the desired drilling depth.
3. Release the button to lock rod into position. When drilling with the
depth rod, stop when end of rod reaches surface of material.
FIG. 5
J
D
C
MAINTENANCE
WARNING: To reduce the risk of injury, turn unit off
and disconnect it from power source before installing and
removing accessories, before adjusting or when making
repairs. An accidental start-up can cause injury.