ENGLISH
20
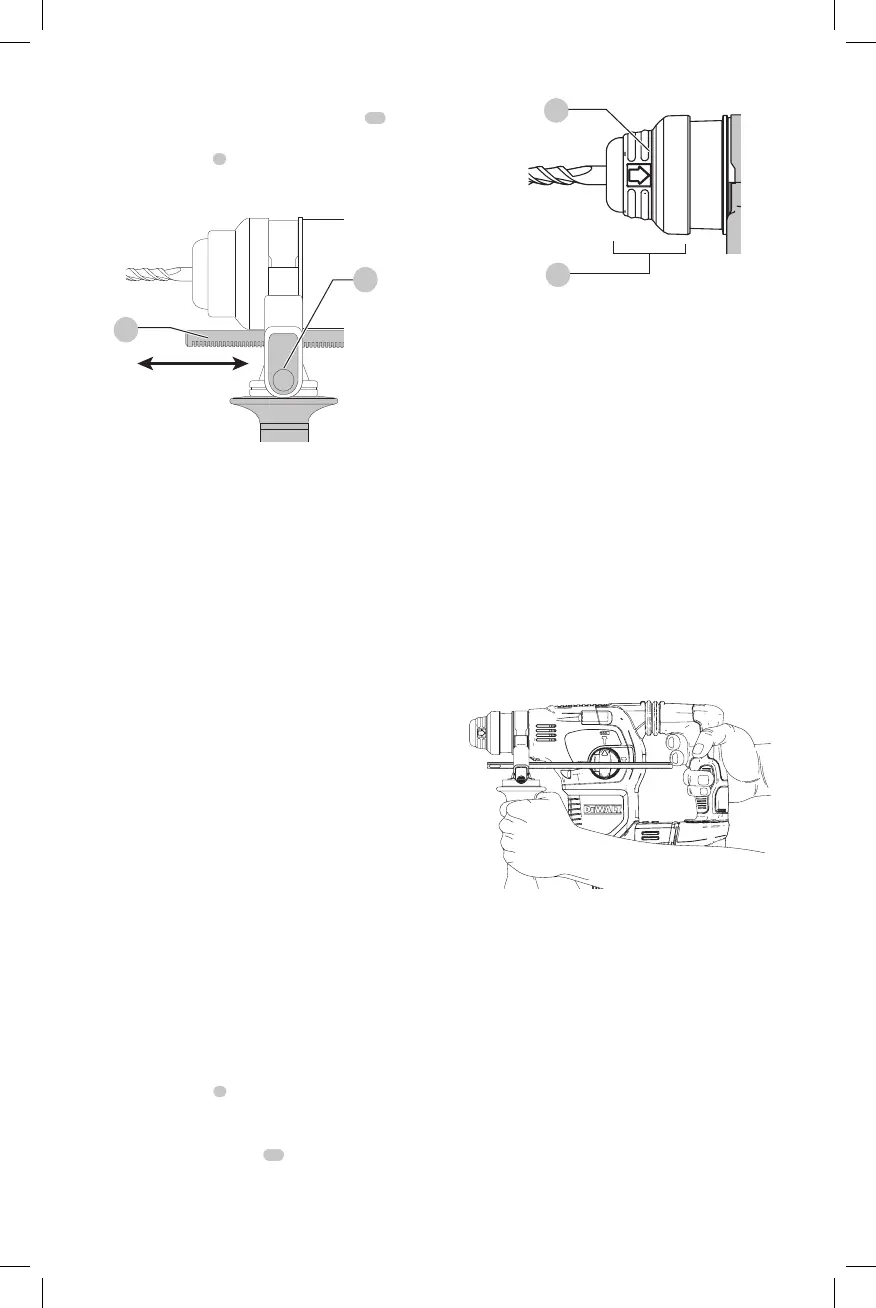
To Adjust the Depth Rod (Fig. C)
1. Push in and hold the depth rod release button
10
on
the sidehandle.
2. Move the depth rod
9
so the distance between the
end of the rod and the end of the bit equals the desired
drillingdepth.
Fig. C
9
10
3. Release the button to lock rod into position. When
drilling with the depth rod, stop when end of rod
reaches surface ofmaterial.
Bit and Bit Holder
WARNING: Burn Hazard. ALWAYS wear gloves when
changing bits. Accessible metal parts on the tool and
bits may get extremely hot during operation. Small
bits of broken material may damage barehands.
WARNING: Do not attempt to tighten or loosen drill
bits (or any other accessory) by gripping the front part
of the chuck and turning the tool on. Damage to the
chuck and personal injury mayoccur.
The rotary hammer can be fitted with various chisel bits
depending on the desired application. Use sharp drill
bitsonly.
Bit Reccomendations
• For wood, use twist bits, spade bits, power auger bits or
holesaws.
• For metal, use high-speed steel twist drill bits or
holesaws. Use a cutting lubricant when drilling metals.
The exceptions are cast iron and brass which should be
drilleddry.
• For masonry, such as brick, cement, cinder block, etc.,
use carbide-tipped bits rated for percussiondrilling.
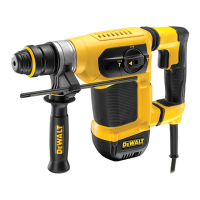
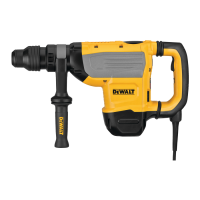
SDS Plus Bit Holder (Fig. D)
NOTE: Special adapters are needed to use the SDS
Plus bit holder with straight shank bits and hexagonal
screwdriverbits.
To insert a drill bit or other accessory:
1. Insert the shank of the bit about 3/4" (19mm) into
SDSPlus tool holder
7
.
2. Push and rotate bit until it locks in place. The bit will be
securelyheld.
3. To release bit, pull the sleeve
13
back and remove
thebit.
Fig. D
7
13
To remove the bit, pull back the locking sleeve and pull the
bitout.
OPERATION
WARNING: Always observe the safety instructions
and applicableregulations.
WARNING: To reduce the risk of serious personal
injury, turn unit off and disconnect it from
power source before making any adjustments or
removing/installing attachments or accessories.
An accidental start-up can causeinjury.
Proper Hand Position (Fig. E)
WARNING: To reduce the risk of serious personal injury,
ALWAYS use proper hand position as shown.
WARNING: To reduce the risk of serious personal
injury, ALWAYS hold securely in anticipation of a
suddenreaction.
Proper hand position requires one hand on the mounted
side handle, with the other hand on the mainhandle.
Fig. E
SHOCKS Active Vibration Control®
System
For best vibration control, hold the tool as described in
Proper Hand Position and apply just enough pressure so
the damping device on the main handle is approximately
mid stroke. The hammer only needs enough pressure to
engage the active vibration control. Applying too much
pressure will not make the tool actuate faster and active
vibration control will notengage.
Overload Clutch
In case of jamming of a drill bit, the drive to the drill spindle
is interrupted by the overload clutch. Due to the resulting
forces, always hold the tool with both hands and take a
firmstance. After the overload, release and depress the
trigger to re-engagedrive.