Maintenance Chart
Procedure Daily Weekly IVlonthly
Check safety valve X
Inspect air filter + X
Drain air tank X
Check pump oil level X
Change pump oil**+
Oil leak inspection X
Check for unusual noise!
X
vibration
Check for air leaks* X
Clean compressor exterior X
1 year or
200 Hours
* To check for air leaks apply a solution of soapy water around joints.
While compressor is pumping to pressure and after pressure cuts out,
look for air bubbles to form.
** The pump oil must be changed after the first 20 hours of operation.
Thereafter, when using DEWALT synthetic or SAE 40, non-detergent air
compressor oil, change oil every 200 hours of operation or once a year,
whichever comes first.
+ Perform more frequent !ndusty or humid condit!ons
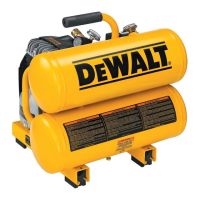
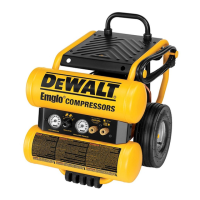
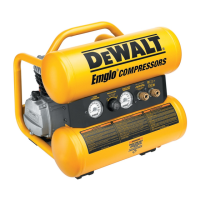
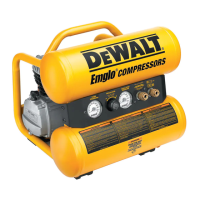
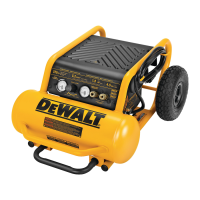
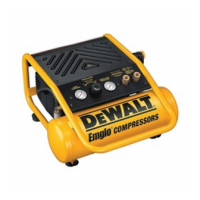
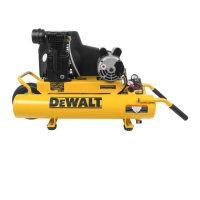
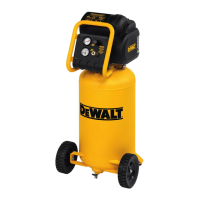
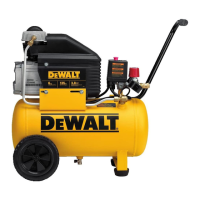
Checking Safety Valve (Fig. 1)
_WARNING: Hot surfaces. Risk of burn. Aftercooler, pump head,
and surrounding parts are very hot, do not touch (see the Hot
Surfaces identified in Fig. 2). Allow compressor to cool prior to
servicing.
_WARNING: Risk of bursting, ff the safety valve does not work
properly, over-pressurization may occur, causing air tank rupture or
an explosion.
Before starting compressor, pull the ring on the safety valve to
make sure that the safety valve operates freely. If the valve is stuck
or does not operate smoothly, it must be replaced with the same
type of valve.
Checking Air Filter Element (Fig. 1)
_,WARNING: Hot surfaces. Risk of burn. Aftercooler, pump head, and
surrounding parts are very hot, do not touch (see the Hot Surfaces
identified in Fig. 2). Allow compressor to cool prior to servicing.
1. Ensure the On/Off switch (A) is in the OFF position.
2. Allow unit to cool.
3. Remove air filter (N) from unit.
4. Carefully pry filter top from base.
5. Remove element from filter base.
6. If element needs cleaning, blow out with air. Replace if needed.
Purchase replacement parts from your local dealer or authorized
service center. Always use identical replacement parts.
7. Place element back in filter base.
8. Snap filter top to filter base.
9. Reassemble air filter to unit. Ensure exhaust outlet points down.
_CAUTION: Risk of unsafe operation. Do not operate without air
inlet filter
Draining Air Tank (Fig. 1)
_kWARNING: Risk of unsafe operation. Risk from noise. Air tanks
contain high pressure air. Keep face and other body parts away from
outlet of drain. Use safety glasses [ANSI Z87.1 (CAN/CSA Z94.3)]
when draining as debris can be kicked up into face. Use ear
protection [ANSI $12.6 ($3.19)] as air flow noise is loud when
draining.
15