ENGLISH
8
also charge a partially used pack whenever you desire
with no adverse effect on the batterypack.
5. Foreign materials of a conductive nature such as, but
not limited to, grinding dust, metal chips, steel wool,
aluminum foil, or any buildup of metallic particles
should be kept away from charger cavities. Always
unplug the charger from the power supply when there
is no battery pack in the cavity. Unplug the charger
before attempting toclean.
6. Do not freeze or immerse the charger in water or any
otherliquid.
Storage Recommendations
1. The best storage place is one that is cool and dry, away
from direct sunlight and excess heat orcold.
2. For long storage, it is recommended to store a fully
charged battery pack in a cool dry place out of the
charger for optimalresults.
NOTE: Battery packs should not be stored completely
depleted of charge. The battery pack will need to be
recharged beforeuse.
SAVE THESE INSTRUCTIONS FOR
FUTURE USE
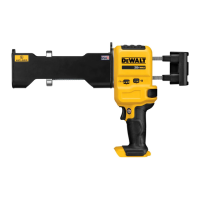
COMPONENTS (FIG. A)
WARNING: Never modify the power tool or any part
of it. Damage or personal injury couldresult.
Refer to Figure A at the beginning of this manual for a
complete list ofcomponents.
INTENDED USE
Your adhesive dispenser is designed for professional
concrete constructionapplications.
DO NOT use under wet conditions or in presence of
flammable liquids orgases.
Your adhesive dispenser is a professional power tool.
DO NOT let children come into contact with the tool.
Supervision is required when inexperienced operators use
thistool.
ASSEMBLY AND ADJUSTMENTS
WARNING: To reduce the risk of serious personal
injury, turn unit off and remove the battery pack
before making any adjustments or removing/
installing attachments or accessories. An
accidental start-up can causeinjury.
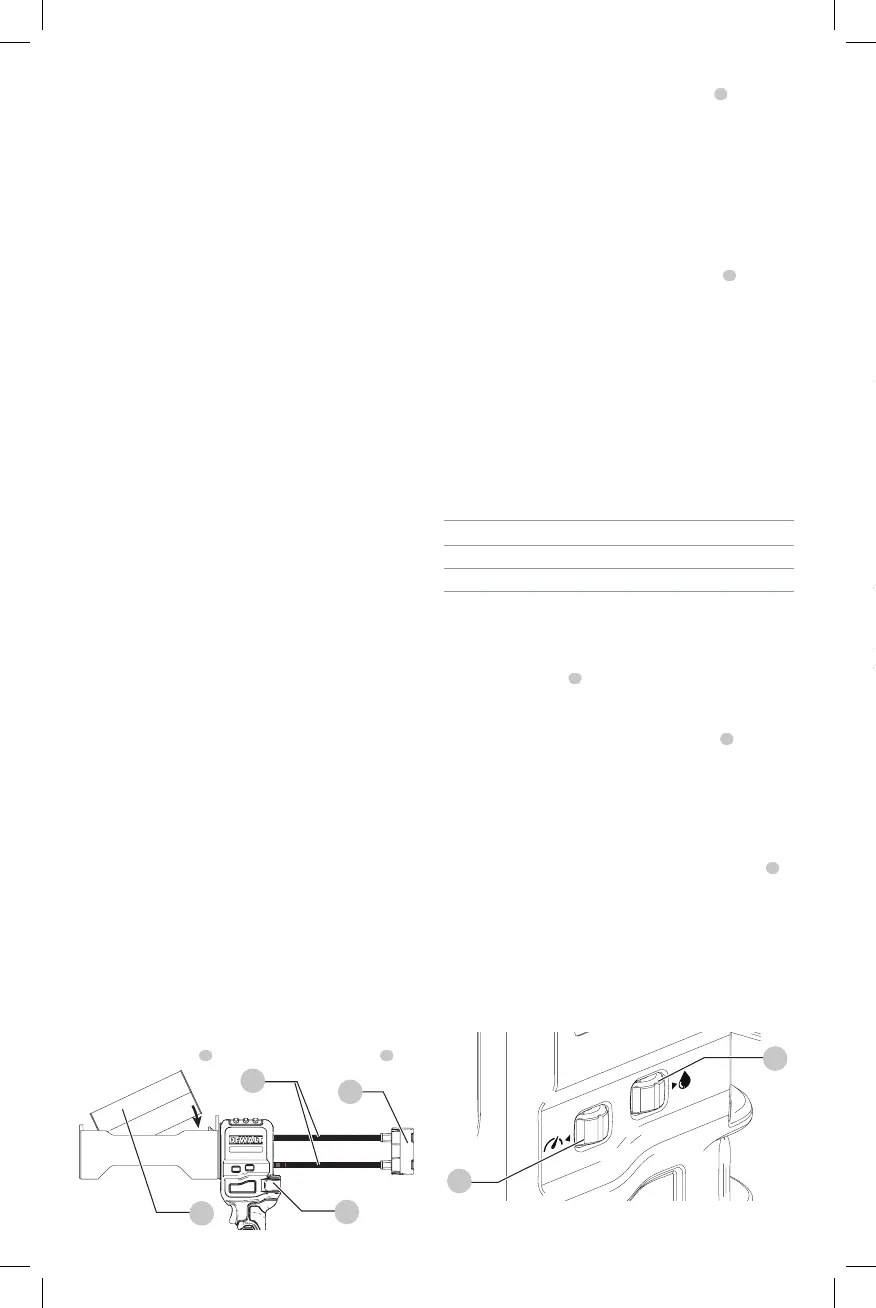
Inserting a Cartridge (Fig. D)
1. Rotate the speed control dial to the OFFposition.
2. Open clutch lever
4
to allow movement ofracks
7
.
Fig. D
4
3
5
7
3. Retract the rack by pulling the rack handle
5
away from
thetool.
NOTE: If using cartridge designed for a mixing nozzle
to be attached before loading into dispenser, screw the
static mix nozzle onto the cartridge before proceeding
to step3.
4. Insertcartridge.
5. Line up the cartridge and the cartridge nozzle opening
to assure correctpositioning.
6. Push rack handle forward, lining up pistons
6
with the
openings on thecartridge.
7. Remove caps and plugs on the dispensing end of
cartridge.
NOTE: If using cartridge designed to be loaded into
dispenser before mixing nozzle is attached, screw the
static mix nozzle onto thecartridge.
Adjusting/Setting the Material Dosage
and Rate of Flow (Fig. E)
Specifications
Max Speed*: 6-1/8” per minute
Minimum Speed*: ¼” per minute
Max Dose*: 28 - 32 seconds
Min Dose*: 2-5 seconds
* Specifications are estimates and can vary depending upon the tool,
temperature and adhesive type.
Dose Control
The dose control dial
3
is used to set the dosage/amount
of adhesive dispensed per triggerpull.
• To set the dosage, rotate the dosing control dial until
the amount of adhesive needed per trigger
1
pull
isdischarged. Keep trigger depressed while applying
adhesive. Dose control will stop the tool automatically.
Speed Control
The speed feature allows you to speed up or slow down the
rate of flow ofadhesive.
• To set the rate of flow, rotate the speed control dial
2
to the flow that is best suited to theapplication.
Changing the speed while using the dosing feature will
reduce or increase the amount of adhesivedispensed.
NOTE: Both the dose control and speed control dials will act
as an "off" switch when adjusted to their minimumsetting.
The tool will not function and the racks will not move when
in this state from eitherdial.
Fig. E
3
2
OPERATION
WARNING: To reduce the risk of serious personal
injury, turn unit off and remove the battery pack
before making any adjustments or removing/
installing attachments or accessories. An
accidental start-up can causeinjury.
Installing and Removing the Battery Pack
(Fig. F)
CAUTION: Release trigger and wait for tool to stop
before removing battery pack. Removal of battery
pack or cartridges during operation is prohibited. This
could cause damage to tool or personalinjury.
NOTE: For best results, make sure your battery pack is
fullycharged.
Fig. F
9
8
To install the battery pack
8
into the tool handle, align the
battery pack with the rails inside the tool’s handle and slide
it into the handle until the battery pack is firmly seated in
the tool and ensure that it does notdisengage.
To remove the battery pack from the tool, press the release
button
9
and firmly pull the battery pack out of the tool
handle. Insert it into the charger as described in the charger
section of thismanual.
Proper Hand Position (Fig. G)
WARNING: To reduce the risk of serious personal injury,
ALWAYS use proper hand position asshown.
WARNING: To reduce the risk of serious personal
injury, ALWAYS hold securely in anticipation of a
suddenreaction.
Proper hand position requires one hand on the handle to
actuate the trigger, and the other under the front end to
support the weight of the tool andcartridge.
Fig. G
Dispensing Material (Fig. A)
NOTICE: DO NOT dispense epoxy when it is above or
below manufacturers reccomendedtemperature.