16
ENGLISH
To Remove Knockout
WARNING: ALWAYS use eye protection. All users and
bystanders must wear eye protection that conforms to
ANSI Z87.1.
WARNING: Make sure that bevel adjusting locking lever
is tight and secure after using it to remove knockout. If
blade adjustment shifts while cutting it may cause binding
andkickback.
Place the round centre hole of the blade into the notch
25
on
the top of the bevel adjustment lever
9
. Grasping the saw and
blade firmly, pull until the knockout pops out. The diamond-
shaped arbor centre is nowexposed.
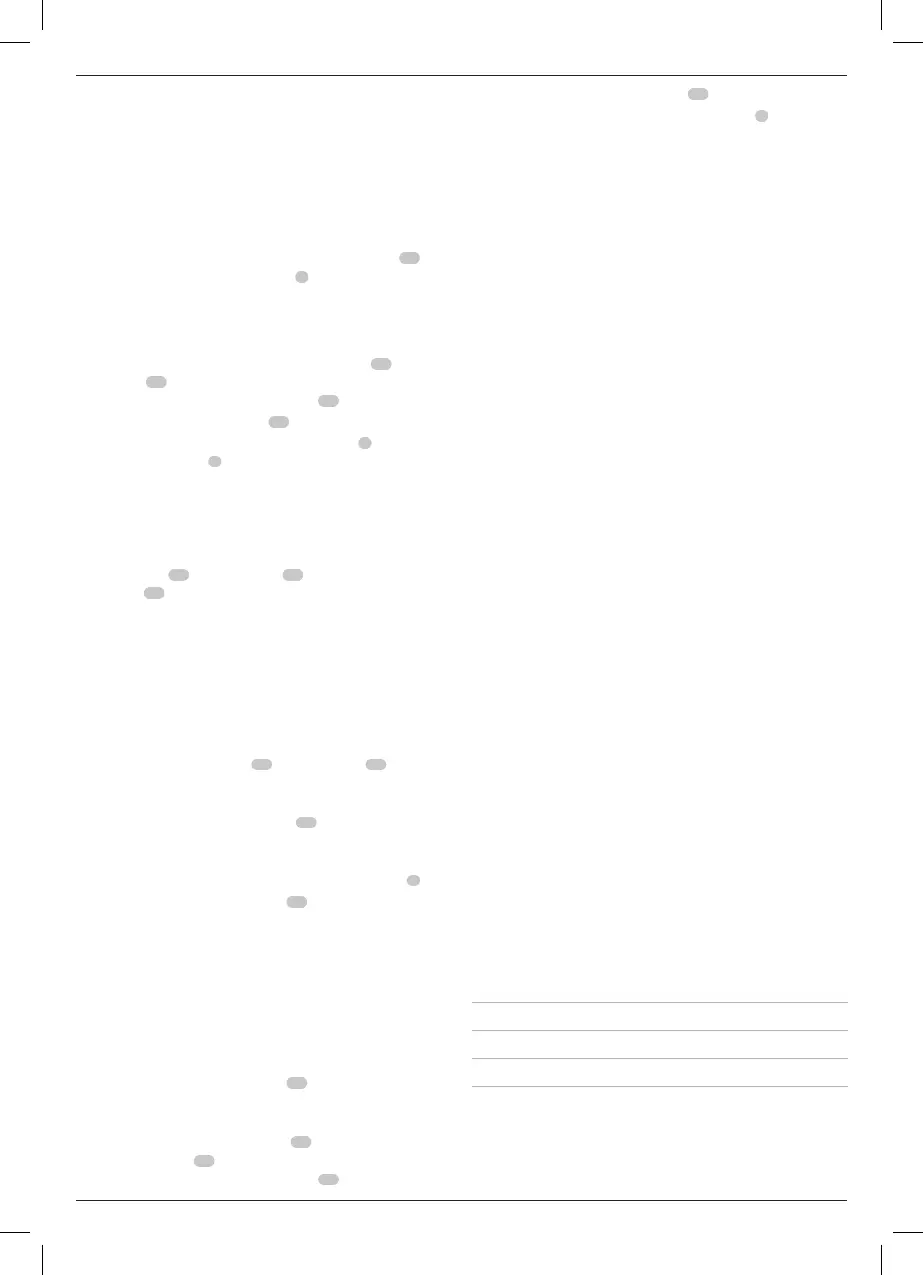
To Install the Blade (Fig.A,M,N)
1. Loosen and remove the blade clamping screw
19
with the
wrench
21
provided, by turning it clockwise as indicated by
the arrow on the outer clamp washer
27
.
2. Remove outer clamp washer
27
.
3. Using the lower blade guard retracting lever
4
, retract the
lower blade guard
6
.
IMPORTANT: When retracting the lower blade guard to
install the blade, check the condition and operation of the
lower blade guard to assure that it is working properly. Make
sure it moves freely and does not touch the blade, foot plate
or any other part, in all angles and depths ofcut.
4. Place blade
28
on saw spindle
29
against the inner clamp
washer
30
, making sure that the blade will rotate in the
proper direction (the direction of the rotation arrow on the
saw blade and the teeth must point in the same direction as
the direction of rotation arrow on the lower bladeguard).
IMPORTANT: Always ensure the diamond-shaped arbor
centre of the blade aligns with the raised diamond-shaped
arbor centre on the outer clampwasher.
NOTE: Do not assume that the printing on the saw blade will
always be facing you when properlyinstalled.
5. Place outer clamp washer
27
on saw spindle
29
with the
large flat surface against the blade and the wording on the
outer clamp washer facing you as shown in FigureN.
6. Thread the blade clamping screw
19
into saw spindle by
hand (screw has left-hand threads and must be turned
counterclockwise totighten).
7. Slowly release the lower blade guard retracting lever
4
.
8. Depress the spindle lock button
11
while turning the saw
spindle with the blade wrench provided until the blade
lock engages and the blade stops rotating. Using the blade
wrench, firmly tighten blade clampingscrew.
NOTICE: Never engage the blade lock while saw is
running, or engage in an effort to stop the tool. Never
turn the saw on while the blade lock is engaged. Serious
damage to your saw willresult.
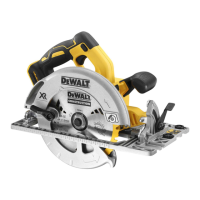
To Replace the Blade (Fig.A, N)
1. Depress the spindle lock button
11
while turning the saw
spindle with the blade wrench provided until the blade lock
engages and the blade stopsrotating.
2. With the blade wrench provided
21
, loosen the blade
clamping screw
19
by turning it clockwise as indicated by
the arrow on the outer clamp washer
27
.
3. Remove the outer clamp washer
27
.
4. Using the lower blade guard retracting lever
4
, retract the
lower blade guard. Remove used blade and properlydiscard.
5. Install new blade as previouslydescribed.
6. Clean any sawdust that may have accumulated in the guard
or clamp washer area. Check the condition and operation
of the lower blade guard as previously outlined. Do not
lubricate thisarea.
7. Select the proper blade for the application (refer to Blades).
Always use blades that are the correct size (190mm
diameter) with the proper size and shape centre hole
for mounting on the saw spindle. Always assure that the
maximum recommended speed (rpm) on the saw blade
meets or exceeds the speed (rpm) of thesaw.
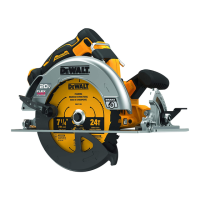
Lower Blade Guard
WARNING: The lower blade guard is a safety feature
which reduces the risk of serious personal injury.
Never use the saw if the lower guard is missing,
damaged, misassembled or not working properly.
Do not rely on the lower blade guard to protect you
under all circumstances. Your safety depends on
following all warnings and precautions as well as
proper operation of the saw. Check lower guard for
proper closing before each use as outlined in Safety
Instructions for All Saws. If the lower blade guard
is missing or not working properly, have the saw
serviced before using. To assure product safety and
reliability, repair, maintenance and adjustment
should be performed by an authorised service centre
or other qualified service organisation, always using
identical replacementparts.
Blades
WARNING: To minimise the risk of eye injury, always
use eye protection. Carbide is a hard but brittle material.
Foreign objects in the workpiece such as wire or nails
can cause tips to crack or break. Only operate saw when
proper saw blade guard is in place. Mount blade securely
in proper rotation before using, and always use a clean,
sharpblade.
Do not use abrasive wheels or blades. A dull blade will cause
slow, inefficient cutting resulting in overload to the saw motor,
excessive splintering and could increase the possibility of
kickback. Please refer to the following table to determine the
correct size replacement blade for your modelsaw.
DCS577
Blade Diameter Teeth Application
DT40270 190 mm 24 General purpose wood cutting
DT40271 190 mm 36 Plywood cutting
Kickback
Kickback is a sudden reaction to a pinched, bound or misaligned
saw blade, causing an uncontrolled saw to lift up and out of the
workpiece toward the operator. When the blade is pinched or