9
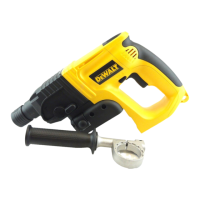
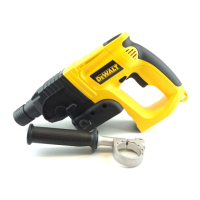
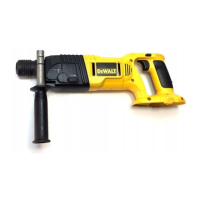
SECTION C: 13mm CORDLESS HAMMERDRILL DW006
DRILLING IN METAL
USE ONLY in the ‘low speed’ gear range. Start drilling with slow speed and increase
to full power while applying firm pressure on the tool. A smooth even flow of metal
chips indicates the proper drilling rate. Use a cutting lubricant when drilling metals.
The exceptions are cast iron and brass which should be drilled dry.
NOTE: Large (8 mm (5/16”) to 13 mm (1/2”)) holes in steel can be made easier if a
pilot hole (4mm (5/32”) to 5mm (3/16”)) is drilled first.
DRILLING IN WOOD
USE ONLY in the ‘low speed’ gear range. Start drilling with slow speed and increase
to full power while applying firm pressure on the tool. Holes in wood can be made
with the same twist drills used for metal. These bits may overheat unless pulled out
frequently to clear chips from the flutes. Work that is apt to splinter should be backed
up with a block of wood.
DRILLING IN MASONRY
Use only in the ‘high speed’ gear range. When drilling in masonry, use carbide tipped
bits rated for percussion drilling and be certain that the bit is sharp. Ensure that the
hammer mode is selected. Use a constant and firm force on the tool to drill most
effectively. A smooth, even flow of dust indicates the proper drilling rate.
KEYLESS CHUCK
SPINDLE LOCK
Open chuck jaws by turning the collar
with your fingers and inserting the
shank of the bit about 19 mm (3/4”) into
the chuck. Tighten the follower
clockwise while depressing the spindle
lock button (Fig. C4 (A)) on the right side
of the tool housing. To release a bit, turn
the collar counter-clockwise while
depressing the spindle lock button.
CAUTION: Do not depress lock
button while operating drill or while the
chuck is moving. Always lock off trigger
switch when changing accessories.
Chuck Removal
Always wear eye protection.
Slide the dual range gear button to position 1. Tighten the chuck around the shorter
end of a hex key (not supplied) of 10mm (3/8”) or greater size. Using a wooden mallet
or similar object, strike the longer end in the clockwise direction, as shown in Fig. C5.
This will loosen the screw inside the chuck.
Open chuck jaws fully, insert screwdriver (or Torx tool if required) into front of chuck
between jaws to engage screw head. Remove screw by turning clockwise (left-
hand thread). Place hex key in chuck and tighten. Using a wooden mallet or similar
object, strike key sharply in the counterclockwise direction. This will loosen the
chuck so that it can be unscrewed by hand.
Chuck Installation
Screw the chuck on by hand as far as it will go and insert screw (LH thread). Tighten
the chuck around the shorter end of a 10 mm (3/8) or larger hex key (not supplied)
strike the longer end in the clockwise direction with a wooden mallet, as shown in
Fig C6. Tighten the screw by turning in a counterclockwise direction.