The variable speed switch enables you to select the best speed for a particular
application. The farther you squeeze the trigger, the faster the tool will operate. Use
lower speeds for starting holes without a centrepunch, drilling in metals or plastics,
driving screws and drilling ceramics. For maximum tool life, use variable speed only
for starting holes or fasteners.
NOTE: Continuous use in variable speed range is not recommended.
It may damage the switch and should be avoided.
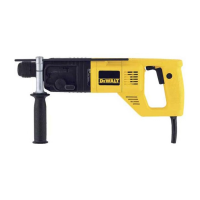
Forward/Reverse Control Button Fig. C1 (C)
A forward/reverse control button determines the direction of chuck rotation and also
serves as a lock off button. To select forward rotation, release the trigger switch and
depress the forward/reverse control button on the right side of the tool. To select
reverse, depress the forward/reverse control button on the right side of the tool. The
centre position of the control button locks the tool in the off position. When changing
the position of the control button, be sure the trigger is released. NOTE: The first
time the tool is run after changing the direction of rotation, you may hear a click on
start up. This is normal and does not indicate a problem.
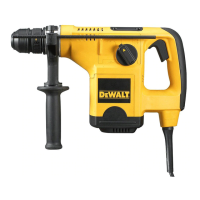
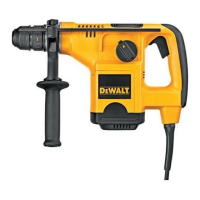
Hammer/Drill Selector Fig. C1 (D)
To switch the tool from the drilling mode to the hammering mode (or vice-versa) rotate
the knob to the applicable symbol shown. For straight drilling, rotate to the drill symbol.
For hammering, rotate to the hammer symbol (As shown in figure C1 (D)). NOTE: The
selector must be in either drill, or hammer/drill mode at all times. These are no operable
positions between the two.
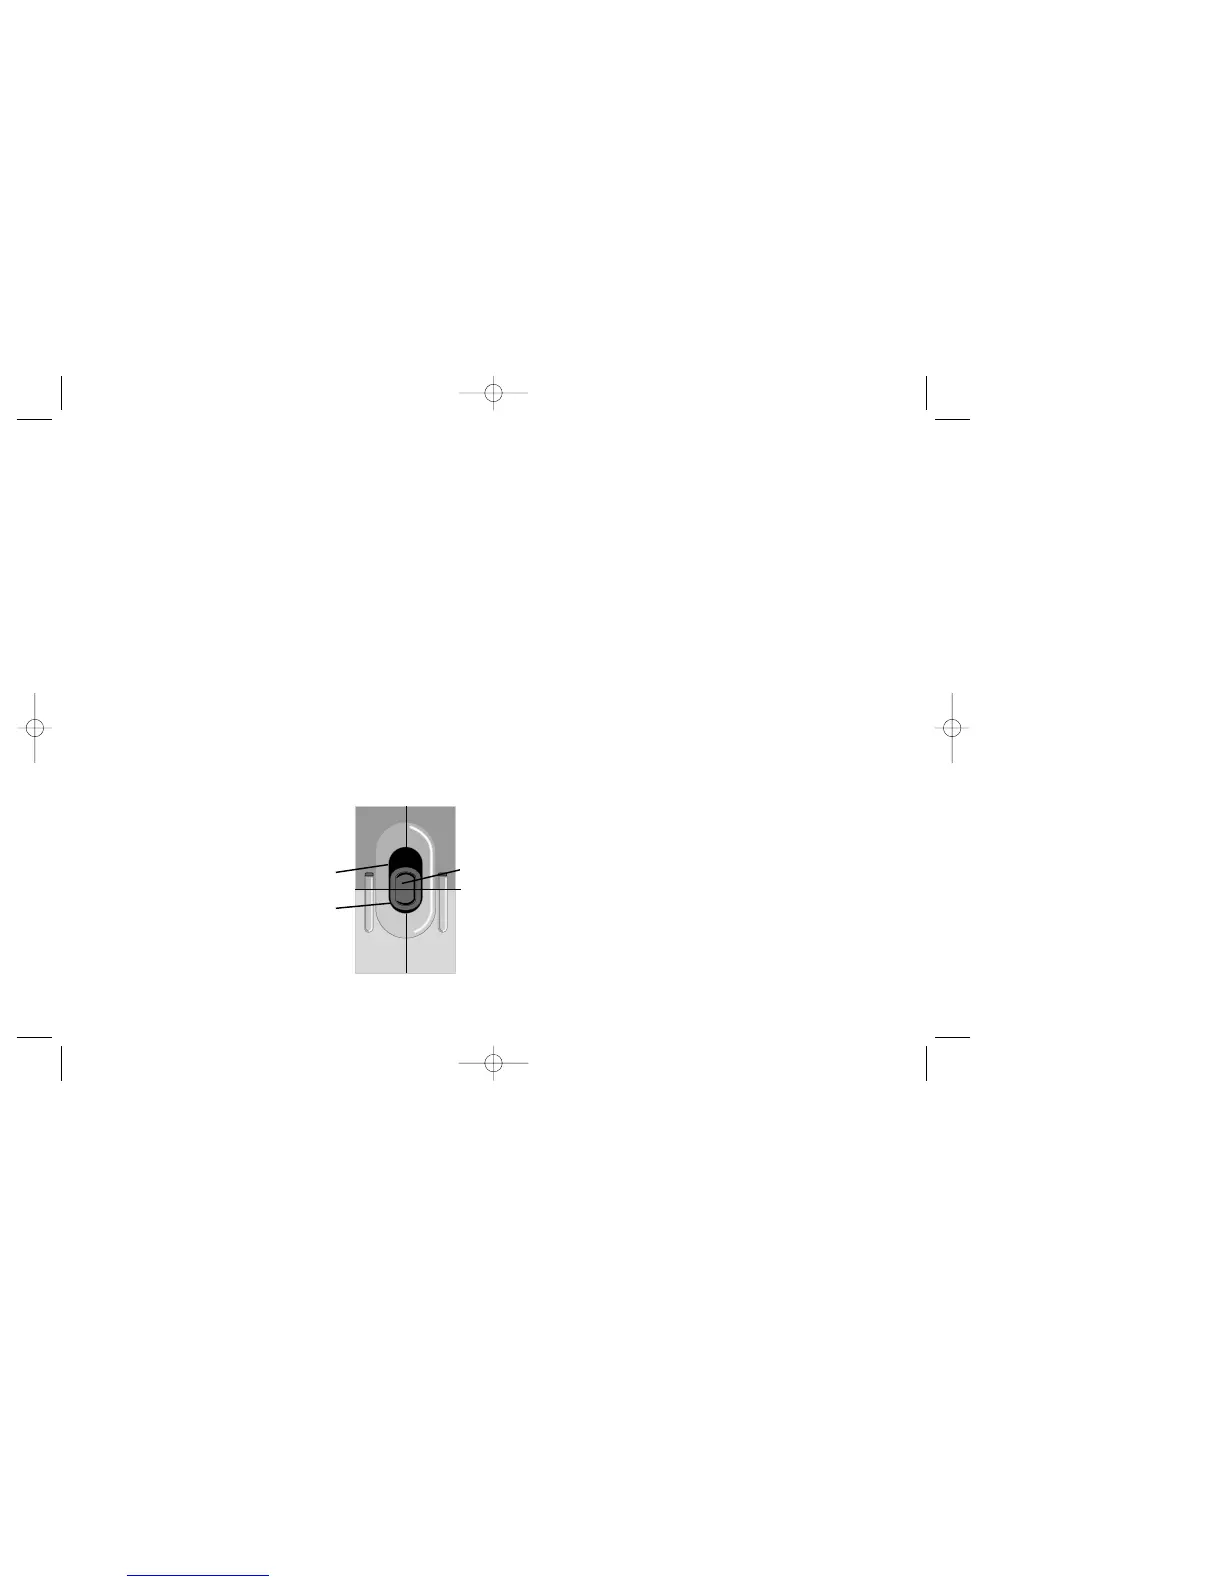
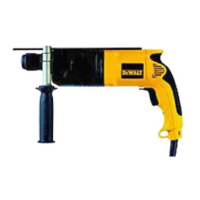
Dual Range Gearing Fig. C3
The dual range feature of your drill allows you to shift gears for greater versatility. To
select the low speed, high torque setting (position 1), turn the tool off and permit to
stop. Slide the button forward
towards the chuck. To select the
high speed, low torque setting
(position 2), turn the tool off and
permit to stop. Slide the button
back (away from chuck).
NOTE: Do not change gears when the tool is running. If you are having trouble
shifting gears, make sure that the dual range gear button is either completely pushed
forward or completely pushed back.
OPERATION
DRILLING
1. Always lock the trigger switch and remove the battery pack before attaching or
changing bits or accessories.
2. Use sharp drill bits only. For WOOD, use the low speed setting and twist drill bits,
spade bits, power auger bits, or hole saws. For METAL, use the low speed
setting and steel twist drill bits or hole saws. For MASONRY, such as brick,
cement, cinder block, etc., use high speed setting and carbide-tipped bits rated
for percussion drilling.
3. Be sure the material to be drilled is anchored or clamped firmly. If drilling thin
material, use a wood “back-up” block to prevent damage to the material.
4. Always apply pressure in a straight line with the bit. Use enough pressure to
keep drill biting, but do not push hard enough to stall the motor or deflect the bit.
5. Hold tool firmly to control the twisting action of the drill.
6. IF DRILL STALLS, it is usually because it is being overloaded or improperly
used. RELEASE TRIGGER IMMEDIATELY, remove drill bit from work, and
determine cause of stalling. DO NOT CLICK TRIGGER OFF AND ON IN
AN ATTEMPT TO START A STALLED DRILL – THIS CAN DAMAGE
THE DRILL.
7. To minimise the stalling or breaking through the material, reduce pressure on drill
and ease the bit through the last fractional part of the material.
8. Keep the motor running when pulling the bit back out of a drilled hole. This will
help prevent jamming.
9. With variable speed drills there is no need to centre punch the point to be
drilled. Use a slow speed to start the hole and accelerate by squeezing the
trigger harder when the hole is deep enough to drill without the bit skipping out.
8
C3
Position 1
Position 2
A