6
SAVE ALL WARNINGS AND INSTRUCTIONS FOR
FUTURE REFERENCE
Specifications
Amperes 7.9 A
Miter Angle 60° L and R
Bevel Angle 0° to 45° L
Blade Size 250 mm (10")
Max. Cut Depth 0° Bevel 77 mm (3-1/8")
Max. Cut Depth 45° Bevel 57 mm (2-1/4")
RPM, no load 3800
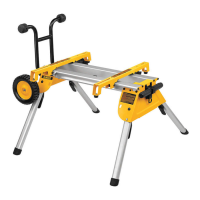
Unpacking
WARNING: To reduce the risk of injury, DO NOT connect the machine to the power
source until the table saw is completely assembled and you read the entire instruction
manual.
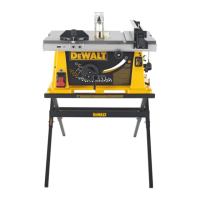
Open the box and slide the saw out, as
FIG. 1
shown in Figure 1. Carefully unpack the
table saw and all loose items from the
carton. Examine all parts to make sure
that parts have not been damaged during
shipping. If any parts are missing or
damaged, contact your dealer to replace
them before attempting to assemble the
tool.
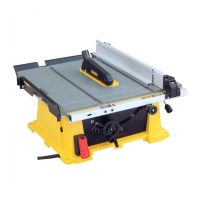
Refer to Figure 2 for the loose items and
hardware included with the saw:
1. Rip fence
2. Arbor wrench and spindle wrench (attached to saw base)
3. Blade guard assembly
4. Miter gauge
5. Push stick (attached to rip fence)
WARNING: To reduce the risk of serious personal injury, have push stick ready
to use before starting cut.
FIG. 2
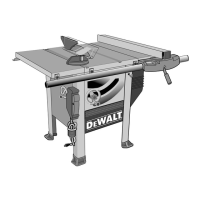
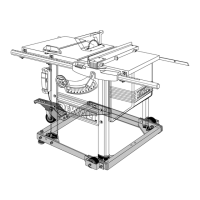
FEATURES (Fig. 3, 4)
Examine Figures 3 and 4 to become familiar with the saw and its various parts. The
following sections on assembly and adjustments will refer to these terms and you
must know what and where the parts are.