8
ENGLISH
CAUTION: The keyed guard can only be mounted
on grinders where the DWE46127 230mm shroud
wasmounted.
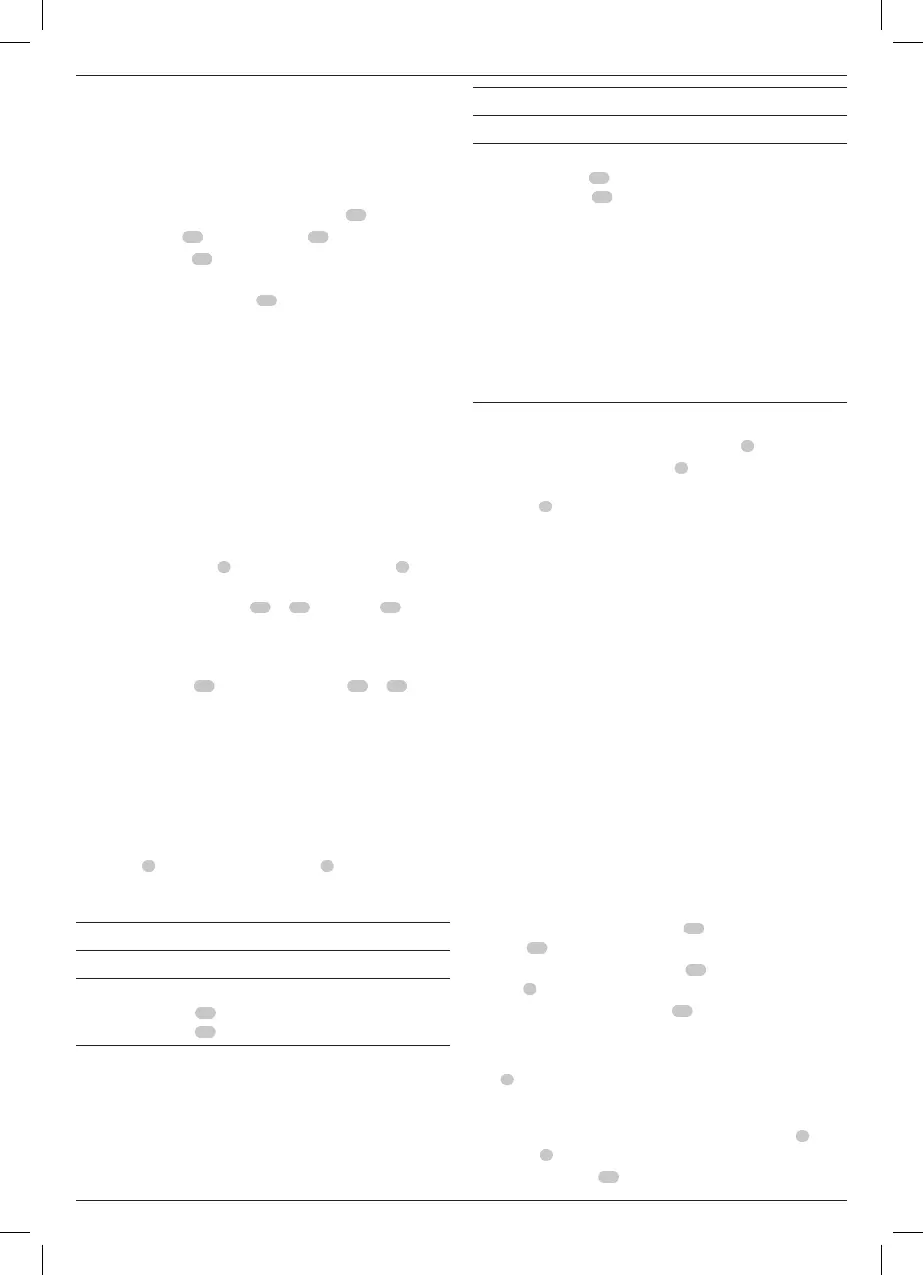
When using the grinder for cutting metal or masonry a Type 1
guard MUST be used. Type 1 guards are available at extra cost
from
distributors.
1. Place the angle grinder on a table, spindle
26
up.
2. Align the lugs
30
with the notches
22
.
3. Press the guard
29
down and rotate it to the
requiredposition.
4. Securely tighten the screw
31
.
5. To remove the guard, slacken thescrew.
NOTICE: If the guard cannot be tightened by the adjusting
screw, do not use the tool. To reduce the risk of personal
injury, take the tool and guard to a service centre to repair
or replace theguard.
Mounting and Using Diamond Cutting
Wheels (Fig.A, F, G)
WARNING: Only diamond wheels with a negative
rake angle shall be used with cutting shroud. Do not
cut metal. Do not use with bonded abrasivewheels.
1. With the cutting shroud attached to the grinder, press the
front shroud button
7
and the side shroud button
8
at the
same time to fully open the cuttingshroud.
2. Install the backing flange,
12
or
14
, on spindle
26
.
IMPORTANT: The DWE46225 comes with two sets of
flanges. Refer to the Flange/Grinder Compatibility Chart at
the end of this section for properuse.
3. Place the wheel
25
on the locking flange
11
or
13
,
and place both on the spindle, against the backing
flange, centreing the wheel on the raised centre of the
backingflange.
4. While depressing the spindle lock button, tighten the
locking flange:
- Tighten standard locking flange using awrench.
5. After the diamond cutting wheel is mounted, the cutting
shroud must be closed by pressing the front shroud
button
7
and the side shroud button
8
at the sametime.
6. To remove the wheel, depress the spindle lock button and
loosen the lockingflange.
Flange / Grinder Compatibility Chart
Flange set Grinder
Short (silver) flange set:
Locking flange
11
Backing flange
12
DCG405, DCG406
Flange / Grinder Compatibility Chart
Flange set Grinder
Long (black) flange set:
Locking flange
13
Backing flange
14
DWE4016, DWE4203, DWE4206,
DWE4207, DWE4216, DWE4217,
DWE4227, DWE4233, DWE4235,
DWE4237, DWE4238, DWE4246,
DWE4257, DWE4263, DWE4277,
DWE46105, DWE4357, DWE4347,
DWE4369, DWE4377, DCG412,
DCG414, D28498, DWE490,
DWE492, DWE494, DWE496,
DWE4001, DWE4056, DWE4057,
DWE4156, DWE4157, DWE4151,
DWE4557, DWE4559, DWE4579,
DWE4597, DWE4599
Depth of Cut Adjustment (Fig.A)
1. Loosen the depth of cut adjustment knob
5
.
2. Slide the depth of cut adjustor
4
to the desiredposition.
note: If the shroud is closed, press the front shroud
button
7
to open the shroud. This will make it easier to
move the depth of cutadjustor.
3. Tighten the depth of cut adjustmentknob.
Dust Extraction (Fig.A,H)
WARNING: Use only power tools recommended by
D
WALT with thisattachment.
For more information about D
WALT power tools compatible
with this attachment, please contact one of the authorized
services centres listed on the back cover or refer to the full
details of our after-sales service available on the Internet at:
www.2helpU.com.
WARNING: This attachment must be used with a dust
extractor system. ALWAYS wear certified safety face or
dustmask.
NOTE: Ensure hose connection issecure.
NOTE: The amount of dust retained by the dust extractor
vacuum is dependent on its filter system. Refer to the dust
extractor vacuum instruction manual for moreinformation.
All D
WALT dust collection shrouds are designed to work with
the D
WALT Airlock DWV9000connector.
1. Attach the DWV9000 connector
23
to your dust collector
hose
24
.
2. Unlock the DWV9000 connector
23
and slide onto dust
port
1
.
3. Lock the DWV9000 connector
23
tosecure.
Traditional Dust Extractor Vacuum Hoses
Attach recommended dust extractor vacuum hose to dust
port
1
.
Removing and Attaching Wheels (Fig. I)
This cutting shroud comes with four removable wheels
6
on the
metal base
3
which can be detached if notneeded.
1. Remove the clips
27
holding the wheels to thebase.