1. Turn power off at the circuit breaker to avoid electrical shock.
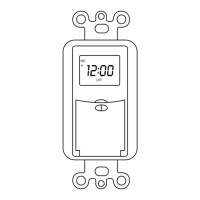
2. Remove existing switch,
3. Connect the wires according to the Figure1.
4. Carefully fold wire into wall box and mount timer into wall box with screws,
then attach the wall plate.
5. Restore power by fipping the breaker to the "ON" position.
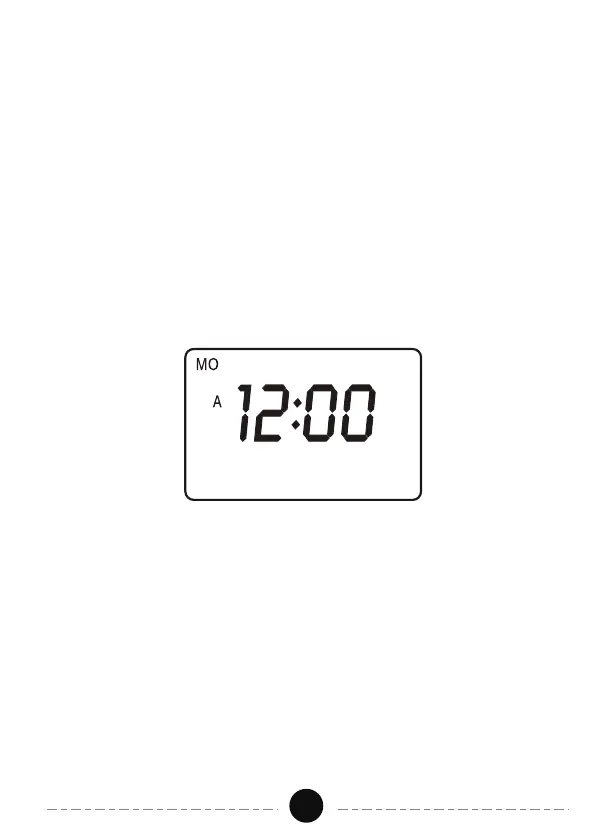
- Current Time Setting
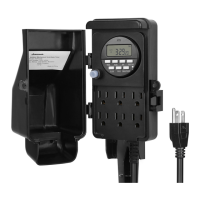
lf the timer screen is completely blank before programming,
all settings should be reset. The reset button is just located below the
MANUAL" button. Use a paper clip or ball point pen to push it as shown in
Figure 2.
1. Keep the "CLOCK" button being pressed during the entire seting operation.
2. Press the "DAY" button to select the correct day of the week. 3. Press the
"HOUR" button to set hours, please pay attention to the AM/PM.
4. Press the MIN" button to set the minutes.
5. Release the CL .OCK" button. The time will be set.
- ON/0FF Program Setting
1. Press the PROG" button once. Figure 3 will appear.
2."1 TIMER ON" is the first setting. There are a total of7 ON/OFFsettings.
3. Press the DAY" button to select the day(s).
4. Press the "HOUR" and "MIN" buttons to set ON time.
Operations:
Figure 2
03