Installation
Thank you for purchasing this 55" UHD LED TV. Before connection and operation of this product, please
read through this user manual carefully, and keep a copy of the manual handy for future reference.
Remove the TV carefully from its packaging, taking care not to apply any pressure to the front of the
screen. Some accessory items may be located in cut-out sections of the internal packaging, so take care not
to miss these items and discard them by mistake. Once all items are removed from the packaging, use the
list below to check that nothing is missing. If any items appear to be missing, contact the Kogan.com
customer support team.
• 55" LED TV x 1
• Desk Base stand assembly x 2
• Remote control x 1
• Pack of four 18mm screws x 1
• Pack of two AAA batteries x 1
• Pack of four M4 screws x 1
Once all accessory items have been accounted for, prepare a location where you can attach the base stands
to the bottom of the TV. You will need to arrange a soft cloth that is large enough to cover the front face of
the TV, as well as a Philips head screwdriver to attach the base stands.
Before proceeding to the Getting Started section of this manuals, please continue reviewing this Installation
chapter to ensure that your TV is correctly connected to your TV antenna and related AV equipment (eg.
DVD or Blu-ray player, amplifier, sound bar etc).
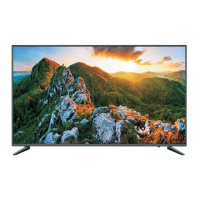
Base Stand Assembly Instruction
Prepare to place the TV with the display side down onto a flat surface. Due to the size and
weight of this TV, the use of 2 people is recommended when moving it. Ensure the table or desk
you use provides a flat, totally clean surface, and use a soft cloth between the face of the TV and
the table to help protect the TV’s screen.
5
1. Firstly please place the face of the TV screen on the platform then insert the two bases into
the machine respectively, please make sure the screw holes are corresponding to the machine.
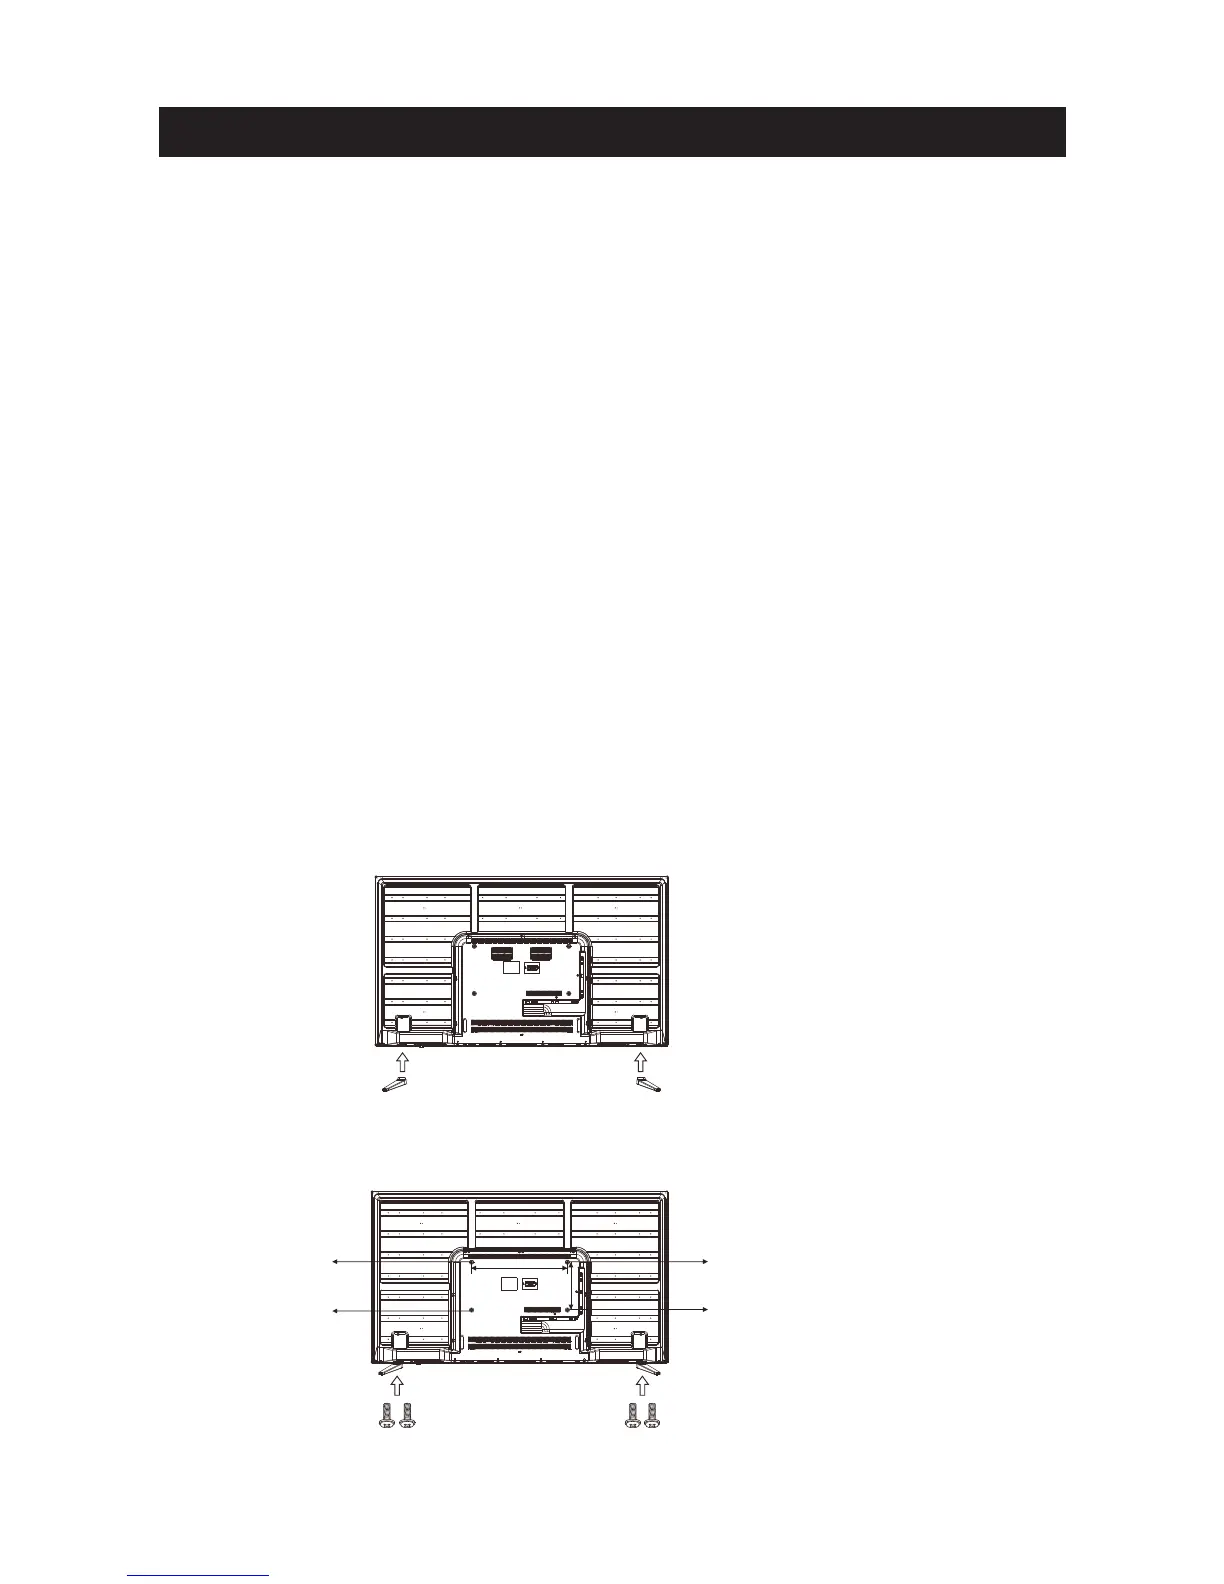
2. Screw and tighthen the 2 screws on the back cover of the bottom left and right side of the
base to the position of the corresponding hole then the installation is complete.
400mm
200mm
M6X8mm
M6X8mm
M6X8mm
M6X8mm