4
th
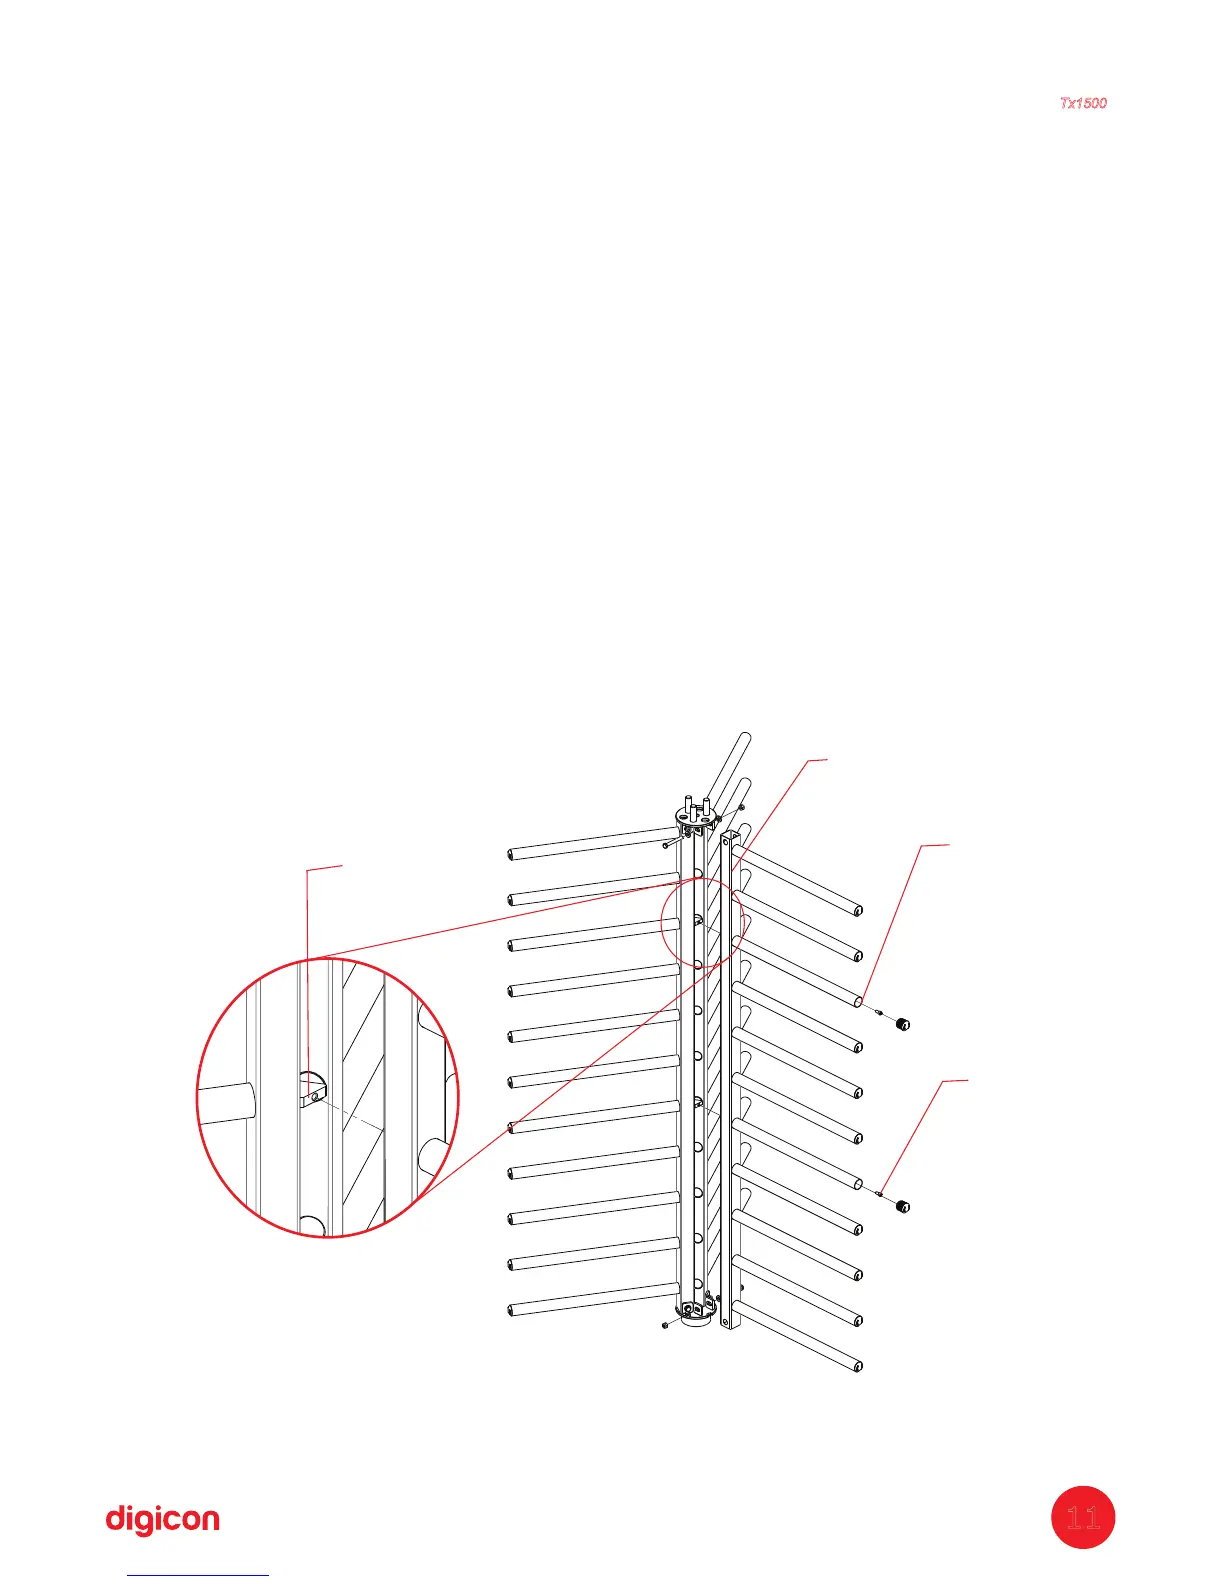
tep:S Assembling central arms
a. fix the inner triangle (P9) to one of the arms (P10) using the screw and the spring
washer (P11); repeat it for the arm's two fixing points (P10). Fixing this part is done
internally in the arms that have no buffer. Do not fasten the screw, simply position it.
b. Place the second arm (P10), fixing it to the inner triangle (P9) using the screw ad
the spring washer (P11). Repeat it for the arm's two fixing points (P10). Fixing this
part is done internally in the arms that have no buffer. Do not fasten the screw, simply
position it.
c. Place the third arm (P10), fixing it to the inner triangle (P9) using the screw ad the
spring washer (P11). Repeat it for the arm's two fixing points (P10). Fixing this part is
done internally in the arms that have no buffer. Do not fasten the screw, simply
position it.
d. Fit the lower base set (P14) to the lower part of the assembled arms (P10); place
the washers (P17) 2x, screw (P16) 1x, and nut (P18) 1x in each of the holes 3x. Do
not fasten the screw to the nut, only position it.
e. Fit the upper base set (P15) to the upper part of the assembled arms (P10); place
the washers (P17) 2x, screw (P16) 1x, and nut (P18) 1x in each of the holes 3x. Do
not fasten the screw to the nut, only position it.
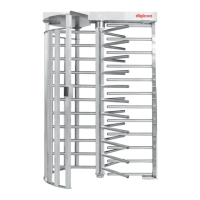
Torniquete
Tx1500
11
P11
P11
P9
P10