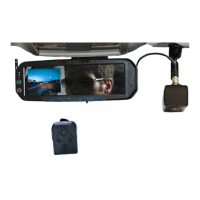
In some vehicles, the factory position of the manufacturer’s windshield
mounting plate may not allow for proper rearview DVM adjustment. The
mounting plate included with the DVM-500PLUS package can be glued
to the windshield in a location that will allow proper adjustment. We
recommend Loctite 03346 for installation of the mounting plate.
3. Route cabling along the roofline and down the A-pillar
Leave enough slack in the cables as a service loop for the rearview mirror adjustment. Then you can
begin routing the cables under the front edge of the headliner towards the passenger side of the
vehicle. Continue routing the cables down the windshield pillar below the dash. Secure the cables
together with tie wraps every 8 to 12 inches. To conceal the cable it may be necessary to loosen the
sun visor mounting bracket and/or other trim pieces to allow the cable to be tucked in behind the
headliner.
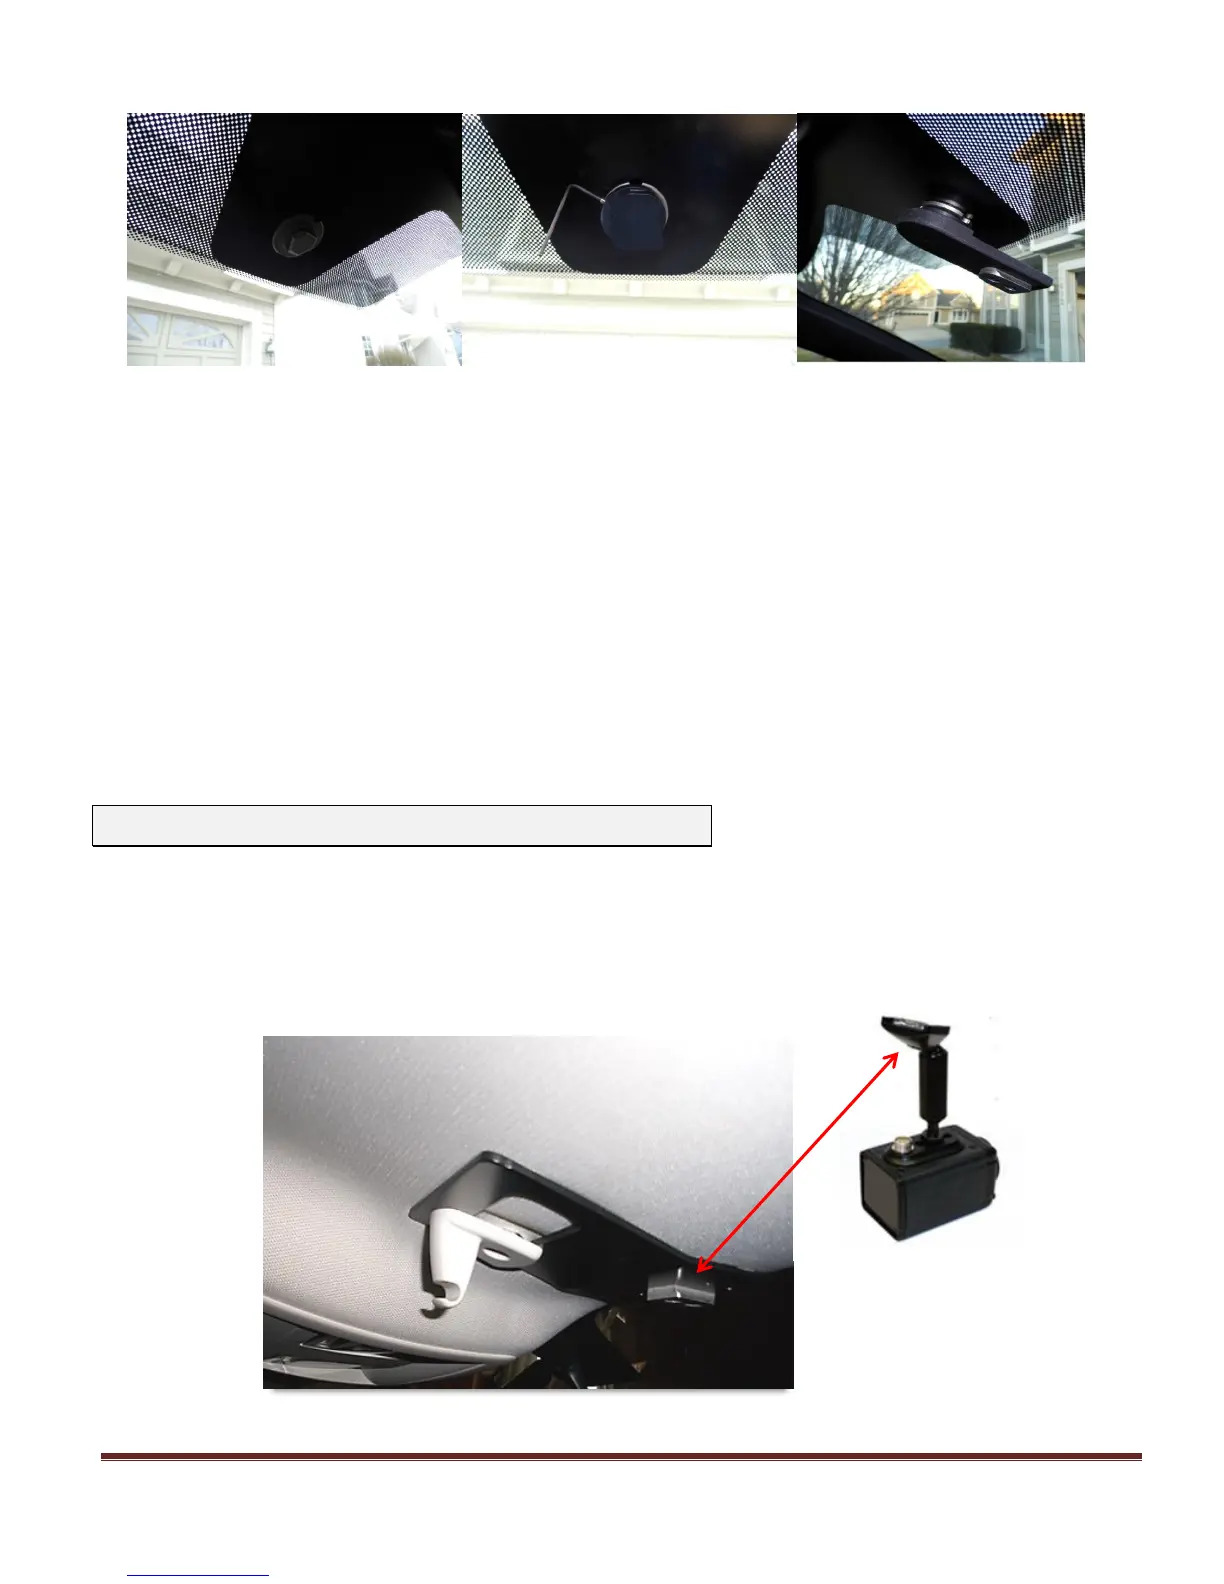
Front Camera
Install the visor mounting plate and then re-install the sun visor clip which holds up the visor mount.
The visor mount has a slot and three sets of screw holes for various adjustments if necessary. Attach
the camera to the plate. The camera can also be installed onto the windshield by gluing a mounting
puck to the windshield.