page 22
Digital Projection E-Vision Laser 7500, 8500 & 10K Series
Connection Guide
SIGNAL INPUTS
Rev D August 2017
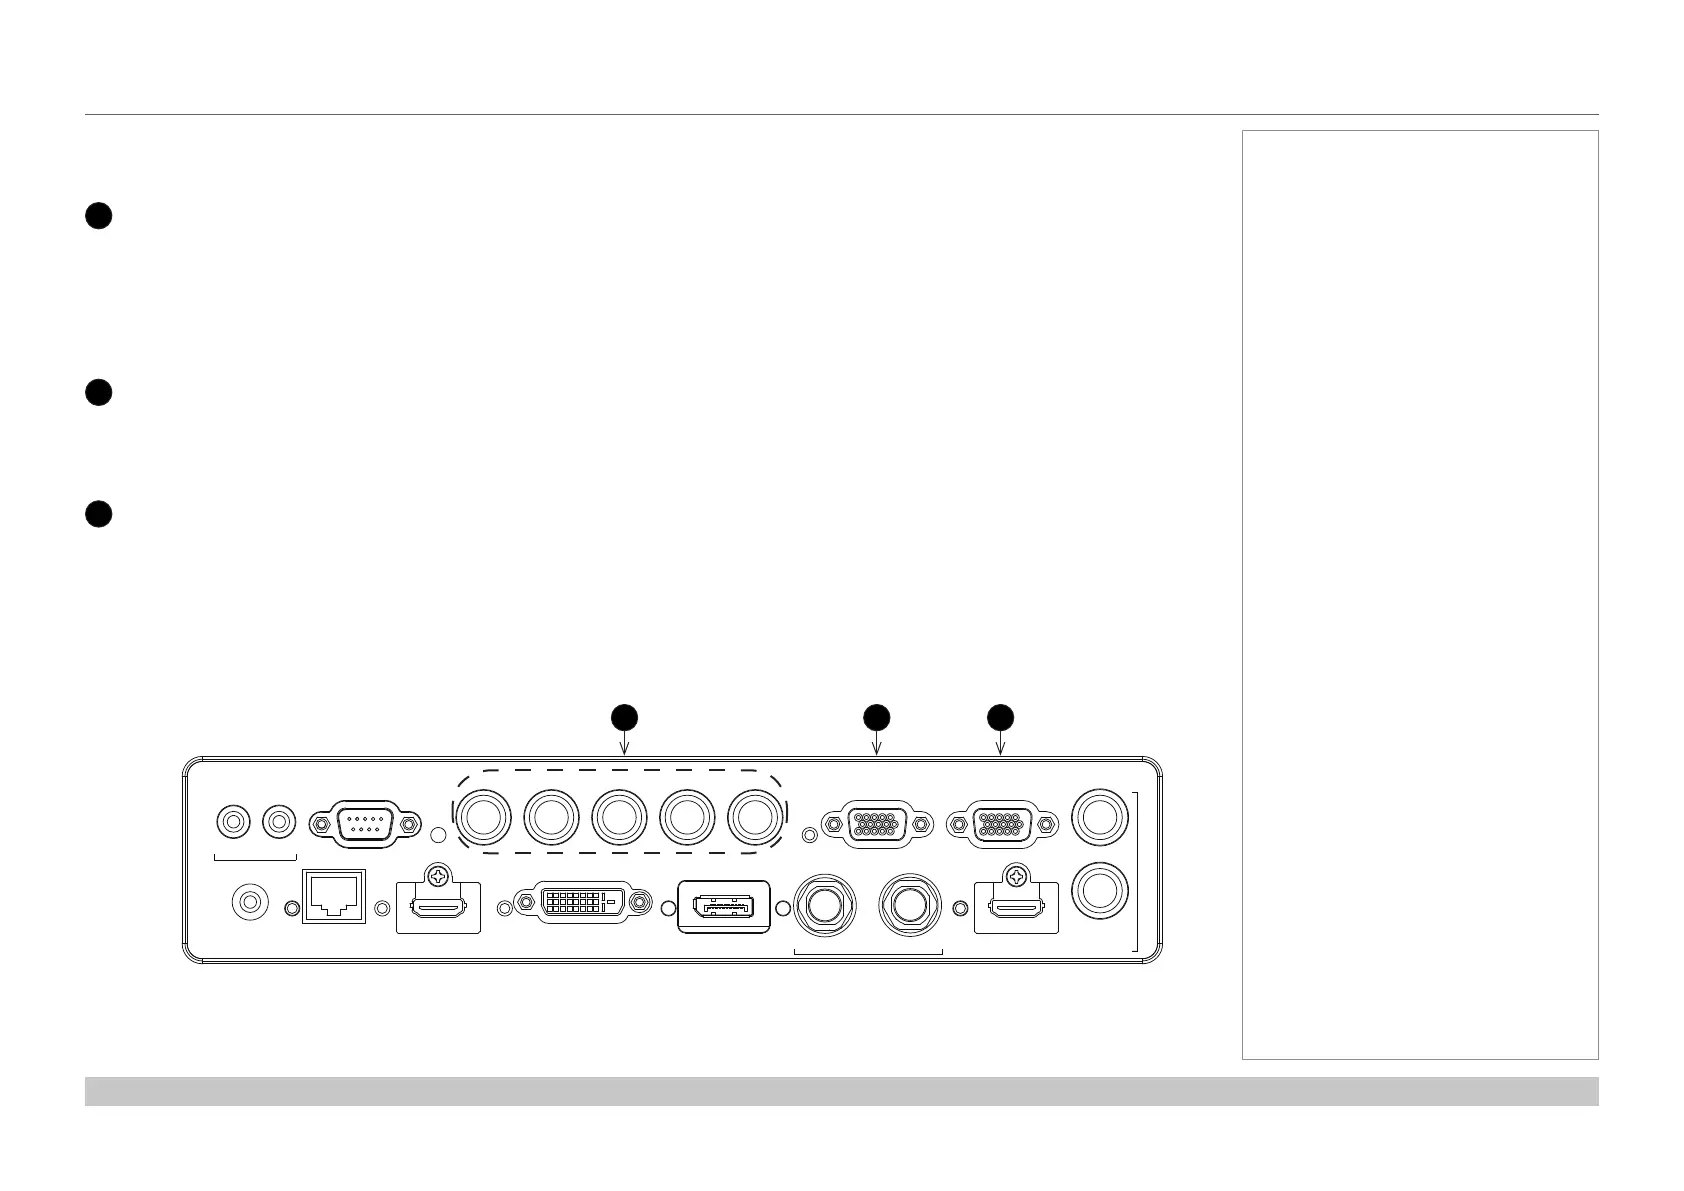
Analog inputs and outputs
1
Component
RGBHV, RGsB or RGBS
• Set Color Space in the Color menu to Auto or RGB-Video.
YPbPr or YCbCr
Set Color Space in the Color menu to YPbPr or YCbCr.
2
VGA
This input receives analog signals from a computer. When using this input, it is best to use a fully wired VGA cable to connect the
source to the projector. This will allow the source to determine the projector’s capabilities via DDC and show an optimized image.
Such cables can be identied as they have a blue connector shell.
3
Monitor Out
Connect an analog monitor (VGA) cable to the 15-pin D-type to output the signal received on the VGA input.
Notes
WIRED
REMOTE HDBaseT/LAN HDMI 1 DISPLAYPORTDVI-D IN OUT HDMI II
IN
TRIGGER
I II
RS-232 V H
B/Pb
G/Y R/Pr VGA
OUT
MONITOR OUT
SDI 3D SYNC
1 2 3

 Loading...


